My friend Jen asked why I couldn’t just skip peeling the apples. We were standing in her tiny apartment kitchen, a bag of Honeycrisps on the counter, and I had already started explaining why that would ruin the texture of a proper apple crisp. I mean, that’s just how you do it, right? You peel the apples. Every recipe says so. But then I stopped mid-sentence and looked at her face—she was holding a peeler like it was a punishment. Honestly, I didn’t have a good reason. “You know what,” I said, “let’s try it your way.”
That Tuesday night, with the first real chill of autumn creeping through the window, we made the most ridiculous, soul-warming Cozy Salted Caramel Apple Crisp for Two I had ever tasted. The skins softened perfectly during baking, adding this lovely little chew that contrasted with the crispy oat topping. I was wrong. Completely, delightfully wrong. And I have never peeled an apple for a crisp since.
Maybe you’ve been there—stuck in a cooking habit you learned years ago, never questioning it. This recipe is for those moments. It’s for the evenings when you want something warm and sweet, but you don’t need a whole 9×13 pan staring at you from the fridge for the next four days. It’s for two people, or honestly, for one person with excellent self-control (or no self-control, I won’t judge). The salted caramel ribbons through the tender apples, the buttery oat topping gets perfectly golden, and the whole thing comes together in under an hour. Let me tell you, that first bite—warm, salty-sweet, with a scoop of melting vanilla ice cream—is the kind of moment you bookmark in your memory.
Why You’ll Love This Recipe
This isn’t just another apple crisp recipe floating around the internet. I’ve tested this version at least a dozen times, tweaking the ratio of oats to butter, dialing in the exact amount of salt for the caramel, and yes, leaving those peels on every single time. Here is why this one is different—and why it will become your go-to for cozy nights in:
- Perfectly Portioned for Two: No more leftover crisp that gets soggy by day three. This recipe fills a small baking dish, giving you two generous servings with zero waste.
- No Peeling Required: I learned this the hard way. The skins add texture, fiber, and color. Plus, it saves you about ten minutes of prep time.
- Pantry-Friendly Ingredients: You likely have everything already—apples, oats, flour, butter, brown sugar, and basic pantry staples. The caramel sauce comes together with stuff you already own.
- Ready in 45 Minutes: From start to warm-out-of-the-oven, this dessert fits into a weeknight schedule without stress.
- That Salted Caramel Magic: The homemade caramel is shockingly easy—no candy thermometer needed—and the flaky salt on top takes it from good to unforgettable.
- Crowd-Pleasing Comfort: Every single person I’ve made this for has asked for the recipe. It hits that sweet-salty-soft-crunchy spot that feels like a hug in a bowl.
What makes this recipe stand out from the hundreds of apple crisps out there is the technique. Instead of tossing the apples with sugar and hoping for the best, you macerate them first—drawing out their natural juices—then layer them with a quick, stovetop salted caramel that seeps into every nook and cranny during baking. The topping stays crisp because we use cold butter cut in just right, and we bake it on a sheet pan to catch any bubbly overflow. It’s not complicated, but these small details make a world of difference.
This is the dessert you make when you want to feel taken care of. It’s comfort food at its finest—warm, fragrant, and deeply satisfying. Whether you are curled up on the couch watching a movie or hosting a small dinner party, this crisp delivers that cozy, homey feeling every single time.
What Ingredients You Will Need
This recipe uses simple, wholesome ingredients to create something truly special. The magic is in how they work together—the tartness of the apples, the richness of the caramel, the crunch of the oat topping. Here is everything you need:
For the Apple Filling:
- 2 medium apples (about 12 ounces total)—I prefer Honeycrisp or Granny Smith for their balance of sweetness and tartness. Leave the peels on, just wash them well and core them. Slice into ¼-inch thick pieces so they soften evenly.
- 2 tablespoons granulated sugar—This helps draw out the apple juices during maceration. Regular white sugar works perfectly here.
- 1 tablespoon all-purpose flour—Thickens the juices as the apples bake, creating that luscious, syrupy texture around the fruit.
- ½ teaspoon ground cinnamon—Warm, woodsy, and essential for autumn desserts. I use Vietnamese cinnamon for its stronger flavor.
- ¼ teaspoon ground nutmeg—Freshly grated if you have it, but pre-ground works fine too. Adds that subtle, nutty warmth.
- Pinch of salt—Enhances all the flavors and balances the sweetness.
For the Salted Caramel Sauce:
- ¼ cup packed light brown sugar—The molasses notes in brown sugar are what give caramel its depth. Do not substitute with white sugar here.
- 2 tablespoons unsalted butter—Use good-quality butter for the richest flavor. Salted butter works too, just reduce the added salt slightly.
- 2 tablespoons heavy cream—Creates that silky, pourable consistency. Half-and-half works in a pinch but won’t be as luxurious.
- ¼ teaspoon vanilla extract—Pure vanilla, not imitation. It rounds out the caramel beautifully.
- ¼ teaspoon flaky sea salt—Plus more for sprinkling on top. Maldon or Fleur de Sel are my favorites for their delicate crunch.
For the Crisp Topping:
- ⅓ cup old-fashioned rolled oats—Do not use quick oats here; they turn mushy. Old-fashioned oats give that perfect chewy-crunchy texture.
- ⅓ cup all-purpose flour—Provides structure to the topping. For a gluten-free version, use a 1:1 gluten-free baking flour blend.
- ¼ cup packed light brown sugar—Adds sweetness and helps the topping caramelize in the oven.
- ¼ teaspoon ground cinnamon—A little extra warmth in the topping layer.
- Pinch of salt—Balances the sweetness from the sugar.
- 3 tablespoons cold unsalted butter—Cut into small cubes. The key to a crispy topping is cold butter that melts slowly in the oven, creating steam pockets and flaky layers.
For Serving (Optional but Highly Recommended):
- Vanilla ice cream or whipped cream—The cold, creamy element against the warm, spiced apples is pure perfection.
- Extra flaky sea salt—A final sprinkle right before serving makes the flavors pop.
Equipment Needed
You do not need a fully stocked professional kitchen for this recipe. Here is what you will need:
- Small baking dish (about 3-cup capacity or 6×6 inches)—A small oval gratin dish or a 6-inch cast iron skillet works beautifully. I use a 6-inch round baking dish I found at a thrift store for two dollars, and it is perfect for this.
- Mixing bowls (one medium, one small)—For the apples and the topping. Any bowls you have will work.
- Small saucepan—For making the caramel sauce. A heavy-bottomed pan prevents scorching.
- Chef’s knife and cutting board—For slicing the apples. A sharp knife makes thin, even slices much easier.
- Measuring cups and spoons—Accuracy matters in baking, even for a simple crisp.
- Pastry cutter or two forks—For cutting the butter into the topping mixture. Your fingertips work too, just work quickly so the butter stays cold.
- Rubber spatula—For scraping every last bit of caramel out of the saucepan. Trust me on this one.
- Baking sheet—Place the dish on a baking sheet before baking to catch any caramel that bubbles over. I learned this after cleaning burnt sugar off my oven floor.
Preparation Method
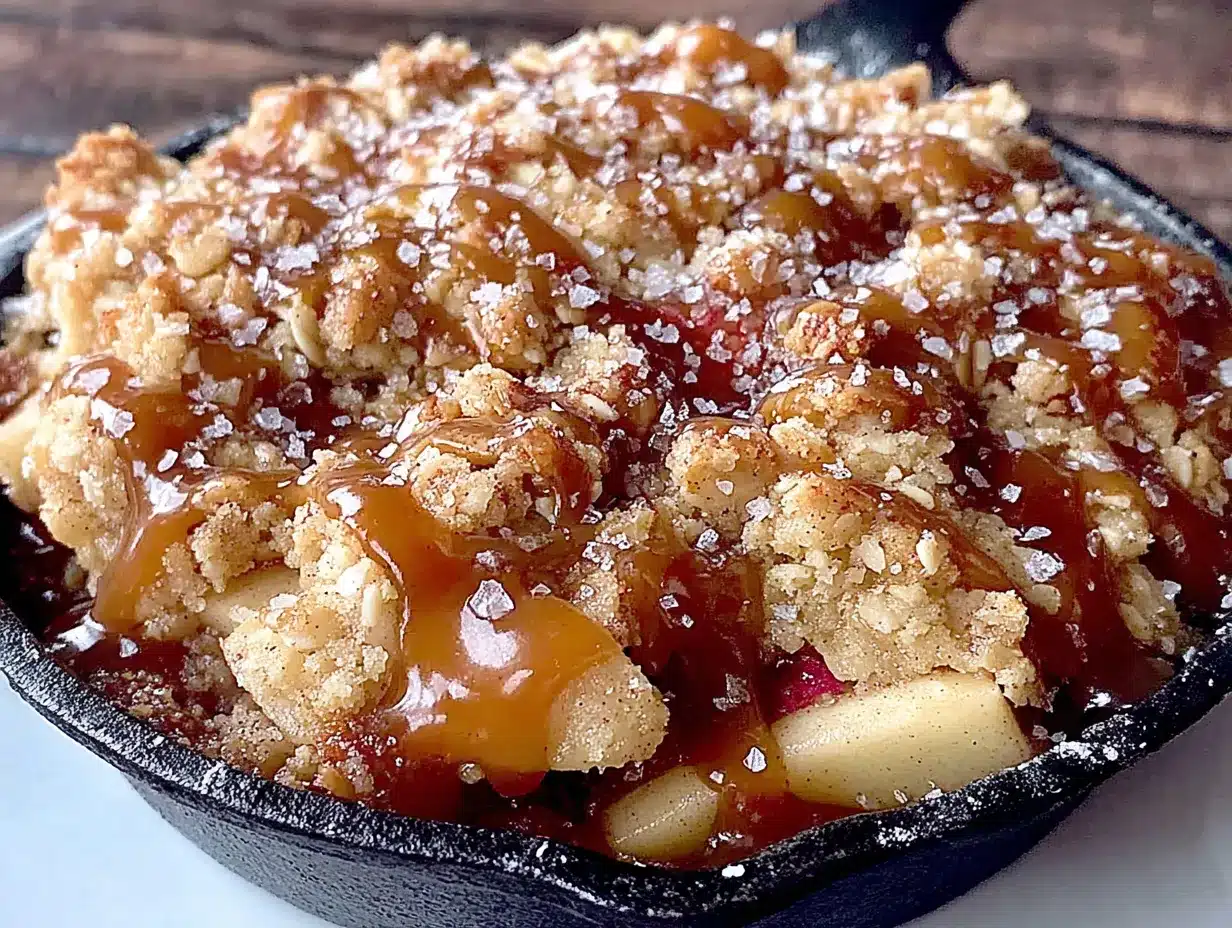
Let me walk you through this step by step. The total active time is about 15 minutes, plus 30 minutes of baking. Here we go:
- Preheat your oven to 350°F (175°C). Position a rack in the center of the oven. Place a baking sheet on the rack below it or on the bottom shelf—this will catch any drips later.
- Prepare the apples. Wash the apples thoroughly (remember, we are leaving the peels on). Cut them in half through the stem, then cut each half into quarters. Remove the core and seeds from each quarter. Slice each quarter crosswise into ¼-inch thick pieces. You should have about 2½ cups of sliced apples. Place them in a medium mixing bowl.
- Macerate the apples. Add the granulated sugar, 1 tablespoon flour, cinnamon, nutmeg, and a pinch of salt to the bowl with the apples. Toss everything together with a spatula until every slice is coated. Let this sit for 5 minutes while you make the topping and caramel. The sugar will start pulling out the apple juices, creating the base for that syrupy filling.
- Make the crisp topping. In a small mixing bowl, combine the rolled oats, ⅓ cup flour, ¼ cup brown sugar, ¼ teaspoon cinnamon, and a pinch of salt. Stir with a fork to distribute everything evenly. Add the cold butter cubes. Using a pastry cutter, two forks, or your fingertips, cut the butter into the dry mixture until it resembles coarse meal with some pea-sized butter pieces remaining. Do not overwork it—those little butter chunks are what create the crispy, flaky texture. Pop the bowl in the refrigerator while you make the caramel.
- Make the salted caramel sauce. In a small saucepan over medium heat, combine the ¼ cup brown sugar and 2 tablespoons butter. Stir constantly with a rubber spatula or wooden spoon until the butter melts and the sugar dissolves, about 2 minutes. The mixture will look bubbly and smell incredible. Remove the pan from the heat and carefully whisk in the heavy cream—it will bubble up vigorously, so stand back slightly. Stir in the vanilla extract and ¼ teaspoon flaky sea salt. Set the caramel aside for a minute to cool slightly. Do not taste it yet—it is molten hot and will burn your tongue (I speak from experience).
- Assemble the crisp. Take the macerated apples and give them another stir. Transfer them to your small baking dish, spreading them into an even layer. Pour the salted caramel sauce evenly over the apples. Use your spatula to scrape every last drop out of the saucepan—this is non-negotiable. Take the topping out of the refrigerator and sprinkle it evenly over the apples and caramel. Do not press it down; leave it loose for maximum crunch.
- Bake the crisp. Place the baking dish on the prepared baking sheet (to catch any bubbling caramel) and transfer to the preheated oven. Bake for 28 to 32 minutes, until the topping is deep golden brown and the apple filling is bubbling up around the edges. You should see thick, syrupy bubbles, not thin watery ones. If the topping starts browning too quickly around the 20-minute mark, loosely tent a piece of aluminum foil over the top.
- Cool and serve. Remove the crisp from the oven and let it cool on a wire rack for at least 10 minutes. This resting time allows the filling to thicken slightly. Just before serving, sprinkle a pinch of flaky sea salt over the top. Scoop into bowls and top with vanilla ice cream or a dollop of whipped cream. The contrast between the hot, bubbly apples and the cold, creamy ice cream is pure magic.
Cooking Tips & Techniques
After making this recipe more times than I care to count, I have collected a few hard-won lessons. Here are the tips that will make your crisp turn out perfectly every time:
Use a mix of apple varieties if you can. One tart apple (like Granny Smith) and one sweet apple (like Honeycrisp or Fuji) gives the filling a more complex flavor. The tart apple holds its shape better, while the sweet one breaks down slightly, creating that jammy texture. I once used all Fuji apples, and the filling turned into applesauce—delicious applesauce, but not quite what I wanted.
Do not skip the maceration step. Those five minutes where the apples sit with sugar and spices are crucial. The sugar draws out moisture from the apples, which then combines with the flour to create a natural syrup during baking. If you skip this step, the filling will be watery and the topping might get soggy.
Keep your topping cold until the very last minute. The butter needs to be cold when it goes into the oven. Cold butter melts slowly, creating steam that lifts the oat mixture and creates those desirable crispy, craggy bits. Warm butter gets absorbed into the flour and oats, resulting in a dense, greasy topping. I have made this mistake on a hot summer day when my kitchen was sweltering—the topping came out more like a hockey puck than a crisp.
Watch the caramel carefully. Brown sugar caramel can go from perfect to burnt in about 30 seconds. Keep the heat at medium, not high, and stir constantly. The moment the sugar dissolves and the mixture is smooth, take it off the heat. If you see any dark specks forming, you have gone too far—start over. It is heartbreaking, but burnt caramel tastes bitter and will ruin the whole dish.
Let it rest before serving. I know it is tempting to dig in immediately, but those 10 minutes of cooling are essential. The filling needs time to set up so it does not run all over your plate. Plus, the topping continues to crisp up as it cools slightly. Patience pays off here.
Variations & Adaptations
One of the best things about this recipe is how flexible it is. Here are some variations I have tried and loved:
Gluten-Free Version: Substitute the all-purpose flour in both the filling and the topping with a good quality 1:1 gluten-free baking flour blend. Bob’s Red Mill and King Arthur both make excellent options. The oats are naturally gluten-free, but check the label if you are sensitive to cross-contamination. The texture will be slightly more delicate, but it works beautifully.
Vegan Adaptation: Use vegan butter (I like Miyoko’s or Earth Balance) in both the topping and the caramel. Replace the heavy cream with full-fat coconut cream from a can. The caramel will have a faint coconut note, which actually pairs wonderfully with the apples and cinnamon. Serve with coconut milk ice cream for the full experience.
Pear and Cranberry Variation: Swap one of the apples for a ripe but firm Bosc pear, and add ¼ cup fresh or frozen cranberries to the filling. The cranberries burst during baking, adding tart little pockets of flavor that cut through the sweetness. This version is especially lovely around Thanksgiving.
Nutty Topping: Add ¼ cup chopped pecans or walnuts to the crisp topping. Toast them lightly in a dry skillet first for extra flavor. The nuts add a wonderful crunch and a savory note that plays well with the salted caramel. My husband prefers this version, so I often make a half-and-half topping with nuts on one side.
Bourbon-Spiked Caramel: Add 1 tablespoon of bourbon to the caramel sauce along with the vanilla. The alcohol cooks off during baking, leaving behind a warm, oaky complexity. This is my go-to for adult dinner parties—it feels a little fancy without any extra effort.
Serving & Storage Suggestions
This crisp is best served warm, straight from the oven. Here is how to make the most of it:
Serving Temperature: Serve the crisp warm, but not piping hot. Let it rest for 10 minutes after baking so the filling thickens slightly. A scoop of vanilla ice cream melting into the warm caramel is the classic pairing, but a dollop of lightly sweetened whipped cream or a drizzle of heavy cream works beautifully too.
Presentation Ideas: Serve in shallow bowls so you can see all the layers—the golden topping, the tender apples, the glossy caramel pooling at the bottom. A final sprinkle of flaky sea salt right before serving adds visual appeal and that signature salty crunch. For a cozy touch, serve in small ramekins or individual baking dishes.
Storage Instructions: If you have leftovers (unlikely, but possible), cover the baking dish tightly with foil or plastic wrap and refrigerate for up to 3 days. The topping will lose some of its crunch as it sits, but the flavors actually deepen overnight. To reheat, place the crisp in a 350°F oven for 10 to 15 minutes, until warmed through. The microwave works in a pinch, but the topping will be soft rather than crispy.
Freezing Tips: You can freeze the unbaked crisp for up to 3 months. Assemble the crisp completely but do not bake it. Wrap the dish tightly in plastic wrap, then a layer of foil. When ready to bake, thaw overnight in the refrigerator, then bake as directed, adding 5 to 10 minutes to the baking time since you are starting from cold.
Flavor Development: Interestingly, the flavors in this crisp become more pronounced after a day in the refrigerator. The caramel seeps deeper into the apples, and the spices meld together. If you have the foresight, make it a day ahead and reheat it—your future self will thank you.
Nutritional Information & Benefits
While this is definitely a treat, it does have some redeeming qualities. Here is a rough estimate per serving (based on two servings, without ice cream):
- Calories: Approximately 450-500 calories per serving
- Fat: 22g (14g saturated)
- Carbohydrates: 65g (45g sugar, 6g fiber)
- Protein: 4g
- Sodium: 350mg (from the salted caramel)
Health Highlights: Apples are a great source of dietary fiber and vitamin C, especially when you leave the peels on (which we do here). The fiber helps slow down sugar absorption, making this dessert a bit more balanced than something like a slice of cake. Oats provide soluble fiber, which is good for heart health. The butter and cream are high in saturated fat, so enjoy this in moderation as part of a balanced diet.
Dietary Considerations: This recipe contains gluten (from the flour and oats), dairy (butter and cream), and is not suitable for vegans in its original form. See the variations section for adaptations. It is naturally nut-free unless you add the optional pecans or walnuts.
Personal Note: I believe dessert should be enjoyed without guilt. This crisp is made with real, recognizable ingredients, and portioned for two so you are not tempted to overindulge. Pair it with a good walk outside and a glass of cold milk, and you have a perfectly balanced evening.
Conclusion
This Cozy Salted Caramel Apple Crisp for Two has become my go-to fall dessert for good reason. It is simple enough for a random Tuesday night, but impressive enough for company. The salted caramel adds a touch of elegance without any fuss, and the no-peel trick makes it almost laughably easy to throw together.
I love this recipe because it reminds me that sometimes the best cooking advice comes from questioning what we think we know. That night in Jen’s kitchen, I learned that leaving the peels on was not just a shortcut—it was actually better. The texture, the flavor, the rustic look of it all. Sometimes being wrong is the best thing that can happen to your cooking.
I would love to hear how yours turns out. Did you try one of the variations? Did you add something unexpected that worked? Drop a comment below and let me know. And if you share a photo on Pinterest or Instagram, tag me so I can see your beautiful creation. Happy baking, friends—here is to cozy nights and warm, salty-sweet desserts shared with people you love.
Frequently Asked Questions
Can I make this apple crisp in advance?
Yes! You can assemble the entire crisp (without baking) up to 24 hours in advance. Cover and refrigerate, then bake as directed when you are ready. You may need to add 5 minutes to the baking time since you are starting from cold.
Can I use quick oats instead of old-fashioned oats?
I do not recommend it. Quick oats are more finely chopped and will absorb too much moisture, resulting in a soft, mushy topping. Old-fashioned rolled oats give you that desirable chewy-crunchy texture that makes a crisp so satisfying.
What if I do not have a small baking dish?
No problem! You can use a 6-inch cast iron skillet, a small oval gratin dish, or even two 8-ounce ramekins. Just adjust the baking time slightly—ramekins may bake 5 minutes faster since they have more surface area exposed to heat.
Can I double this recipe?
Absolutely. Double all the ingredients and bake in an 8×8 or 9×9 inch baking dish. Increase the baking time to 35 to 40 minutes, keeping an eye on the topping. You may need to tent it with foil if it browns too quickly.
Why did my caramel turn out grainy?
Grainy caramel usually happens when the sugar crystallizes. This can occur if you stir too vigorously or if a grain of undissolved sugar gets splashed onto the side of the pan. To avoid this, use a clean saucepan and stir gently but constantly. If it does turn grainy, you can try adding a tablespoon of water and reheating gently while stirring until smooth.
Pin This Recipe!
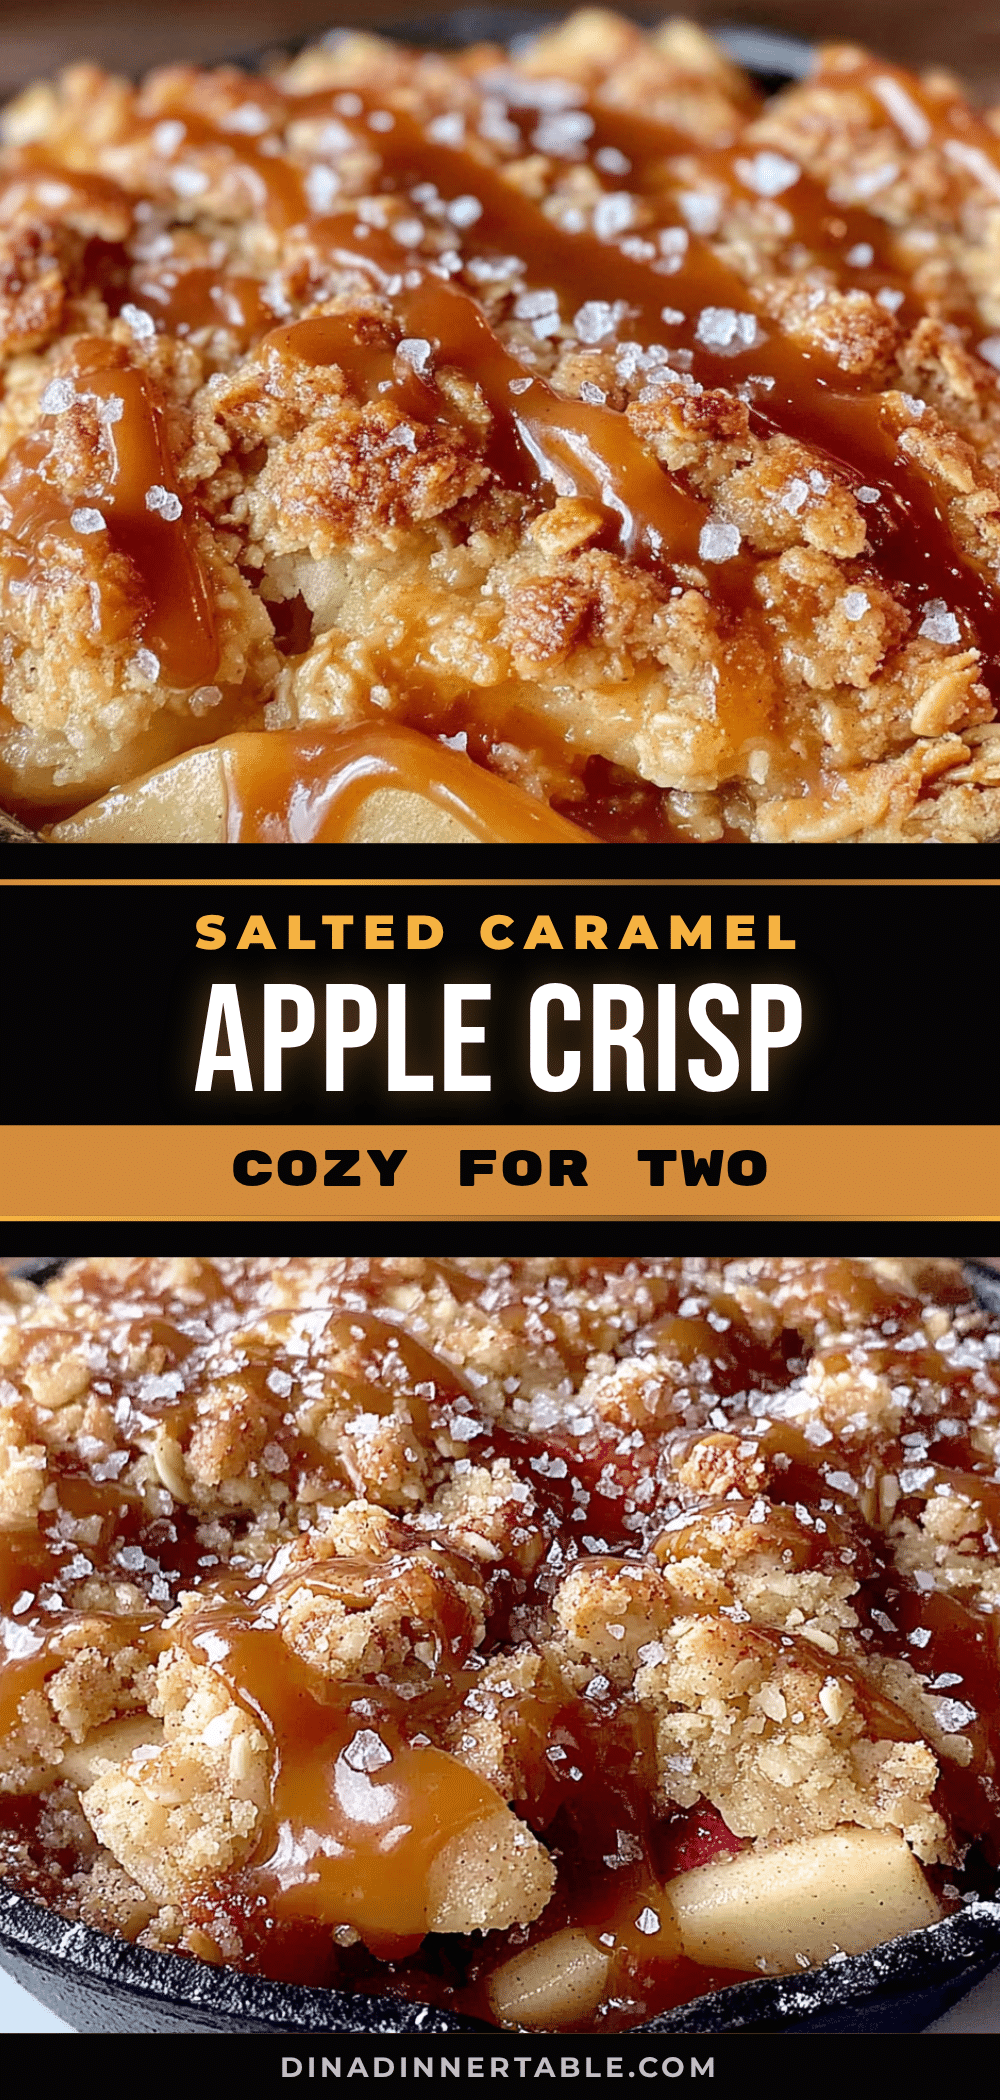
Cozy Salted Caramel Apple Crisp for Two – Easy Small Batch Dessert

This perfectly portioned apple crisp features tender unpeeled apples, a buttery oat topping, and a quick homemade salted caramel that seeps into every bite. Ready in 45 minutes, it’s the ultimate cozy dessert for two.
- Prep Time: 15 minutes
- Cook Time: 30 minutes
- Total Time: 45 minutes
- Yield: 2 servings 1x
- Category: Dessert
- Cuisine: American
Ingredients
- 2 medium apples (about 12 ounces total), preferably Honeycrisp or Granny Smith, unpeeled, cored, and sliced ¼-inch thick
- 2 tablespoons granulated sugar
- 1 tablespoon all-purpose flour
- ½ teaspoon ground cinnamon
- ¼ teaspoon ground nutmeg
- Pinch of salt
- ¼ cup packed light brown sugar (for caramel)
- 2 tablespoons unsalted butter (for caramel)
- 2 tablespoons heavy cream
- ¼ teaspoon vanilla extract
- ¼ teaspoon flaky sea salt (plus more for sprinkling)
- ⅓ cup old-fashioned rolled oats
- ⅓ cup all-purpose flour (for topping)
- ¼ cup packed light brown sugar (for topping)
- ¼ teaspoon ground cinnamon (for topping)
- Pinch of salt (for topping)
- 3 tablespoons cold unsalted butter, cut into small cubes
- Vanilla ice cream or whipped cream (for serving, optional)
- Extra flaky sea salt (for serving, optional)
Instructions
- Preheat your oven to 350°F (175°C). Position a rack in the center of the oven and place a baking sheet on the rack below to catch drips.
- Prepare the apples: Wash apples thoroughly, cut in half, then into quarters. Remove core and seeds. Slice each quarter crosswise into ¼-inch thick pieces (about 2½ cups). Place in a medium mixing bowl.
- Macerate the apples: Add granulated sugar, 1 tablespoon flour, cinnamon, nutmeg, and a pinch of salt to the bowl. Toss to coat. Let sit for 5 minutes.
- Make the crisp topping: In a small bowl, combine rolled oats, ⅓ cup flour, ¼ cup brown sugar, ¼ teaspoon cinnamon, and a pinch of salt. Stir. Add cold butter cubes. Using a pastry cutter, two forks, or your fingertips, cut butter into the dry mixture until it resembles coarse meal with some pea-sized butter pieces. Refrigerate while making the caramel.
- Make the salted caramel sauce: In a small saucepan over medium heat, combine ¼ cup brown sugar and 2 tablespoons butter. Stir constantly until butter melts and sugar dissolves, about 2 minutes. Remove from heat and carefully whisk in heavy cream (it will bubble up). Stir in vanilla and ¼ teaspoon flaky sea salt. Set aside to cool slightly.
- Assemble the crisp: Stir the macerated apples and transfer to a small baking dish (about 3-cup capacity). Pour the salted caramel sauce evenly over the apples. Sprinkle the chilled topping evenly over the top without pressing down.
- Bake: Place the dish on the prepared baking sheet and bake for 28 to 32 minutes, until topping is deep golden brown and filling is bubbling with thick syrupy bubbles. If topping browns too quickly, tent loosely with foil after 20 minutes.
- Cool and serve: Remove from oven and let cool on a wire rack for at least 10 minutes. Sprinkle with flaky sea salt just before serving. Serve warm with vanilla ice cream or whipped cream.
Notes
Do not skip the maceration step—it draws out apple juices to create a natural syrup. Keep the topping cold until the last minute for maximum crunch. Let the crisp rest for 10 minutes before serving to allow the filling to thicken. For a gluten-free version, use a 1:1 gluten-free baking flour blend. For a vegan adaptation, use vegan butter and full-fat coconut cream.
Nutrition
- Serving Size: 1 serving (half of t
- Calories: 475
- Sugar: 45
- Sodium: 350
- Fat: 22
- Saturated Fat: 14
- Carbohydrates: 65
- Fiber: 6
- Protein: 4
Keywords: apple crisp, small batch dessert, salted caramel, easy apple crisp, dessert for two, fall dessert, no peel apple crisp