I remember the exact moment it happened. I was at a summer barbecue at my friend Priya’s place, and the grill was doing its thing, but the heat was just relentless. I was fanning myself with a paper plate when her aunt, a woman who moved with the quiet confidence of someone who has fed a hundred happy people, came out of the kitchen with a bowl. It wasn’t fancy. It was just a metal bowl, frosty from the freezer, with a spoon sticking out of it. She didn’t announce it or make a big deal. She just set it down on the picnic table and said, “Here, this will help.” I scooped some into a cup, and honestly, I wasn’t prepared for what happened next. It was cold, creamy, and had these ribbons of something deep and salty-sweet running through it. It wasn’t the kind of ice cream you buy. It was better. It was the kind you remember. I asked her how she made it, fully expecting a story about a fancy machine and a lot of patience. She just laughed and said, “No churn. Just cream, a can of something sweet, and a little bit of salt. That’s it.” She told me about learning it from her neighbor in Mumbai, who used to make it for the kids during the hot months when the power would go out and the store-bought stuff would melt. That conversation, standing there in the shade with a spoon in my hand, was the real gift. I’ve made this no-churn salted caramel ice cream for every gathering since. It’s my secret weapon. You know that feeling when you want to bring something impressive, but you also don’t want to be stuck in the kitchen all day? This is that recipe.
Why You’ll Love This Recipe
Let me tell you why this has become my go-to for every dinner party and potluck. First off, it’s almost too easy. You don’t need an ice cream maker, a thermometer, or any of that complicated stuff. We are talking about a few minutes of mixing and then letting your freezer do all the heavy lifting. That means you can make it days ahead of time, which is a lifesaver when you’re hosting.
- Quick & Easy: You can have this in the freezer in under 15 minutes of active work. No custard, no cooking, no stress.
- Simple Ingredients: You probably have everything you need in your pantry right now. Heavy cream, sweetened condensed milk, and some salt. That’s the base of the magic.
- Perfect for Hosting: This is the ultimate dessert for a crowd. You can make a double batch, scoop it into a pretty bowl, and watch it disappear. It feels fancy, but it’s secretly the simplest thing you’ll make all week.
- Crowd-Pleaser: I have never, and I mean never, had someone take a bite of this and not ask for the recipe. It hits that perfect balance of sweet and salty that everyone loves.
- Unbelievably Delicious: The texture is what gets you. It’s so creamy and smooth, you won’t believe there’s no machine involved. The caramel swirls create pockets of gooey, salty goodness in every single scoop.
This isn’t just another ice cream recipe. It’s the one you’ll turn to when you want to impress without the pressure. It’s the dessert that lets you actually enjoy your own party because you made it yesterday and it’s just waiting in the freezer, ready to steal the show.
What Ingredients You Will Need
This recipe uses a handful of simple, everyday ingredients to create something truly special. The beauty is in the simplicity—no fancy extracts or hard-to-find items. Just honest, good ingredients that work together perfectly.
- 2 cups (480 ml) heavy cream: This is the backbone of your ice cream. You want cold heavy cream, or double cream if you’re in the UK. It needs to be at least 36% milk fat for the best, fluffiest texture. I usually grab the store brand, but if you want something really rich, try a local dairy brand. Don’t even think about using half-and-half here; it won’t whip up.
- 1 can (14 oz / 397 g) sweetened condensed milk: This is your secret weapon. It adds sweetness and a thick, creamy texture without needing to cook a custard. It also lowers the freezing point, which stops your ice cream from turning into a solid block of ice. Use a full-fat version for the best results. The low-fat ones have more water and can make your ice cream icy.
- 1/2 cup (120 ml) homemade or store-bought salted caramel sauce: This is where the magic happens. You can use your favorite jarred sauce to save time, and I won’t judge you one bit. If you’re feeling ambitious, a quick homemade version is amazing. Just melt 1 cup of sugar with 6 tablespoons of butter and 1/2 cup of heavy cream, then add a good pinch of flaky sea salt. For the best swirl, you want the sauce to be at room temperature when you add it.
- 1 teaspoon vanilla extract: Pure vanilla extract is always best. It adds a warm, aromatic depth that makes the caramel really sing. Imitation vanilla will work, but the flavor is a little flat.
- 1 teaspoon flaky sea salt (like Maldon): This is for the final touch. You’ll sprinkle it on top of the ice cream before serving. It gives you those little pops of salt that cut through the sweetness and make the whole thing irresistible. Don’t skip it. It’s what makes it “salted” caramel.
- Optional: 1/2 cup (60 g) crushed pretzels or toasted pecans: If you want a little crunch, fold these in at the end. The salty crunch of pretzels is a classic pairing, while toasted pecans add a buttery, nutty flavor. I’ve done both, and they’re each wonderful in their own way.
Equipment Needed
You don’t need a lot of fancy gear for this, which is honestly my favorite part. Here’s what you’ll need to pull this off.
- Large mixing bowl: A standard stainless steel or glass bowl will do. Make sure it’s big enough to hold your cream as it doubles in volume.
- Electric hand mixer or stand mixer: You could whip the cream by hand with a whisk, but your arm will get a serious workout. A hand mixer makes this a two-minute job. A stand mixer with the whisk attachment is even easier.
- Rubber spatula: You’ll need this for folding the condensed milk into the whipped cream and for scraping every last bit of caramel out of the bowl. A good, flexible spatula is a game-changer.
- Loaf pan or freezer-safe container: A standard 9×5-inch loaf pan is perfect. You can also use a 2-quart freezer-safe container with a lid. If you want to get fancy, a metal pan helps the ice cream freeze faster.
- Plastic wrap or parchment paper: You’ll press this directly onto the surface of the ice cream to prevent ice crystals from forming. It’s a small step that makes a big difference.
Preparation Method
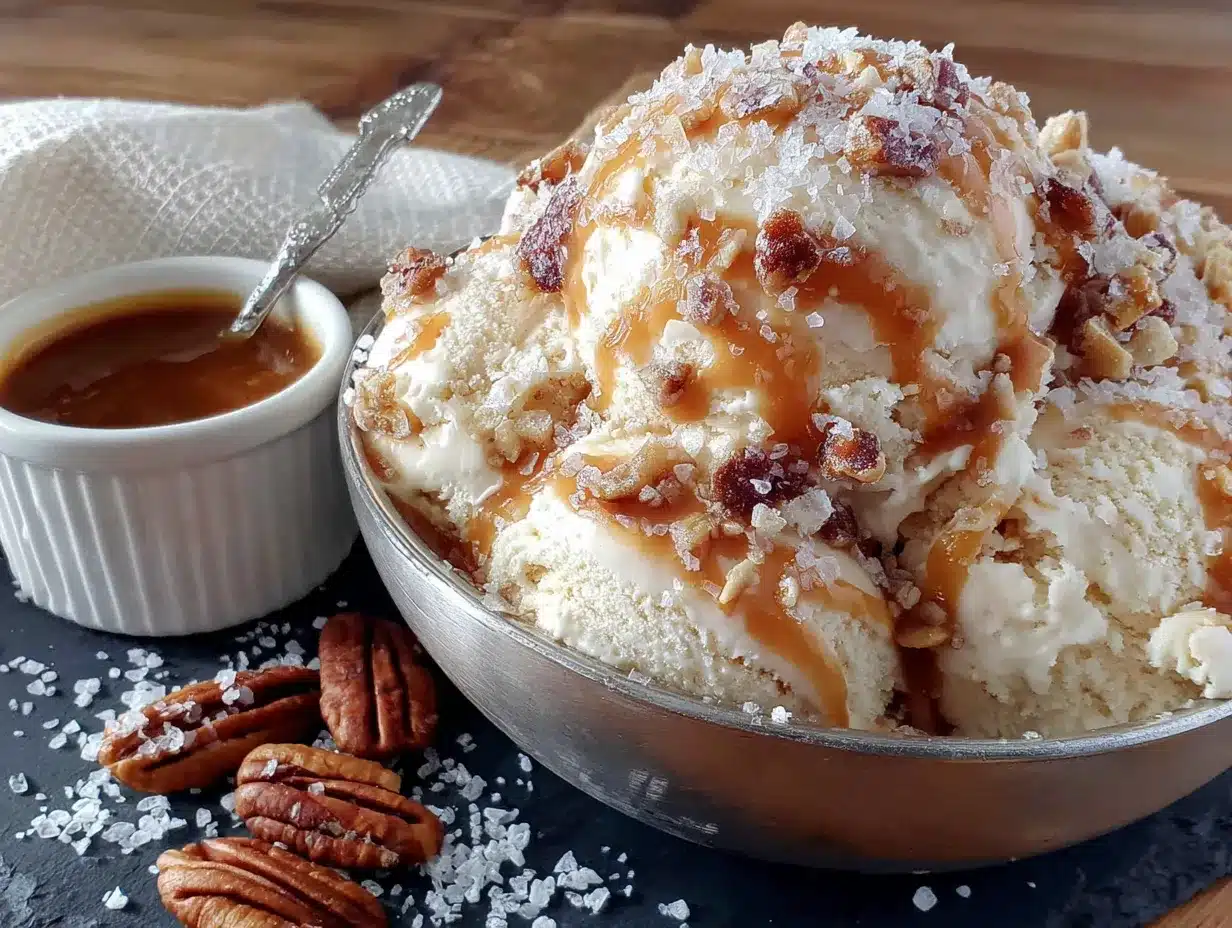
Okay, let’s get to the fun part. This is where you become a magician with just a few ingredients. Follow these steps, and you’ll have a dessert that looks like you spent hours on it.
- Chill your bowl and cream (5 minutes): Pop your large mixing bowl and the beaters from your hand mixer into the freezer for about 10-15 minutes. Cold equipment helps the cream whip up faster and fluffier. While that’s chilling, take your sweetened condensed milk out of the fridge so it can come to room temperature a bit.
- Whip the cream (2-3 minutes): Pour the cold heavy cream into your chilled bowl. Using your electric mixer, start on low speed and gradually increase to high. Whip until stiff peaks form. You’ll know it’s ready when you lift the beaters and the cream holds a firm point that doesn’t droop. Be careful not to over-whip, or you’ll end up with butter. It should look smooth and billowy, like a cloud.
- Fold in the condensed milk (1 minute): Pour the sweetened condensed milk and the vanilla extract over the whipped cream. Now, grab your rubber spatula. Gently fold the mixture together. The trick is to cut down through the middle, scrape along the bottom, and bring it up over the top. Rotate the bowl as you go. Don’t stir it; you want to keep as much air in the cream as possible. Fold just until you see no more white streaks. It will look like a thick, luscious mousse.
- Create the caramel swirl (2 minutes): Take your loaf pan or container and spoon about one-third of the cream mixture into the bottom. Drizzle about one-third of your salted caramel sauce over the top. Use a knife or a skewer to gently swirl it through the cream. Don’t overmix it, or you’ll lose the distinct ribbons. Repeat with the remaining cream and caramel, creating two more layers. You want pockets of caramel, not a fully caramel-colored base.
- Freeze (6 hours or overnight): This is the hardest part. Press a piece of plastic wrap directly onto the surface of the ice cream. This prevents ice crystals from forming. Place the lid on your container or wrap the whole loaf pan tightly with another layer of plastic wrap. Freeze for at least 6 hours, but overnight is best. The longer it sits, the firmer and creamier it gets.
- Scoop and serve (5 minutes): When you’re ready to serve, take the ice cream out of the freezer and let it sit on the counter for 5-10 minutes. This softens it just enough to scoop easily. Scoop into bowls or cones, sprinkle with that flaky sea salt, and maybe drizzle a little extra caramel on top. Watch everyone’s eyes light up.
Cooking Tips & Techniques
I’ve made this recipe more times than I can count, and I’ve learned a few things along the way. Let me save you from my early mistakes.
- The biggest mistake is over-whipping the cream. I did it once when I got distracted by the doorbell. The cream turned grainy and started to separate into butter. It was a total loss. Watch it closely during the last 30 seconds. The moment you see stiff peaks, stop.
- Use room temperature caramel sauce. If you pour cold caramel into the cream mixture, it can seize up and become hard to swirl. Let it sit out for 15-20 minutes while you whip the cream. It will blend in much more smoothly.
- Don’t skip the plastic wrap on the surface. This is the number one tip for preventing that annoying layer of ice crystals. It creates a seal that keeps the air out. Your ice cream will stay silky smooth for weeks.
- For the best texture, let it sit out before scooping. Straight from the freezer, this ice cream is very firm. Giving it a few minutes on the counter is the secret to perfect, creamy scoops that don’t crack or shatter.
- Make it ahead for a party. This is my best hosting hack. Make it two or three days before your event. It frees up your oven and your time on the day of the party. You can even scoop it into individual serving cups and freeze them for an easy, no-mess dessert.
Variations & Adaptations
The best thing about this base recipe is how easy it is to play with. Here are a few of my favorite twists.
- Chocolate Salted Caramel: Add 1/4 cup of unsweetened cocoa powder to the cream before whipping. It will be a little messy, but the chocolate and caramel combo is a classic for a reason.
- Vegan & Dairy-Free Version: Use a can of full-fat coconut cream (chilled overnight) in place of the heavy cream. Whip it just like you would regular cream. Use a dairy-free sweetened condensed coconut milk and a vegan caramel sauce. It’s just as rich and creamy, but totally plant-based.
- Spiced Caramel: Add 1/2 teaspoon of cinnamon and a pinch of nutmeg to the cream mixture before folding. It gives the ice cream a warm, cozy flavor that’s perfect for fall. I made this for a Thanksgiving dinner once, and it was a huge hit.
- Add a Crunch: Fold in 1/2 cup of crushed pretzels, toasted pecans, or even crumbled shortbread cookies right before you transfer the mixture to the pan. The salty crunch is a wonderful contrast to the smooth, creamy ice cream.
Serving & Storage Suggestions
This ice cream is a star on its own, but here’s how to make it truly shine at your next gathering.
Serving: Serve it slightly softened for the perfect scoopable texture. I love to serve it in a pretty glass bowl or in individual mason jars for a casual, rustic look. A drizzle of extra caramel and a generous pinch of flaky sea salt right before serving makes all the difference. For a complete dessert, serve it alongside a warm brownie or a slice of apple pie. It also pairs beautifully with a strong cup of coffee or an espresso martini.
Storage: Store your ice cream in an airtight container with a piece of plastic wrap pressed directly onto the surface. It will keep perfectly in the freezer for up to 3 weeks. After that, it might start to develop a few ice crystals, but it will still be delicious. The flavors actually get better after a day or two, as the caramel continues to meld with the cream.
Reheating: You don’t reheat ice cream, but if it’s too hard to scoop, just let it sit at room temperature for 10-15 minutes. For a fun twist, you can scoop it into a bowl and microwave it for 10-15 seconds for a soft-serve texture. It’s a guilty pleasure of mine.
Nutritional Information & Benefits
Let’s be honest, this is a treat. It’s not health food, and that’s okay. But here’s a rough idea of what you’re looking at per serving (based on 8 servings).
- Calories: Approximately 350-400 per serving.
- Fat: 22-25g (mostly from the heavy cream, which provides a good dose of healthy saturated fats for energy).
- Carbohydrates: 35-40g (from the sweetened condensed milk and caramel).
- Protein: 4-5g.
- Calcium: A decent amount from the dairy, which is good for bone health.
This recipe is naturally gluten-free and egg-free. If you use a dairy-free alternative, it can also be vegan. It’s a dessert for everyone to enjoy. The key is moderation. A small scoop is incredibly satisfying, and the richness means you don’t need a mountain of it to feel like you’ve had a real treat.
Conclusion
This no-churn salted caramel ice cream is more than just a recipe. It’s a party trick. It’s the dessert that makes you look like a hero without any of the stress. It’s creamy, it’s indulgent, and it has that perfect salty-sweet thing that keeps people coming back for “just one more scoop.” I love it because it reminds me of that hot summer day at Priya’s house, and how a simple bowl of ice cream can turn a good gathering into a great one. I honestly hope you try it. Make it your own. Add your favorite toppings, or keep it classic. Just make it for the people you love. And when they ask for the recipe, you can smile and tell them it’s your little secret. I’d love to hear how it turns out for you. Drop a comment below and let me know what twist you added, or just tell me how fast it disappeared at your last dinner party. Happy scooping!
Frequently Asked Questions
Can I use half-and-half or milk instead of heavy cream?
No, I wouldn’t recommend it. Heavy cream has a high fat content, which is what allows it to whip into stiff peaks and create that light, airy texture. Half-and-half or milk won’t whip properly, and your ice cream will end up icy and dense instead of creamy.
My ice cream turned out icy. What did I do wrong?
This usually happens for two reasons. First, you might have over-whipped the cream, causing it to separate. Second, you might not have pressed plastic wrap onto the surface before freezing. The wrap prevents air from reaching the ice cream and forming ice crystals. Also, make sure your container has a tight-fitting lid.
How long does this ice cream last in the freezer?
Stored properly in an airtight container with plastic wrap on the surface, it will stay perfectly creamy for up to 3 weeks. After that, it might start to get a little icy, but it’s still perfectly safe to eat and delicious.
Can I make this without an electric mixer?
You can, but it will take some elbow grease. You’ll need to whip the heavy cream by hand with a whisk. It will take about 5-8 minutes of vigorous whisking to get stiff peaks. It’s a great arm workout, but a hand mixer or stand mixer makes it much easier and faster.
Can I use a different type of salt?
For the best results, use a flaky sea salt like Maldon for the final sprinkle. It gives you those lovely little bursts of salt that are the hallmark of salted caramel. For the caramel sauce itself, you can use regular table salt or fine sea salt, as it will dissolve into the sauce.
Pin This Recipe!
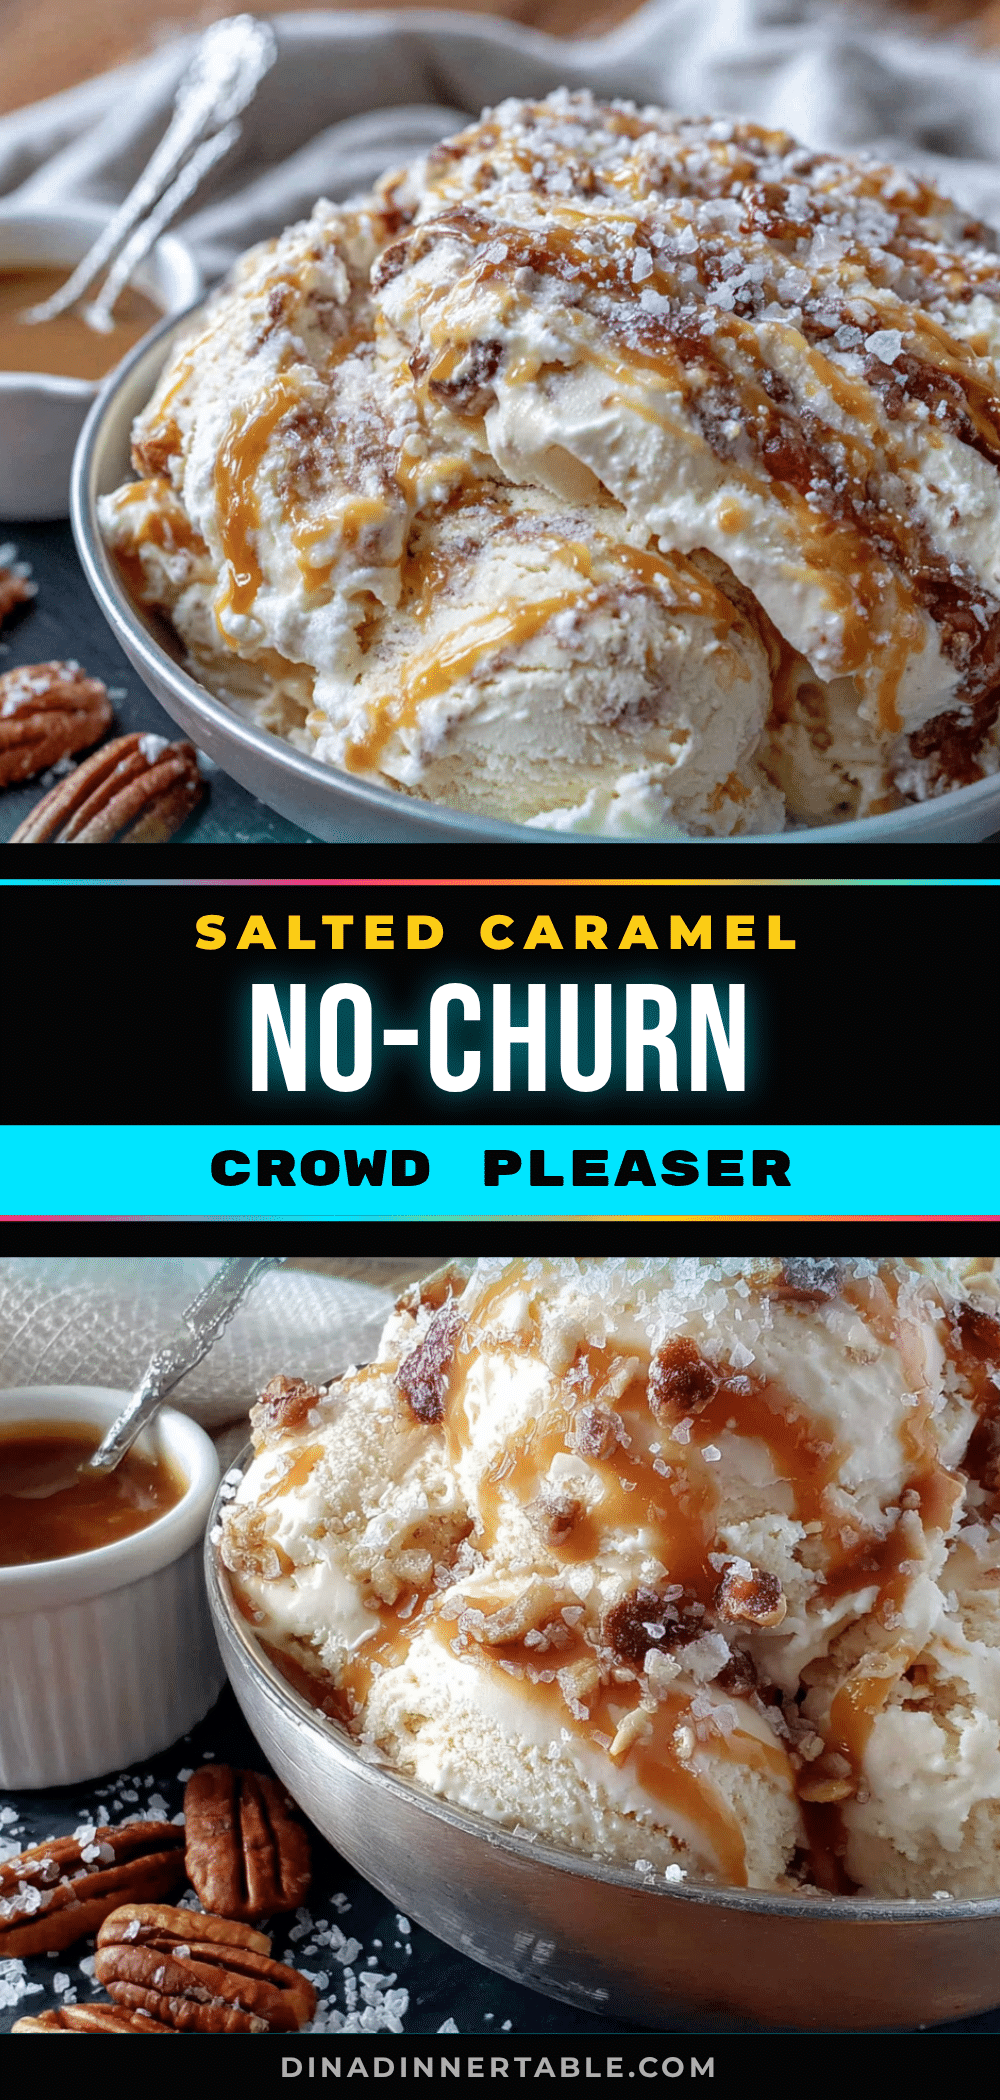
Easy No-Churn Salted Caramel Ice Cream
This no-churn salted caramel ice cream is incredibly creamy and easy to make without an ice cream maker. With just a few simple ingredients and minimal active time, you can create a decadent dessert with perfect salty-sweet caramel swirls that will impress everyone.
- Prep Time: 15 minutes
- Cook Time: 0 minutes
- Total Time: 6 hours 15 minutes (includes freezing time)
- Yield: 8 servings 1x
- Category: Dessert
- Cuisine: American
Ingredients
- 2 cups (480 ml) heavy cream
- 1 can (14 oz / 397 g) sweetened condensed milk
- 1/2 cup (120 ml) homemade or store-bought salted caramel sauce
- 1 teaspoon vanilla extract
- 1 teaspoon flaky sea salt (like Maldon)
- Optional: 1/2 cup (60 g) crushed pretzels or toasted pecans
Instructions
- Chill your large mixing bowl and the beaters from your hand mixer in the freezer for about 10-15 minutes. Take the sweetened condensed milk out of the fridge to come to room temperature.
- Pour the cold heavy cream into the chilled bowl. Using an electric mixer, start on low speed and gradually increase to high. Whip until stiff peaks form, about 2-3 minutes. Be careful not to over-whip.
- Pour the sweetened condensed milk and vanilla extract over the whipped cream. Gently fold together with a rubber spatula until no white streaks remain. The mixture should look like a thick mousse.
- Spoon about one-third of the cream mixture into a loaf pan or freezer-safe container. Drizzle about one-third of the salted caramel sauce over the top. Use a knife or skewer to gently swirl it through the cream. Repeat with the remaining cream and caramel, creating two more layers.
- Press a piece of plastic wrap directly onto the surface of the ice cream to prevent ice crystals. Place the lid on the container or wrap the loaf pan tightly with another layer of plastic wrap. Freeze for at least 6 hours, but overnight is best.
- When ready to serve, take the ice cream out of the freezer and let it sit on the counter for 5-10 minutes to soften slightly. Scoop into bowls or cones, sprinkle with flaky sea salt, and drizzle with extra caramel if desired.
Notes
For best results, use cold heavy cream (at least 36% milk fat) and room temperature caramel sauce. Pressing plastic wrap directly onto the surface prevents ice crystals. Let the ice cream sit out for 5-10 minutes before scooping for the perfect texture. The ice cream can be stored for up to 3 weeks. For a vegan version, use full-fat coconut cream, dairy-free sweetened condensed coconut milk, and vegan caramel sauce.
Nutrition
- Serving Size: 1 serving (about 1/2
- Calories: 375
- Sugar: 35
- Sodium: 320
- Fat: 24
- Saturated Fat: 15
- Carbohydrates: 38
- Protein: 5
Keywords: no-churn ice cream, salted caramel, easy ice cream, no ice cream maker, homemade ice cream, summer dessert, caramel ice cream


