I was picking up a last-minute bag of potting soil at the hardware store—not exactly where you go for dessert inspiration—when the woman in line behind me, a retired science teacher named Carol, started chuckling. “You know,” she said, peering into my cart, “that bag of dirt has more sugar than you think.” I blinked at her, confused. She leaned in and told me about the Halloween party her class threw every year, where the biggest hit wasn’t the store-bought candy. It was the dirt cups. The ones with the gummy worms. She described how the kids’ eyes would light up when they dug their spoons in, and honestly, I was sold before I even paid for my potting soil. I went home, grabbed some pudding mix and Oreos, and haven’t looked back since. That accidental conversation at the hardware store turned into my go-to Halloween dessert—the one that disappears before the pumpkin carving is even done. Let me tell you, if a retired science teacher and a bag of dirt can lead to this, you’re going to love what comes next.
Why You’ll Love This Recipe
Let’s be real—Halloween desserts can be complicated. Between the themed cakes and the fancy cupcake decorating, it’s easy to get overwhelmed. But these dirt cups? They’re the opposite of stressful. They’re the kind of recipe that makes you look like a hosting hero with almost zero effort.
- Quick & Easy: These come together in about 20 minutes of active prep. The hardest part is crushing the Oreos, and honestly, that’s kind of fun.
- Simple Ingredients: You probably already have most of these in your pantry. No fancy grocery trips needed—just pudding, cookies, and gummy worms.
- Perfect for Halloween Parties: Whether it’s a classroom celebration, a neighborhood gathering, or a spooky dinner party, these cups are guaranteed to steal the show.
- Crowd-Pleaser: Kids love them, adults secretly love them more, and nobody can resist that gummy worm peeking out of the “dirt.”
- Unbelievably Delicious: The creamy chocolate pudding paired with the crunchy cookie “dirt” and chewy gummy worms creates a texture combo that’s pure comfort food magic.
What makes these different from every other dirt cup recipe out there? It’s the little tricks I’ve picked up over the years. Like using instant pudding mix for that silky-smooth texture, and crushing the Oreos just right so you get both fine “dirt” and tiny chunks. I’ve tested this with homemade pudding, and honestly, the instant version works better—it sets faster and has that perfect creamy consistency that reminds you of childhood. This isn’t just another Halloween dessert. It’s the one that makes people close their eyes after the first bite and say, “Okay, I need the recipe.”
What Ingredients You Will Need
This recipe uses simple, everyday ingredients that come together to create something seriously impressive. Most of these are pantry staples, which means you can whip these up even if Halloween sneaks up on you.
For the Pudding Base
- 2 (3.9-ounce) boxes instant chocolate pudding mix (I prefer Jell-O brand for consistent results)
- 4 cups cold whole milk (2% works too, but whole milk gives a richer, creamier texture)
For the Dirt
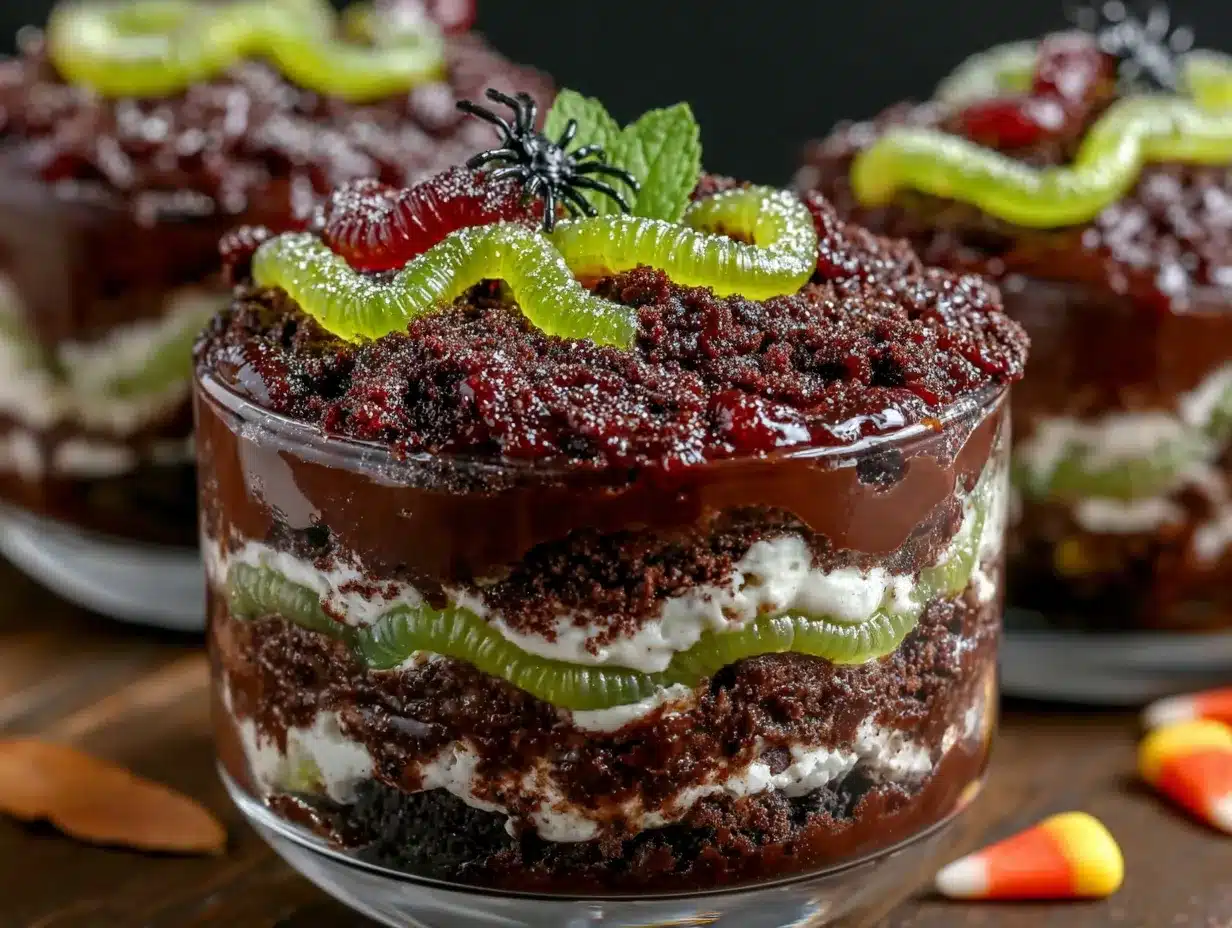
- 1 (14.3-ounce) package Oreo cookies (about 36 cookies, regular or double stuf both work)
- 2 tablespoons unsalted butter, melted (optional, but adds a subtle richness to the “dirt”)
For the Decorations
- 1 (4.25-ounce) bag gummy worms (look for the sour or regular variety—both work great)
- Optional: 1 cup whipped topping (like Cool Whip, for a creamy layer under the dirt)
- Optional: 8 small plastic cups or mason jars (4-ounce size is perfect for individual servings)
The beauty of this recipe is its flexibility. If you’re dairy-free, swap the whole milk for oat milk or almond milk—just know the pudding might be slightly less thick. For a gluten-free version, use gluten-free chocolate sandwich cookies and double-check your pudding mix label. And if you want to get fancy, you can add a layer of crushed graham crackers or chocolate shavings between the pudding and the dirt for extra texture. I’ve even thrown in some candy eyeballs on top for a spooky touch, and let me tell you, it’s a hit every single time.
Equipment Needed
You don’t need a professional kitchen to make these dirt cups. Here’s what you’ll need:
- Large mixing bowl (for the pudding)
- Whisk (a hand whisk works fine, but an electric mixer speeds things up)
- Ziploc bag or food processor (for crushing the Oreos—a rolling pin also works)
- 8 small cups or mason jars (4-ounce size, disposable or reusable)
- Measuring cups and spoons
- Spatula (for scraping every last bit of pudding)
I’ve made these with everything from fancy mason jars to plain plastic cups from the dollar store, and honestly, the presentation works either way. If you’re hosting a party, clear cups let everyone see the layers, which adds to the fun. And if you don’t have a food processor, just put the Oreos in a Ziploc bag and go at them with a rolling pin—it’s oddly satisfying and a great way to release some pre-party stress.
Preparation Method
- Make the pudding: In a large mixing bowl, whisk together the instant chocolate pudding mix and 4 cups of cold whole milk. Whisk for about 2 minutes until the mixture thickens. It should look glossy and smooth. Let it sit for 5 minutes to set properly. (Pro tip: If you want an extra creamy texture, fold in 1 cup of whipped topping at this stage.)
- Crush the Oreos: While the pudding sets, place the Oreo cookies in a Ziploc bag and seal it tight. Use a rolling pin to crush them into fine crumbs. You want a mix of fine “dirt” and tiny chunks—not a uniform powder. If you’re using a food processor, pulse 4-5 times until you get that texture. For an extra rich dirt, stir in 2 tablespoons of melted butter.
- Layer the cups: Spoon about 2 tablespoons of chocolate pudding into the bottom of each cup. If you’re using whipped topping, add a thin layer now. Then sprinkle about 2 tablespoons of crushed Oreos on top. Repeat the layers—pudding, then dirt—until the cup is almost full. End with a thick layer of Oreo “dirt” on top.
- Add the worms: Gently push 2-3 gummy worms into the top layer of dirt, letting some stick out as if they’re crawling out of the ground. For an extra spooky touch, add a few more worms around the edges of the cup.
- Chill and serve: Refrigerate the cups for at least 1 hour before serving. This allows the pudding to fully set and the flavors to meld together. The cups will keep in the fridge for up to 3 days, but honestly, they never last that long.
One thing I’ve learned the hard way: don’t skip the chilling step. I once served these right after assembling them, and the pudding was too runny—the dirt sank into the pudding and turned into a muddy mess. Give it that hour in the fridge, and you’ll get clean, beautiful layers that look like they came from a bakery.
Cooking Tips & Techniques
After making these dirt cups for every Halloween party, potluck, and classroom celebration for the past five years, I’ve picked up a few tricks that make a real difference.
Use cold milk for the pudding. This is non-negotiable. Cold milk helps the instant pudding set faster and gives it that silky-smooth texture. If your milk is room temperature, the pudding will be thin and take forever to set.
Crush the Oreos strategically. You want a mix of fine crumbs and small chunks. If you crush them too fine, it looks like actual dirt (which is fine for Halloween, but you lose that cookie texture). If you leave them too chunky, it doesn’t look like dirt at all. Aim for a consistency similar to coarse sand.
Don’t overmix the pudding. Whisk just until it thickens—about 2 minutes. Overmixing can make the pudding grainy. Trust me, I learned this the hard way when I got distracted and whisked for 5 minutes. The result was a weird, lumpy texture that nobody wanted to eat.
Make them ahead of time. These dirt cups actually taste better the next day. The flavors meld together, and the Oreo “dirt” softens slightly, creating a texture that’s almost like a chocolate pie. So if you’re hosting a party, make them the night before and just add the gummy worms right before serving.
Double the batch for a crowd. This recipe makes 8 cups, but I’ve easily tripled it for large parties. Just make sure you have enough mixing bowls and cups. And if you’re running low on time, use pre-made pudding cups and just add the Oreo dirt and worms—nobody will know the difference.
Variations & Adaptations
One of the best things about this recipe is how easy it is to customize. Here are some of my favorite variations:
Spooky Spider Dirt Cups
Skip the gummy worms and use black licorice strings for spider legs. Add a chocolate candy in the center for the body. It’s a fun twist that still keeps the “dirt” theme going.
Pumpkin Patch Dirt Cups
Use orange pudding (mix vanilla pudding with orange food coloring) instead of chocolate. Top with crushed graham crackers instead of Oreos, and decorate with candy pumpkins. It’s perfect for a fall-themed party.
Vegan Dirt Cups
Use dairy-free chocolate pudding mix (most instant mixes are accidentally vegan) and plant-based milk like oat or coconut. For the dirt, use vegan chocolate sandwich cookies. And check the gummy worms—many brands use gelatin, but there are vegan-friendly options available.
Peanut Butter Dirt Cups
Add 2 tablespoons of peanut butter to the pudding mix before whisking. The peanut butter adds a rich, nutty flavor that pairs beautifully with the chocolate. Just make sure to whisk thoroughly to avoid lumps.
Mint Chocolate Dirt Cups
Use mint chocolate pudding mix instead of regular chocolate. Add a few drops of green food coloring for a spooky green tint. The mint flavor adds a refreshing twist that’s perfect for Halloween.
Serving & Storage Suggestions
These dirt cups are best served cold, straight from the refrigerator. The contrast between the creamy pudding and the crunchy Oreo dirt is what makes them so addictive. For presentation, I like to arrange them on a platter with extra gummy worms scattered around and a few candy eyeballs for a spooky touch.
If you’re serving them at a party, set up a “dirt cup bar” where guests can add their own toppings. Set out bowls of crushed Oreos, gummy worms, candy eyeballs, and even some crushed graham crackers. Let everyone build their own creation—it’s interactive and fun for all ages.
For storage, keep the cups covered in the refrigerator for up to 3 days. The Oreo dirt will soften over time, but that’s actually a good thing—it creates a texture similar to a chocolate cream pie. If you’re making them ahead for a party, assemble the cups without the gummy worms and add them just before serving. This keeps the worms chewy and prevents them from getting soggy.
I don’t recommend freezing these cups. The pudding can become watery when thawed, and the texture just isn’t the same. Trust me, I tried it once, and the result was a sad, icy mess. Stick to the refrigerator, and you’ll be golden.
Nutritional Information & Benefits
Let’s be honest—these dirt cups are a treat, not a health food. But that doesn’t mean they can’t fit into a balanced lifestyle. Here’s a rough breakdown per serving (based on 8 cups):
| Nutrient | Amount Per Serving |
|---|---|
| Calories | 320 |
| Total Fat | 12g |
| Saturated Fat | 5g |
| Cholesterol | 15mg |
| Sodium | 380mg |
| Total Carbohydrates | 50g |
| Dietary Fiber | 2g |
| Sugars | 35g |
| Protein | 5g |
The good news? The milk and pudding provide a decent amount of calcium, and the Oreos offer a little bit of iron. Plus, gummy worms are fat-free (not that we’re counting). If you want to lighten things up, use low-fat milk and sugar-free pudding mix. But honestly, Halloween only comes once a year—I say go all out and enjoy every bite.
Frequently Asked Questions
Can I make these dirt cups ahead of time?
Absolutely! In fact, they taste better the next day. Assemble the cups without the gummy worms, refrigerate, and add the worms just before serving to keep them chewy.
Can I use homemade pudding instead of instant?
You can, but the texture will be different. Instant pudding sets faster and has a creamier consistency. If you use homemade, make sure it’s fully chilled before layering, or the dirt will sink in.
How do I crush Oreos without a food processor?
Put them in a Ziploc bag and use a rolling pin, a heavy pan, or even your hands. It’s a great way to release stress, and the kids love helping with this step.
Can I use other types of cookies for the dirt?
Yes! Chocolate wafer cookies, graham crackers, or even vanilla sandwich cookies work. Just crush them the same way and adjust the flavor to match your pudding.
How long do these dirt cups last in the fridge?
They’ll stay fresh for up to 3 days in an airtight container. The Oreo dirt will soften over time, but that actually makes them taste even better—like a chocolate cream pie.
Conclusion
There’s something magical about a dessert that looks like a science experiment but tastes like pure childhood. These Halloween dirt cups with gummy worms are exactly that—a fun, easy, ridiculously delicious treat that never fails to bring smiles. Whether you’re hosting a spooky soiree, sending something special to a classroom party, or just want to surprise your family on Halloween night, these cups deliver every single time.
I love that this recipe came from an unexpected conversation at a hardware store. It reminds me that the best recipes often come from the most surprising places—a neighbor, a stranger in line, a retired science teacher who knew exactly how to make a bunch of kids happy. So go ahead, give these a try. Customize them, make them your own, and don’t forget to save one for yourself before they disappear. And if you put your own spin on them, I’d love to hear about it—drop a comment below and share your creation!
Pin This Recipe!
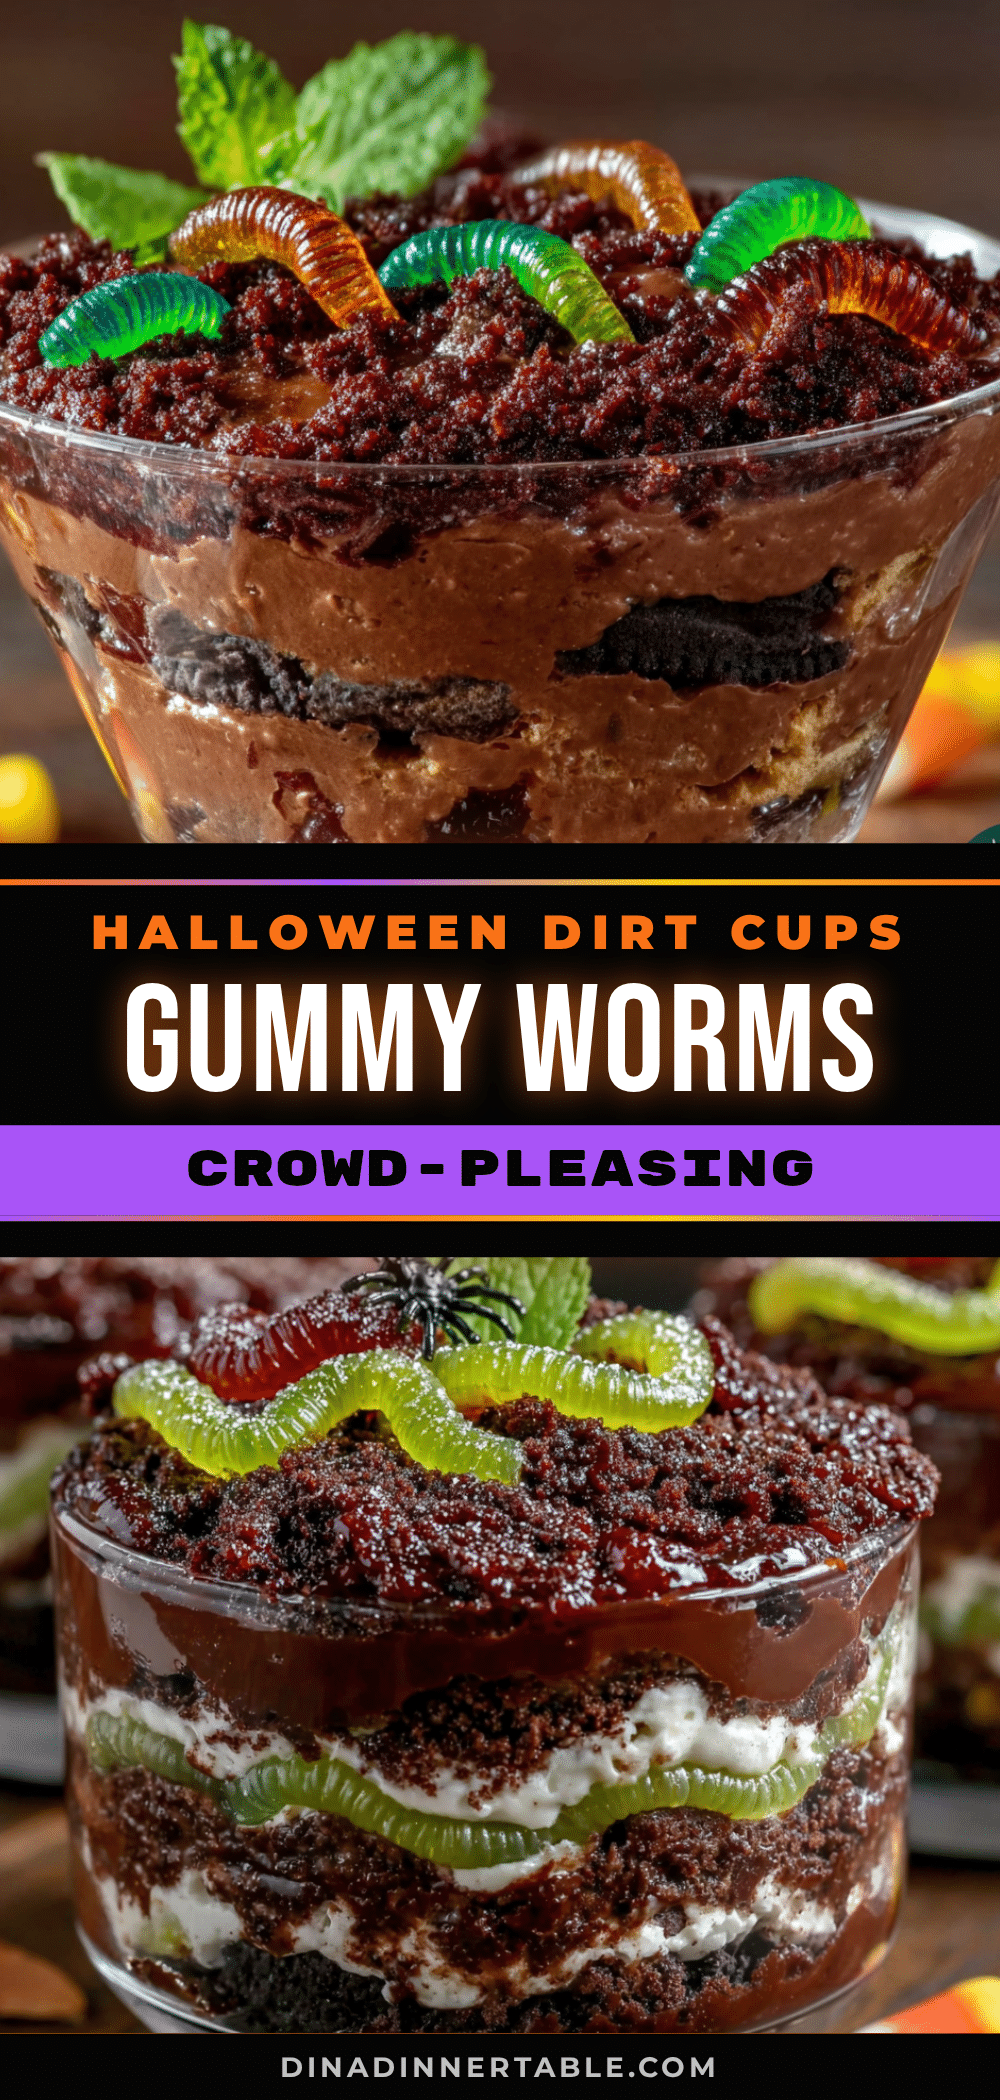
Easy Halloween Dirt Cups with Gummy Worms Recipe

These easy Halloween dirt cups with gummy worms are a quick, no-bake dessert that looks like a science experiment but tastes like pure childhood. Made with creamy chocolate pudding, crushed Oreo ‘dirt,’ and gummy worms, they’re the perfect spooky treat for parties and classroom celebrations.
- Prep Time: 20 minutes
- Cook Time: 0 minutes
- Total Time: 1 hour 20 minutes (includes chilling time)
- Yield: 8 servings 1x
- Category: Dessert
- Cuisine: American
Ingredients
- 2 (3.9-ounce) boxes instant chocolate pudding mix
- 4 cups cold whole milk
- 1 (14.3-ounce) package Oreo cookies (about 36 cookies)
- 2 tablespoons unsalted butter, melted (optional)
- 1 (4.25-ounce) bag gummy worms
- 1 cup whipped topping (optional)
- 8 small plastic cups or mason jars (4-ounce size, optional)
Instructions
- Make the pudding: In a large mixing bowl, whisk together the instant chocolate pudding mix and 4 cups of cold whole milk. Whisk for about 2 minutes until the mixture thickens. It should look glossy and smooth. Let it sit for 5 minutes to set properly. (Pro tip: If you want an extra creamy texture, fold in 1 cup of whipped topping at this stage.)
- Crush the Oreos: While the pudding sets, place the Oreo cookies in a Ziploc bag and seal it tight. Use a rolling pin to crush them into fine crumbs. You want a mix of fine ‘dirt’ and tiny chunks—not a uniform powder. If you’re using a food processor, pulse 4-5 times until you get that texture. For an extra rich dirt, stir in 2 tablespoons of melted butter.
- Layer the cups: Spoon about 2 tablespoons of chocolate pudding into the bottom of each cup. If you’re using whipped topping, add a thin layer now. Then sprinkle about 2 tablespoons of crushed Oreos on top. Repeat the layers—pudding, then dirt—until the cup is almost full. End with a thick layer of Oreo ‘dirt’ on top.
- Add the worms: Gently push 2-3 gummy worms into the top layer of dirt, letting some stick out as if they’re crawling out of the ground. For an extra spooky touch, add a few more worms around the edges of the cup.
- Chill and serve: Refrigerate the cups for at least 1 hour before serving. This allows the pudding to fully set and the flavors to meld together. The cups will keep in the fridge for up to 3 days, but honestly, they never last that long.
Notes
Use cold milk for the pudding to ensure it sets properly. Crush Oreos to a coarse sand consistency for the best texture. Don’t skip the chilling step—it allows the layers to set and prevents the dirt from sinking. These cups taste even better the next day. For best results, add gummy worms just before serving to keep them chewy.
Nutrition
- Serving Size: 1 cup
- Calories: 320
- Sugar: 35
- Sodium: 380
- Fat: 12
- Saturated Fat: 5
- Carbohydrates: 50
- Fiber: 2
- Protein: 5
Keywords: Halloween dirt cups, gummy worms, chocolate pudding, Oreo dirt, no-bake dessert, Halloween dessert, easy dessert, kids dessert


