It was 11:47 PM on a random Tuesday, and I had the weirdest craving for something hot, cheesy, and spicy. I didn’t have any chicken breast thawed—the usual starting point for buffalo chicken dip—but I had a can of shredded chicken in the pantry and a block of cream cheese that was about to expire. And then it hit me: what if I baked it until the top got all crispy and brown, instead of the usual sad, soggy dip situation? That night, standing in my kitchen in my pajamas, I threw together what I thought would be a desperate experiment. Honestly, I was half-asleep and just wanted something good to eat while I watched old episodes of Great British Bake Off. The result was so much better than I expected. The top got all bubbly and golden, with these little crispy edges that scooped up perfectly with a tortilla chip. I mean, I actually yelled “oh my god” at my empty kitchen at midnight. That’s when I knew I had stumbled onto something special. The next weekend, I made it for a small get-together with my neighbors, and they demolished the whole dish in about fifteen minutes. My neighbor Dave actually asked for the recipe before he even finished chewing. So here we are—this Crowd-Pleasing Crispy Baked Buffalo Chicken Dip has become my secret weapon for every party, potluck, and game day gathering. It’s the kind of recipe that makes you look like a hero without breaking a sweat, and honestly, it all started with a late-night fridge raid.
Why You’ll Love This Recipe
Let me tell you, I’ve tested this recipe about a dozen times to get every detail just right. I wanted it to be foolproof for when you’re hosting—no stress, no fuss, just pure deliciousness. Here’s why this is the only buffalo chicken dip recipe you’ll ever need:
- Quick & Easy: Comes together in under 30 minutes, with just 10 minutes of prep. Perfect for when guests are on their way and you need something impressive fast.
- Simple Ingredients: No fancy grocery trips needed. You probably have most of these in your fridge and pantry right now. Seriously, check—I bet you do.
- Perfect for Parties: This dip is made for sharing. It’s the star of game day, potlucks, holiday gatherings, and casual get-togethers. It disappears fast, so maybe make two batches.
- Crowd-Pleaser: I’ve yet to meet someone who doesn’t love this. Even folks who claim they “don’t like spicy food” end up going back for seconds. It’s that good.
- Unbelievably Delicious: The crispy baked top is a game-changer. Instead of a sad, wet dip, you get these amazing golden-brown bits that add texture and flavor. It’s next-level comfort food.
What makes this recipe different from all the others? It’s the baking method. Most buffalo chicken dips are just stirred together and heated until warm. Not this one. By baking it at a slightly higher temperature and adding an extra layer of cheese on top, you get that irresistible crispy crust. Plus, I’ve balanced the heat perfectly—it’s spicy enough to wake up your taste buds but not so hot that you can’t enjoy it. This isn’t just another version of buffalo chicken dip; it’s the best version. The one that makes people close their eyes after the first bite and say “wow.” It’s comfort food reimagined—faster, crispier, and with the same soul-soothing satisfaction that makes buffalo chicken dip a classic.
What Ingredients You Will Need
This recipe uses simple, wholesome ingredients that come together to deliver bold flavor and satisfying texture without the fuss. Most of these are pantry staples, and I’ve included some substitution ideas to make it work for your crowd.
For the Dip Base
- 2 cups cooked shredded chicken (about 2 large chicken breasts or 2 cans of shredded chicken—I prefer the canned stuff for convenience, but leftover rotisserie chicken works great too)
- 8 oz cream cheese, softened to room temperature (this is key for a smooth, creamy base—don’t skip the softening step!)
- 1/2 cup buffalo wing sauce (I recommend Frank’s RedHot for that classic flavor, but any brand works—adjust the amount based on your heat preference)
- 1/2 cup ranch dressing (or blue cheese dressing if you’re a purist—both are amazing, but ranch mellows the heat a bit more)
- 1/2 cup sour cream (adds tanginess and helps create that luscious texture)
- 1 cup shredded mozzarella cheese (for that gooey, stretchy factor—it’s what makes the dip so satisfying)
- 1/2 cup shredded cheddar cheese (adds sharpness and helps create the crispy top—I like sharp cheddar for more flavor)
For the Crispy Topping
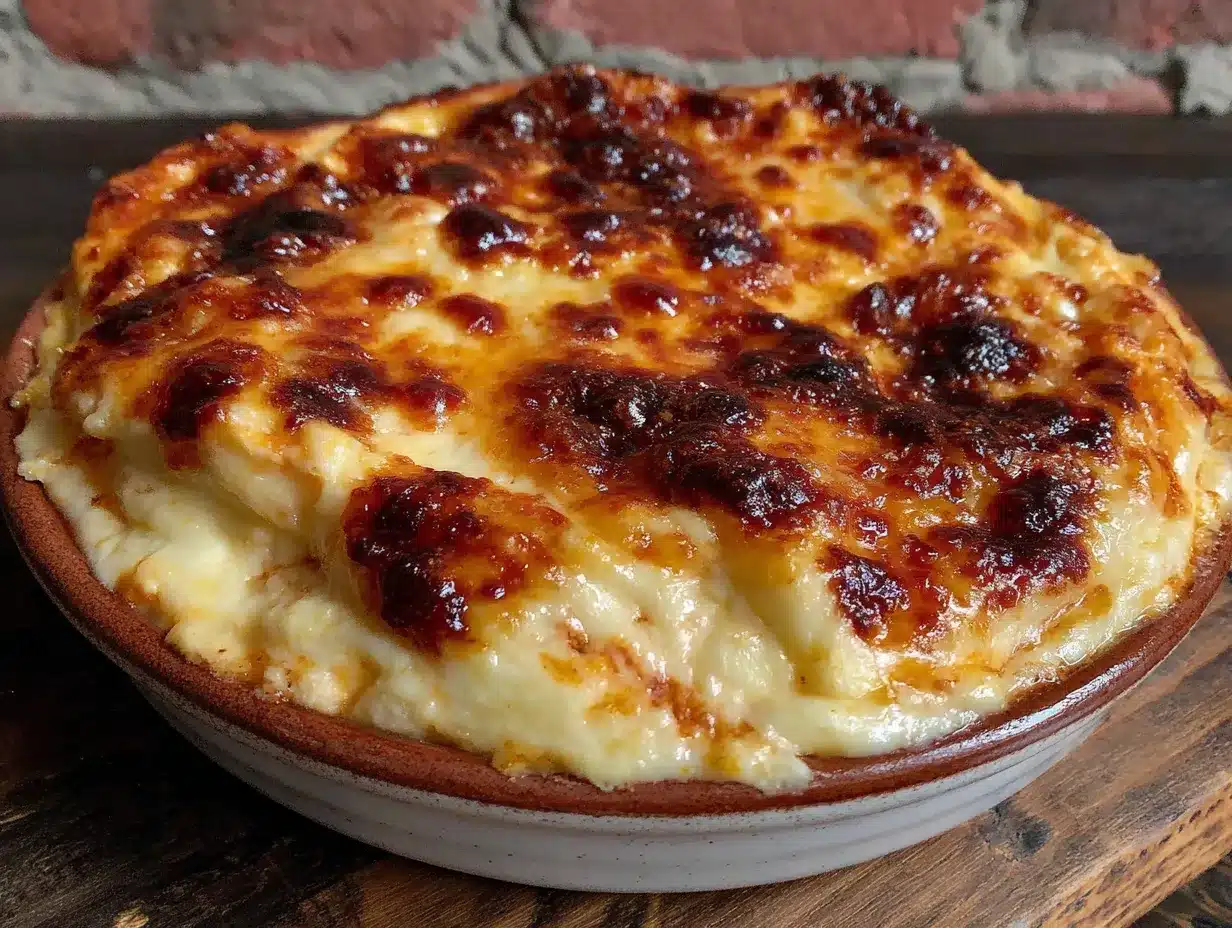
- 1/2 cup shredded cheddar cheese (this extra layer is what creates that golden, bubbly crust)
- 2 tablespoons melted butter (optional, but it helps the top get extra crispy and adds richness)
- 1/4 cup chopped green onions (for garnish and freshness—don’t skip these, they balance the richness)
Ingredient Tips & Substitutions
For the chicken, I’ve found that canned shredded chicken from Costco or Kirkland brand works perfectly and saves so much time. If you’re cooking your own, just boil two chicken breasts until cooked through (about 15-20 minutes), then shred with two forks. For a vegetarian version, you can substitute with shredded jackfruit or a plant-based chicken alternative—just make sure to drain it well. If you’re watching your dairy intake, use dairy-free cream cheese and vegan cheese shreds. I’ve tested it with Kite Hill brand cream cheese and it worked surprisingly well. For a lower-fat option, swap the sour cream with Greek yogurt and use reduced-fat cream cheese. Just know the texture will be slightly different—still delicious, but a bit less rich. And if you want to dial up the heat, add a teaspoon of cayenne pepper or use a spicier buffalo sauce. My friend Mark likes to add a splash of liquid smoke for a deeper flavor—it’s weird but it works!
Equipment Needed
You don’t need any fancy gadgets for this recipe, which is part of its beauty. Here’s what you’ll need:
- 9×13 inch baking dish (or any similar-sized oven-safe dish—I’ve used a cast iron skillet and a ceramic casserole dish, both work great)
- Large mixing bowl (for combining all the ingredients)
- Spatula or wooden spoon (for mixing—a rubber spatula works best for getting every last bit)
- Measuring cups and spoons (eyeballing is okay, but measuring ensures consistency)
- Oven (preheated to 375°F—don’t skip the preheat, it matters for that crispy top)
- Cutting board and knife (for chopping green onions and any optional garnishes)
If you don’t have a 9×13 dish, you can use a 10-inch cast iron skillet or an 8×8 square dish—just adjust the baking time slightly. I’ve even made this in a disposable aluminum pan for potlucks, and it works perfectly. My favorite tool for this recipe is my trusty rubber spatula—it’s the one I’ve had for years, and it’s perfect for scraping every bit of that cheesy goodness into the dish. For a budget-friendly option, any oven-safe dish from the dollar store will do the job. Just make sure it’s not too shallow, or the dip might bubble over.
Preparation Method
Follow these steps carefully, and you’ll have a perfect crispy baked buffalo chicken dip every time. Trust me, I’ve made this so many times I could do it in my sleep.
- Preheat your oven to 375°F (190°C). This is important—a hot oven is what creates that crispy top. Don’t rush this step. Let it preheat fully while you prep everything else.
- Soften the cream cheese. Take your cream cheese out of the fridge about 30 minutes before you start, or microwave it for 15-20 seconds until it’s soft but not melted. I usually forget to take it out ahead of time, so the microwave is my go-to. Just be careful not to overdo it—you want it soft, not liquid.
- Combine the base ingredients. In a large mixing bowl, add the softened cream cheese, shredded chicken, buffalo wing sauce, ranch dressing, and sour cream. Stir everything together until it’s well combined. Don’t worry if it looks a little lumpy at first—keep mixing and it’ll come together.
- Add the first layer of cheese. Mix in the 1 cup of mozzarella and 1/2 cup of cheddar cheese. Stir until the cheese is evenly distributed throughout the mixture. This is what gives the dip that gooey, stretchy texture.
- Transfer to baking dish. Spread the mixture evenly into your prepared 9×13 baking dish. Use your spatula to smooth the top—it doesn’t have to be perfect, but even thickness helps it cook evenly.
- Add the crispy topping. Sprinkle the remaining 1/2 cup of cheddar cheese evenly over the top. If you’re using the melted butter, drizzle it over the cheese—this helps create that beautiful golden crust. Don’t skip this if you want the crispy factor!
- Bake for 20-25 minutes. Place the dish in the preheated oven and bake until the dip is hot and bubbly, and the top is golden brown and crispy. You’ll know it’s done when you see bubbles breaking through the cheese and the edges are getting dark and crispy. My personal trick: I like to broil it for the last 1-2 minutes for extra crispiness, but watch it carefully so it doesn’t burn!
- Let it rest for 5 minutes. This is crucial! The dip will be molten hot straight out of the oven. Letting it rest allows it to set up slightly so it doesn’t slide off your chips. I know it’s tempting to dig in right away, but trust me on this one.
- Garnish and serve. Sprinkle the chopped green onions over the top for freshness and color. Serve warm with tortilla chips, celery sticks, carrot sticks, or crusty bread. I like to set out both chips and veggies so people have options.
Cooking Tips & Techniques
After making this dip more times than I can count, I’ve picked up a few tricks that make a real difference. First, don’t overmix the dip. You want everything combined, but overmixing can make the cream cheese too smooth and the texture less interesting. A few small lumps are totally fine—they’ll melt during baking. Second, if you’re making this for a party, you can prep everything the night before. Just combine all the ingredients, spread it in the dish, cover it with plastic wrap, and pop it in the fridge. Then the next day, just add the topping and bake. It actually tastes better the next day because the flavors have time to meld together.
One mistake I made the first few times was using cold cream cheese straight from the fridge. It created these weird lumps that never fully melted, and the texture was off. Always soften it first—it makes a huge difference. Another common issue is the dip turning out watery. This usually happens if you use too much buffalo sauce or if your chicken has too much liquid. If you’re using canned chicken, drain it well and even pat it dry with paper towels. For rotisserie chicken, remove the skin and any excess moisture. And here’s a pro tip: if your dip does end up a bit runny, stir in an extra tablespoon of cream cheese or a handful of shredded cheese to thicken it up. It’s not the end of the world, but it’s better to avoid it in the first place.
Timing-wise, I like to get the dip in the oven about 20 minutes before guests arrive. That way, it comes out hot and bubbly right when people are ready to eat. If you’re serving it at a party, you can keep it warm in a slow cooker on the “warm” setting after baking. Just be aware that the crispy top will soften over time—so if you want that crunch, serve it straight from the oven. For consistency, always use the same measuring cups and spoons. I learned this the hard way when I used a “heaping” cup of cheese one time and the dip was way too cheesy (is that even possible?). Well, it was still delicious, but it wasn’t as balanced as I wanted.
Variations & Adaptations
This recipe is incredibly versatile, and I’ve tried several variations over the years. Here are some of my favorites:
Spicy Buffalo Ranch Dip
For those who love extra heat, add 1 teaspoon of cayenne pepper and an extra 2 tablespoons of buffalo sauce. I made this version for a Super Bowl party and my spice-loving friends were in heaven. Just be warned—it’s not for the faint of heart!
Smoky Bacon Buffalo Dip
Cook 4-5 strips of bacon until crispy, crumble them, and mix half into the dip. Sprinkle the remaining bacon on top before baking. The smoky flavor pairs beautifully with the buffalo heat. I tried this on a whim one Sunday and now it’s my go-to for game days.
Vegetarian Jackfruit Buffalo Dip
Substitute the chicken with 2 cans of young green jackfruit, drained, shredded, and sautéed with a little oil until slightly dry. The texture is surprisingly similar to shredded chicken, and it absorbs the buffalo sauce perfectly. My vegetarian friend Sarah couldn’t tell the difference—she thought it was chicken!
Keto-Friendly Version
Use full-fat cream cheese, sour cream, and cheese. Serve with celery sticks, cucumber slices, or pork rinds instead of chips. This version is naturally low-carb and perfect for anyone watching their carbs. I’ve made it for my keto friends and they devoured it.
Blue Cheese Lover’s Dip
Swap the ranch dressing for blue cheese dressing and crumble 1/4 cup of blue cheese on top before baking. This is for the true buffalo wing purists. I personally love blue cheese, so this is one of my favorite variations. The tangy, funky flavor cuts through the richness perfectly.
Serving & Storage Suggestions
This dip is best served warm, straight from the oven. I like to set it out with a variety of dippers: sturdy tortilla chips (the scoop-shaped ones are perfect), celery sticks, carrot sticks, bell pepper strips, and crusty bread cubes. For a party, I arrange everything on a large platter around the dip dish—it looks beautiful and makes it easy for guests to grab and go. If you’re feeling fancy, you can also serve it with pretzel bites or pita chips.
For storage, let the dip cool completely, then transfer it to an airtight container. It will keep in the refrigerator for up to 4 days. The flavors actually get better after a day or two—the buffalo heat mellows and the cheese flavors deepen. To reheat, I recommend using the oven or a toaster oven at 350°F for about 10-15 minutes, until hot and bubbly again. The microwave works in a pinch, but it will soften the crispy top. I’ve also frozen this dip successfully—just let it cool, wrap it tightly in plastic wrap and foil, and freeze for up to 3 months. Thaw in the refrigerator overnight before reheating. Just know that the texture might be slightly different after freezing, but it’s still delicious.
One thing I love about this dip is how the flavors develop over time. If you make it a day ahead, the buffalo sauce really penetrates the chicken, and the cream cheese base gets even creamier. It’s one of those rare dishes that tastes even better as leftovers. Just don’t tell your guests you made it the day before—they’ll think you slaved away in the kitchen!
Nutritional Information & Benefits
Here’s the nutritional breakdown per serving (based on 8 servings, using standard ingredients):
| Nutrient | Amount per Serving |
|---|---|
| Calories | 320 |
| Protein | 18g |
| Fat | 24g |
| Carbohydrates | 5g |
| Fiber | 0g |
| Sugar | 2g |
This dip is surprisingly high in protein thanks to the chicken and cheese, making it a more satisfying snack than many party dips. The cream cheese and sour cream provide calcium and healthy fats, while the buffalo sauce contains capsaicin, which may help boost metabolism. If you’re watching your sodium, you can use low-sodium buffalo sauce and ranch dressing. This recipe is naturally gluten-free if you use gluten-free ranch dressing and serve it with veggies instead of chips. It’s also low-carb and keto-friendly as written. Potential allergens include dairy (cream cheese, cheese, sour cream, ranch) and gluten (depending on your dippers). For a dairy-free version, use plant-based alternatives as mentioned in the variations section.
From a wellness perspective, I love that this dip lets you indulge without going overboard. It’s rich and satisfying, so a little goes a long way. Plus, serving it with veggies adds fiber and nutrients. It’s all about balance, right?
Conclusion
This Crowd-Pleasing Crispy Baked Buffalo Chicken Dip has become my go-to for every gathering, and I’m so excited to share it with you. It’s everything you want in a party dish—easy to make, incredibly delicious, and guaranteed to impress your guests. Whether you’re hosting a game day party, a potluck, or just having friends over for a casual night in, this dip will steal the show. I love how versatile it is—you can make it spicy or mild, add bacon or keep it vegetarian, serve it with chips or veggies. It’s a recipe that adapts to your crowd.
I encourage you to make this your own. Try different cheese combinations, experiment with the heat level, or add your favorite mix-ins. The beauty of this recipe is that it’s forgiving and flexible. And when you make it, I’d love to hear how it turns out! Leave a comment below and let me know what variations you tried, or share a photo of your dip on social media. Don’t forget to tag me so I can see your creation. Happy cooking, and here’s to many more gatherings filled with good food and great company!
Frequently Asked Questions
Can I make this dip ahead of time?
Absolutely! You can assemble the dip completely (minus the topping) up to 24 hours in advance. Just cover it with plastic wrap and refrigerate. When you’re ready to bake, add the topping and bake as directed. You may need to add 5-10 minutes to the baking time since it’s starting from cold.
Can I use a slow cooker instead of the oven?
Yes, you can make this in a slow cooker. Just combine all ingredients in the slow cooker and cook on low for 2-3 hours, stirring occasionally. However, you won’t get the crispy top. If you want that crunch, you can transfer the dip to a baking dish and broil it for 2-3 minutes after slow cooking.
How do I make this dip less spicy?
To reduce the heat, use a mild buffalo sauce or cut the amount in half. You can also substitute some of the buffalo sauce with additional ranch dressing or sour cream. Another trick is to add an extra ounce of cream cheese to mellow the spice. My kids love this version—it’s still flavorful but not too hot for little taste buds.
What’s the best way to reheat leftovers?
The best method is to reheat in the oven at 350°F for 10-15 minutes until hot and bubbly. The microwave works in a pinch, but it will make the dip softer and less crispy. If you have an air fryer, you can reheat it at 350°F for 5-7 minutes for a nice crispy top. Leftovers will keep in the fridge for up to 4 days.
Can I freeze this buffalo chicken dip?
Yes, this dip freezes beautifully. Let it cool completely, then wrap it tightly in plastic wrap and foil. Freeze for up to 3 months. To serve, thaw in the refrigerator overnight, then reheat in the oven at 350°F until hot and bubbly. The texture might be slightly different, but the flavor will still be amazing. I often make a double batch and freeze one for later!
Pin This Recipe!
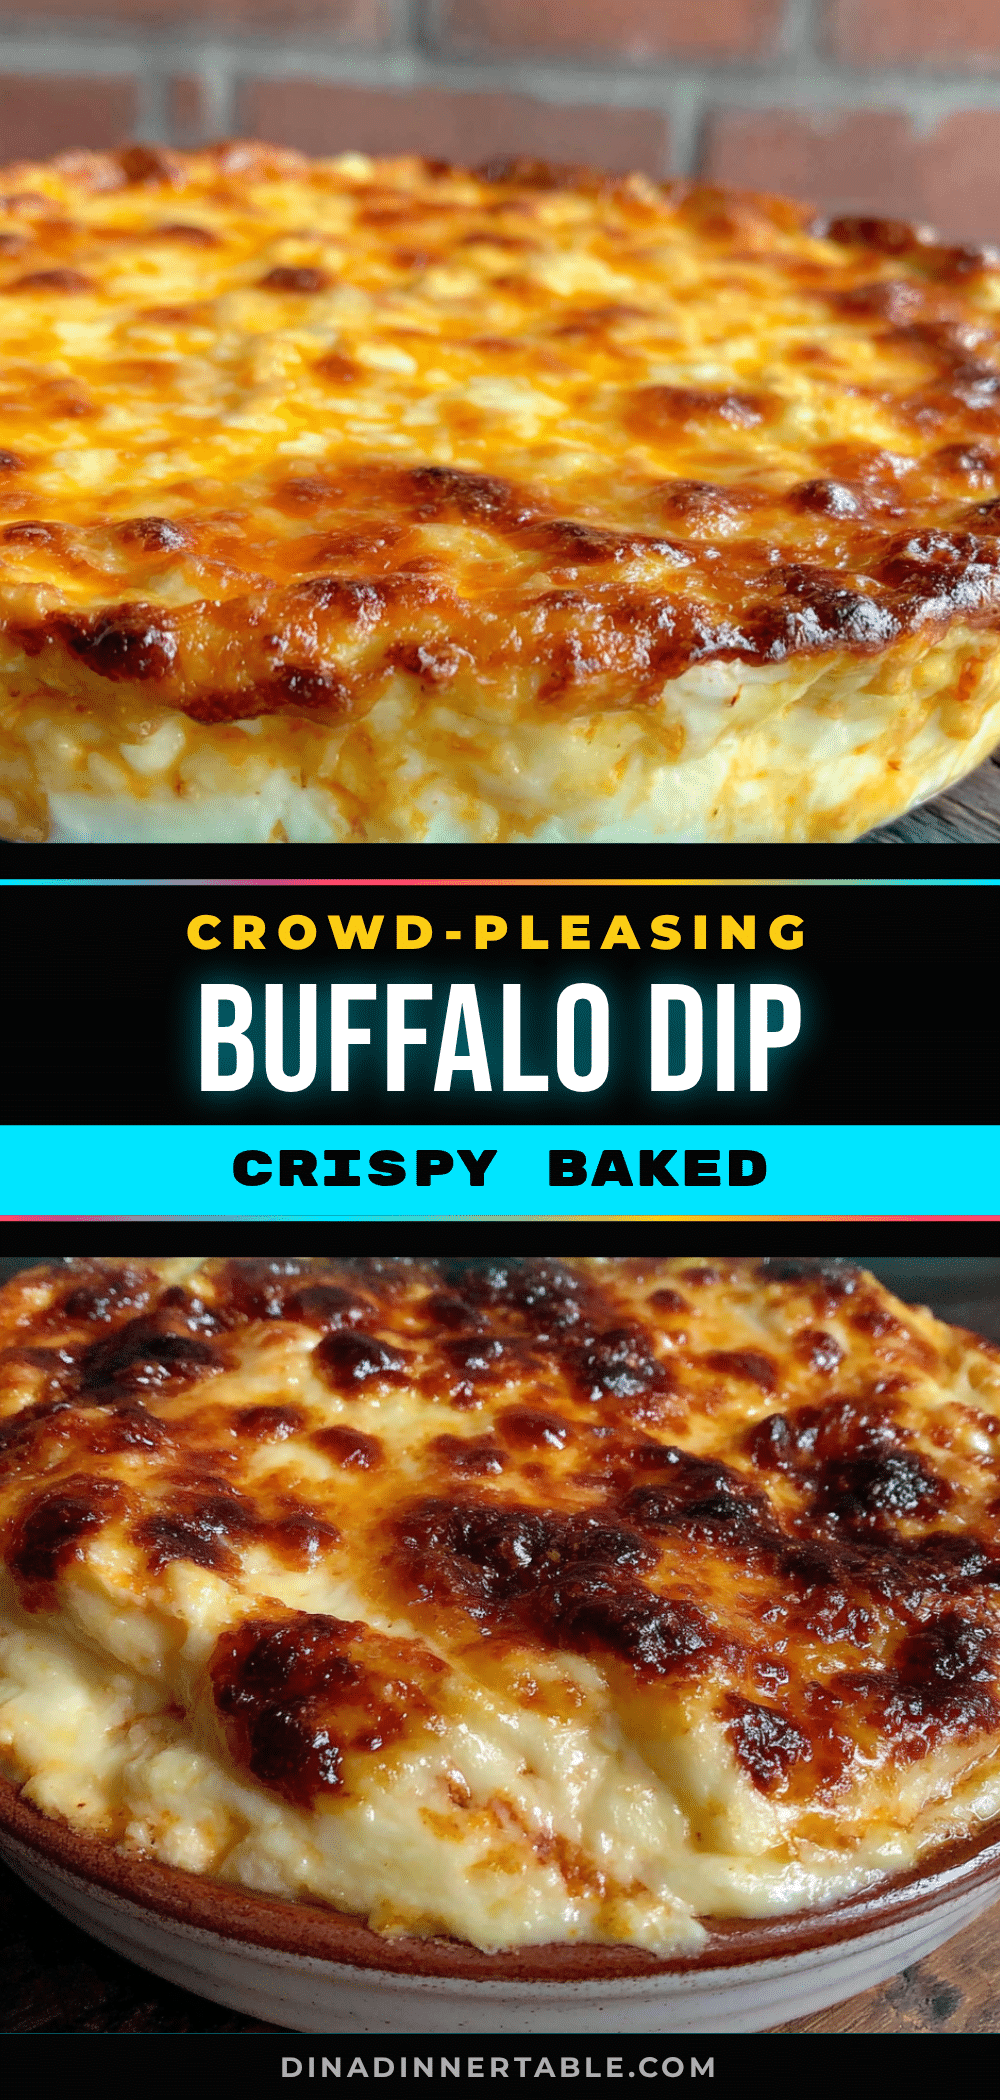
Easy Crowd-Pleasing Crispy Baked Buffalo Chicken Dip

This crowd-pleasing buffalo chicken dip is baked until the top gets crispy and golden, creating an irresistible texture. It’s quick, easy, and perfect for parties, game days, and potlucks.
- Prep Time: 10 minutes
- Cook Time: 25 minutes
- Total Time: 35 minutes
- Yield: 8 servings 1x
- Category: Appetizer
- Cuisine: American
Ingredients
- 2 cups cooked shredded chicken (about 2 large chicken breasts or 2 cans of shredded chicken)
- 8 oz cream cheese, softened to room temperature
- 1/2 cup buffalo wing sauce (recommended: Frank’s RedHot)
- 1/2 cup ranch dressing (or blue cheese dressing)
- 1/2 cup sour cream
- 1 cup shredded mozzarella cheese
- 1/2 cup shredded cheddar cheese (for the base)
- 1/2 cup shredded cheddar cheese (for the crispy topping)
- 2 tablespoons melted butter (optional)
- 1/4 cup chopped green onions (for garnish)
Instructions
- Preheat your oven to 375°F (190°C).
- Soften the cream cheese by letting it sit at room temperature for 30 minutes or microwaving for 15-20 seconds until soft but not melted.
- In a large mixing bowl, combine the softened cream cheese, shredded chicken, buffalo wing sauce, ranch dressing, and sour cream. Stir until well combined.
- Mix in 1 cup of mozzarella and 1/2 cup of cheddar cheese until evenly distributed.
- Spread the mixture evenly into a 9×13 inch baking dish.
- Sprinkle the remaining 1/2 cup of cheddar cheese over the top. If using, drizzle the melted butter over the cheese.
- Bake for 20-25 minutes until hot, bubbly, and the top is golden brown and crispy. For extra crispiness, broil for the last 1-2 minutes, watching carefully.
- Let the dip rest for 5 minutes to set slightly.
- Garnish with chopped green onions and serve warm with tortilla chips, celery sticks, carrot sticks, or crusty bread.
Notes
For a crispier top, broil for the last 1-2 minutes. If the dip is too runny, stir in an extra tablespoon of cream cheese or a handful of shredded cheese. The dip can be assembled a day ahead and refrigerated; add the topping just before baking. Leftovers keep in the fridge for up to 4 days and can be reheated in the oven at 350°F for 10-15 minutes.
Nutrition
- Serving Size: 1 serving (about 1/8
- Calories: 320
- Sugar: 2
- Sodium: 800
- Fat: 24
- Saturated Fat: 12
- Carbohydrates: 5
- Protein: 18
Keywords: buffalo chicken dip, crispy baked dip, game day appetizer, party dip, buffalo dip, easy appetizer