The neighborhood cookie swap was in twelve hours and I’d completely forgotten. Everyone else would be bringing their grandmother’s legendary seven-layer bars or some fussy French macaron situation they’d spent three days perfecting. I had a stick of butter, a bag of chocolate chips, and a sinking feeling in my stomach. I mean, what was I thinking? I’d RSVP’d weeks ago. Now I was staring at my pantry like it had personally betrayed me. The power went out halfway through browning the butter, which felt like the universe telling me to just give up and buy a bakery box. But I was stubborn, and frankly, the butter was already sizzling. So I finished by the light of my phone flashlight, convinced I was about to bring the saddest cookies to the party. You know that feeling when you show up with something you’re almost embarrassed of? Yeah, that was me. Except these cookies—these chewy, nutty, ridiculously good cookies—ended up being the first thing to disappear. Someone actually asked for the recipe before I’d even set the plate down. The brown butter thing felt fancy, but honestly, it’s the laziest way to make a box-mix-level effort taste like you spent all day. Maybe you’ve been there, scrambling for a last-minute contribution. These cookies are that rescue. I keep making them because they’re the kind of recipe that makes you look like a hero without actually trying to be one.
Why You’ll Love This Recipe
Let me tell you why these are the only chocolate chip cookies you’ll ever need. I’ve tested this recipe more times than I care to admit, and it’s the one I always come back to when I need something reliable. It’s not just another cookie recipe—it’s your new weeknight secret weapon.
- Quick & Easy: From start to finish, these cookies are on your table in under 30 minutes. No chilling the dough, no complicated steps—just mix, scoop, and bake.
- Simple Ingredients: You probably have everything in your kitchen right now. Butter, sugar, eggs, flour, chocolate chips—that’s it. No fancy extracts or specialty flours needed.
- Perfect for Last-Minute Needs: Cookie swap emergency? Sudden potluck invite? Craving something sweet at 9 PM? These cookies have your back.
- Crowd-Pleaser: I’ve brought these to office parties, family gatherings, and neighborhood events. They disappear every single time. Kids and adults fight over the last one.
- Unbelievably Delicious: The brown butter adds this deep, nutty flavor that makes these cookies taste way more complex than they actually are. The texture is perfectly chewy with slightly crispy edges.
What makes this recipe different is the technique. Browning the butter sounds fancy, but it’s actually the easiest way to add serious flavor without extra effort. It’s comfort food reimagined—faster, simpler, but with the same soul-soothing satisfaction. These cookies are the kind that make you close your eyes after the first bite.
What Ingredients You Will Need
This recipe uses simple, wholesome ingredients to deliver bold flavor and satisfying texture without the fuss. Most of these are pantry staples you probably already have on hand.
- Unsalted butter (1 cup / 2 sticks) – Browning the butter is the secret here. I recommend using a good-quality brand like Kerrygold for the richest flavor. The milk solids in the butter are what create that nutty, toasty taste.
- Granulated sugar (¾ cup / 150g) – Provides sweetness and helps create those crispy edges. Regular white sugar works perfectly here.
- Light brown sugar (¾ cup / 150g, packed) – This is what gives the cookies their chewy texture. The molasses in brown sugar adds moisture and depth. Make sure it’s packed firmly into the measuring cup.
- Large eggs (2, room temperature) – Room temperature eggs incorporate more easily into the batter. If you forgot to take them out ahead of time, place them in a bowl of warm water for 5 minutes.
- Vanilla extract (2 teaspoons) – Pure vanilla extract makes a difference here. Avoid imitation vanilla if you can—the flavor is noticeably better with the real stuff.
- All-purpose flour (2¼ cups / 280g) – Standard all-purpose flour works best for that perfect chewy texture. Spoon and level your flour for accurate measuring—don’t scoop directly from the bag.
- Baking soda (1 teaspoon) – This helps the cookies spread and rise just enough. Make sure your baking soda is fresh for the best results.
- Salt (½ teaspoon) – Salt balances the sweetness and enhances the brown butter flavor. I use fine sea salt for baking.
- Semi-sweet chocolate chips (2 cups / 340g) – Use good-quality chocolate chips. I prefer Ghirardelli or Guittard for their meltability and flavor. You can also chop up a chocolate bar for more rustic-looking cookies.
Equipment Needed
You don’t need any fancy equipment for these cookies. Here’s what you’ll need:
- Large skillet or saucepan (light-colored preferred) – A light-colored pan helps you see when the butter turns golden brown. I use my stainless steel pan for this.
- Mixing bowls (one large, one medium) – Glass or stainless steel works great. Nothing fancy needed.
- Whisk – For mixing the wet ingredients and incorporating the eggs.
- Rubber spatula or wooden spoon – For folding in the chocolate chips. A spatula makes scraping the bowl easier.
- Baking sheets (2) – Standard half-sheet pans work perfectly. No need for non-stick—parchment paper does the job.
- Parchment paper – This prevents sticking and makes cleanup a breeze. I buy the pre-cut sheets for convenience.
- Cookie scoop (2-tablespoon size) – For evenly sized cookies. A regular spoon works too, but a scoop makes things faster and more consistent.
- Cooling rack – Helps the cookies cool evenly without getting soggy bottoms.
Preparation Method
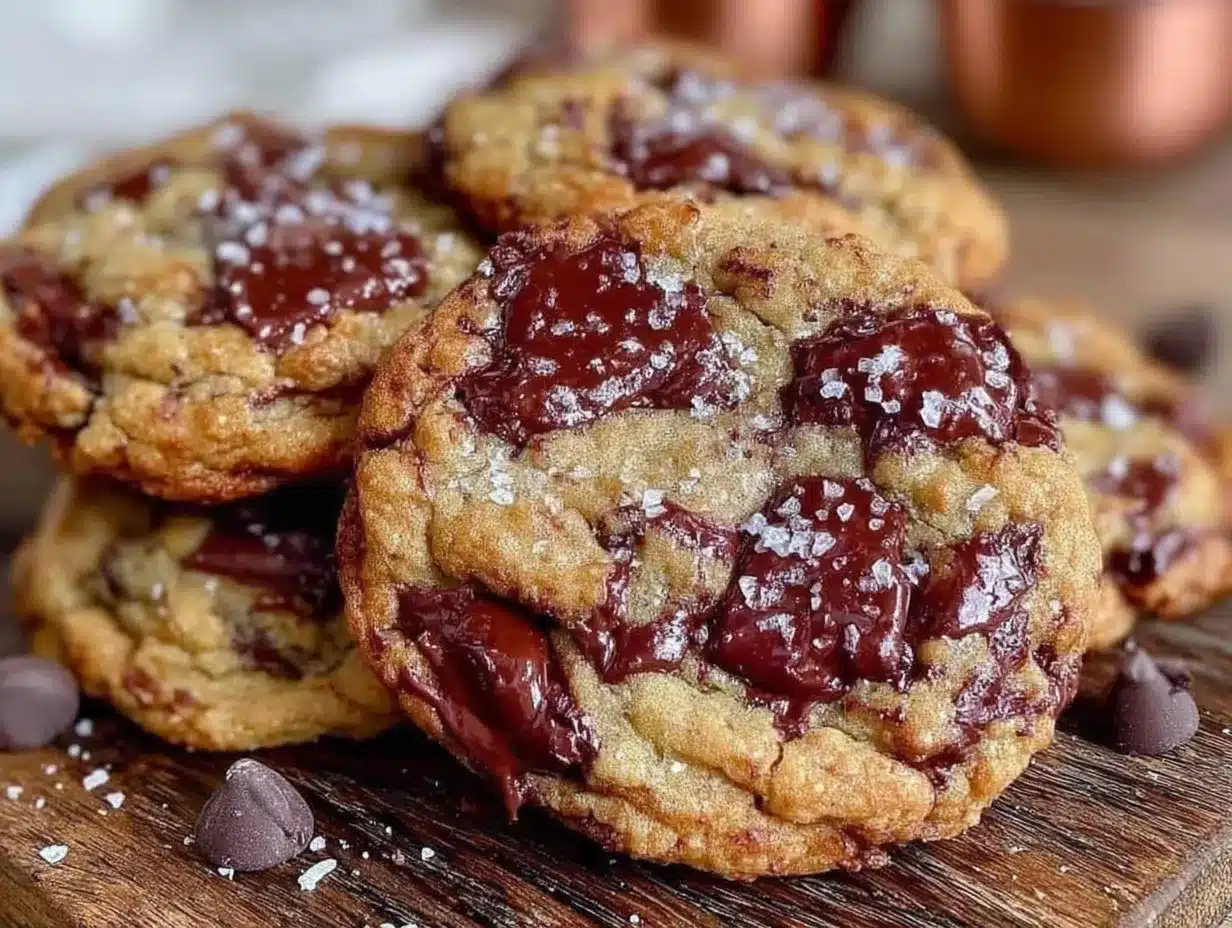
Follow these steps carefully, and you’ll have perfect chewy cookies in no time. I’ve included sensory cues at each stage so you know exactly what to look for.
- Brown the butter: Place the butter in a light-colored skillet or saucepan over medium heat. Let it melt completely, then continue cooking, swirling the pan occasionally. After about 5-7 minutes, the butter will start to foam and turn golden brown. You’ll smell a nutty, toasty aroma—that’s your cue. Small brown specks will appear at the bottom of the pan. Remove from heat immediately and pour into a large mixing bowl. Let it cool for 10 minutes. (If you burn it, start over—burnt butter tastes bitter.)
- Preheat the oven: While the butter cools, preheat your oven to 350°F (175°C). Line two baking sheets with parchment paper.
- Mix the sugars: Add the granulated sugar and packed brown sugar to the cooled brown butter. Whisk vigorously for about 1 minute until the mixture looks like wet sand. The brown butter should be warm but not hot—you don’t want to cook the eggs later.
- Add the eggs and vanilla: Crack the eggs into the butter-sugar mixture one at a time, whisking well after each addition. Add the vanilla extract and whisk until the mixture is smooth and slightly thickened. It should look glossy and pale in color.
- Combine dry ingredients: In a separate medium bowl, whisk together the flour, baking soda, and salt. Make sure there are no clumps in the baking soda.
- Mix wet and dry: Pour the dry ingredients into the wet mixture. Use a rubber spatula to fold everything together gently. Stop mixing as soon as you no longer see streaks of flour—overmixing will make the cookies tough.
- Add the chocolate chips: Fold in the chocolate chips until they’re evenly distributed throughout the dough. The dough will be thick and slightly sticky—that’s exactly what you want.
- Scoop the cookies: Use a 2-tablespoon cookie scoop to portion the dough. Place scoops about 2 inches apart on the prepared baking sheets. For extra chewy cookies, slightly flatten each dough ball with your palm.
- Bake: Bake one sheet at a time for 10-12 minutes. The edges should be golden brown and set, but the centers will still look slightly soft and puffy. Don’t overbake! The cookies will continue to set as they cool on the baking sheet.
- Cool: Let the cookies rest on the baking sheet for 5 minutes. This allows them to firm up without becoming too crisp. Then transfer them to a wire rack to cool completely. (Or eat one warm—I won’t judge.)
Cooking Tips & Techniques
I’ve made this recipe more times than I can count, and I’ve learned a few things the hard way. Here are my best tips for perfect cookies every time.
Don’t skip browning the butter. I know it’s an extra step, but it’s what makes these cookies special. The nutty flavor is impossible to replicate any other way. Just watch it carefully—butter goes from perfect to burnt in about 30 seconds. I once got distracted by my phone and had to start over. Learn from my mistake.
Let the brown butter cool. If you add the sugars to hot butter, the sugar will melt and your cookies will spread into flat puddles. Wait until the butter is warm but not hot—about 10 minutes is perfect.
Use room temperature eggs. Cold eggs can cause the butter to seize up, creating a lumpy batter. If you forgot to take them out ahead, place them in a bowl of warm water for 5 minutes. Problem solved.
Measure flour correctly. Scooping directly from the bag packs the flour, leading to dry cookies. Instead, spoon the flour into your measuring cup and level it off with a knife. This takes an extra 10 seconds and makes a huge difference.
Chill the dough if you have time. While this recipe works without chilling, 30 minutes in the fridge produces thicker, chewier cookies. The cold butter takes longer to melt in the oven, which means less spreading. Perfect for when you want those bakery-style cookies.
Bake one sheet at a time. Putting two sheets in the oven at once leads to uneven baking. The top sheet gets too dark while the bottom one stays pale. Trust me, the extra 10 minutes is worth it.
Variations & Adaptations
This recipe is incredibly forgiving. Here are some ways to make it your own:
Gluten-Free Version: Swap the all-purpose flour for a 1:1 gluten-free baking flour blend. I’ve used Bob’s Red Mill with great results. The texture will be slightly more tender, but still deliciously chewy.
Dark Chocolate Lovers: Use dark chocolate chips or chop up a dark chocolate bar (70% cocoa works wonderfully). The bitterness of the dark chocolate balances the sweet, nutty brown butter perfectly.
Add Nuts: Fold in 1 cup of toasted pecans or walnuts along with the chocolate chips. Toast them first in a dry pan for 3-4 minutes to bring out their flavor. I love the crunch they add.
Sea Salt Finish: Sprinkle a pinch of flaky sea salt on each cookie right after they come out of the oven. That sweet-salty combo is absolutely addictive.
Double Chocolate: Replace ¼ cup of the flour with unsweetened cocoa powder for a chocolate cookie base. Use white chocolate chips or milk chocolate chips instead of semi-sweet for contrast.
I once made a batch with chopped toffee bits and pecans for a holiday party—they disappeared faster than the classic version. Don’t be afraid to experiment!
Serving & Storage Suggestions
These cookies are best served warm, when the chocolate is still slightly melty and the edges are perfectly crisp. Let them cool for 5-10 minutes after baking if you can wait that long. I know it’s hard.
For a next-level presentation, serve them with a glass of cold milk or a scoop of vanilla ice cream. They’re also fantastic crumbled over yogurt for a quick dessert parfait. If you’re feeling fancy, sandwich two cookies with a dollop of whipped cream or chocolate ganache.
Storage: Keep leftover cookies in an airtight container at room temperature for up to 5 days. Place a slice of bread in the container—it absorbs excess moisture and keeps the cookies soft. Replace the bread every other day.
Freezing: These cookies freeze beautifully. Bake and cool them completely, then place in a freezer-safe bag or container. They’ll keep for up to 3 months. Thaw at room temperature for 15 minutes, then warm in a 300°F oven for 5 minutes to revive that fresh-baked taste.
Freezing dough: Scoop the dough into balls and place them on a baking sheet in the freezer. Once frozen solid, transfer to a freezer bag. Bake from frozen, adding 2-3 minutes to the baking time. Fresh cookies whenever you want them!
The flavors actually deepen after a day or two. The brown butter becomes more pronounced, and the cookies get even chewier. If you can resist eating them all immediately, they’ll reward your patience.
Nutritional Information & Benefits
Here’s the nutritional breakdown per cookie (based on 24 cookies):
| Nutrient | Amount |
|---|---|
| Calories | 185 |
| Total Fat | 10g |
| Saturated Fat | 6g |
| Cholesterol | 30mg |
| Sodium | 115mg |
| Total Carbohydrates | 24g |
| Dietary Fiber | 1g |
| Sugars | 16g |
| Protein | 2g |
These cookies are a treat, but they do offer some benefits. Dark chocolate contains antioxidants and can help improve mood. The brown butter adds a rich flavor that means you’ll feel satisfied with just one or two cookies instead of a whole batch. For a slightly healthier version, you can reduce the sugar to ½ cup of each type—the cookies will be less sweet but still delicious.
Dietary Considerations: This recipe contains dairy (butter), eggs, gluten (flour), and chocolate. For a dairy-free version, use vegan butter—just note that it won’t brown the same way. For egg-free, try a flax egg (1 tablespoon ground flaxseed mixed with 3 tablespoons water per egg). The texture will be slightly different but still tasty.
Conclusion
These Chewy Brown Butter Chocolate Chip Cookies are more than just a recipe—they’re your secret weapon for every last-minute situation life throws at you. Whether you’re scrambling for a potluck contribution, craving something sweet after a long day, or just want to fill your kitchen with that incredible nutty aroma, these cookies deliver every single time.
I love this recipe because it proves that you don’t need complicated techniques or fancy ingredients to make something truly special. Just a little patience with the butter and a willingness to trust the process. The first time I made these, I was convinced I’d messed something up—the dough looked too soft, the butter smelled too toasty. But that first bite taught me to trust my instincts in the kitchen.
Now I want to hear from you! Have you tried browning butter before? What’s your go-to cookie recipe for emergencies? Drop a comment below and share your experience. And if you make these cookies, tag me in your photos—I love seeing your creations. Happy baking, friend!
Frequently Asked Questions
Can I use salted butter instead of unsalted?
Yes, you can. Just reduce the added salt in the recipe to ¼ teaspoon. The brown butter will still work perfectly with salted butter.
Why did my cookies turn out flat?
Flat cookies usually mean the butter was too warm when you added the sugar, or you didn’t let the brown butter cool enough. Make sure to let it cool for a full 10 minutes before mixing. Also, check that your baking soda is fresh—old baking soda loses its leavening power.
Can I make these cookies ahead of time?
Absolutely! You can prepare the dough up to 3 days ahead and keep it in the refrigerator. Let it sit at room temperature for 15 minutes before scooping and baking. Or freeze the dough balls for up to 3 months.
How do I get perfectly round cookies?
Right after the cookies come out of the oven, use a round cookie cutter or a glass that’s slightly larger than the cookies to scoot them into perfect circles. This works best while the cookies are still warm on the baking sheet.
Can I use milk chocolate instead of semi-sweet?
You can, but the cookies will be much sweeter. Milk chocolate has more sugar and less cocoa butter, which can affect the texture slightly. If you prefer milk chocolate, consider reducing the sugar in the recipe by 2 tablespoons.
Pin This Recipe!
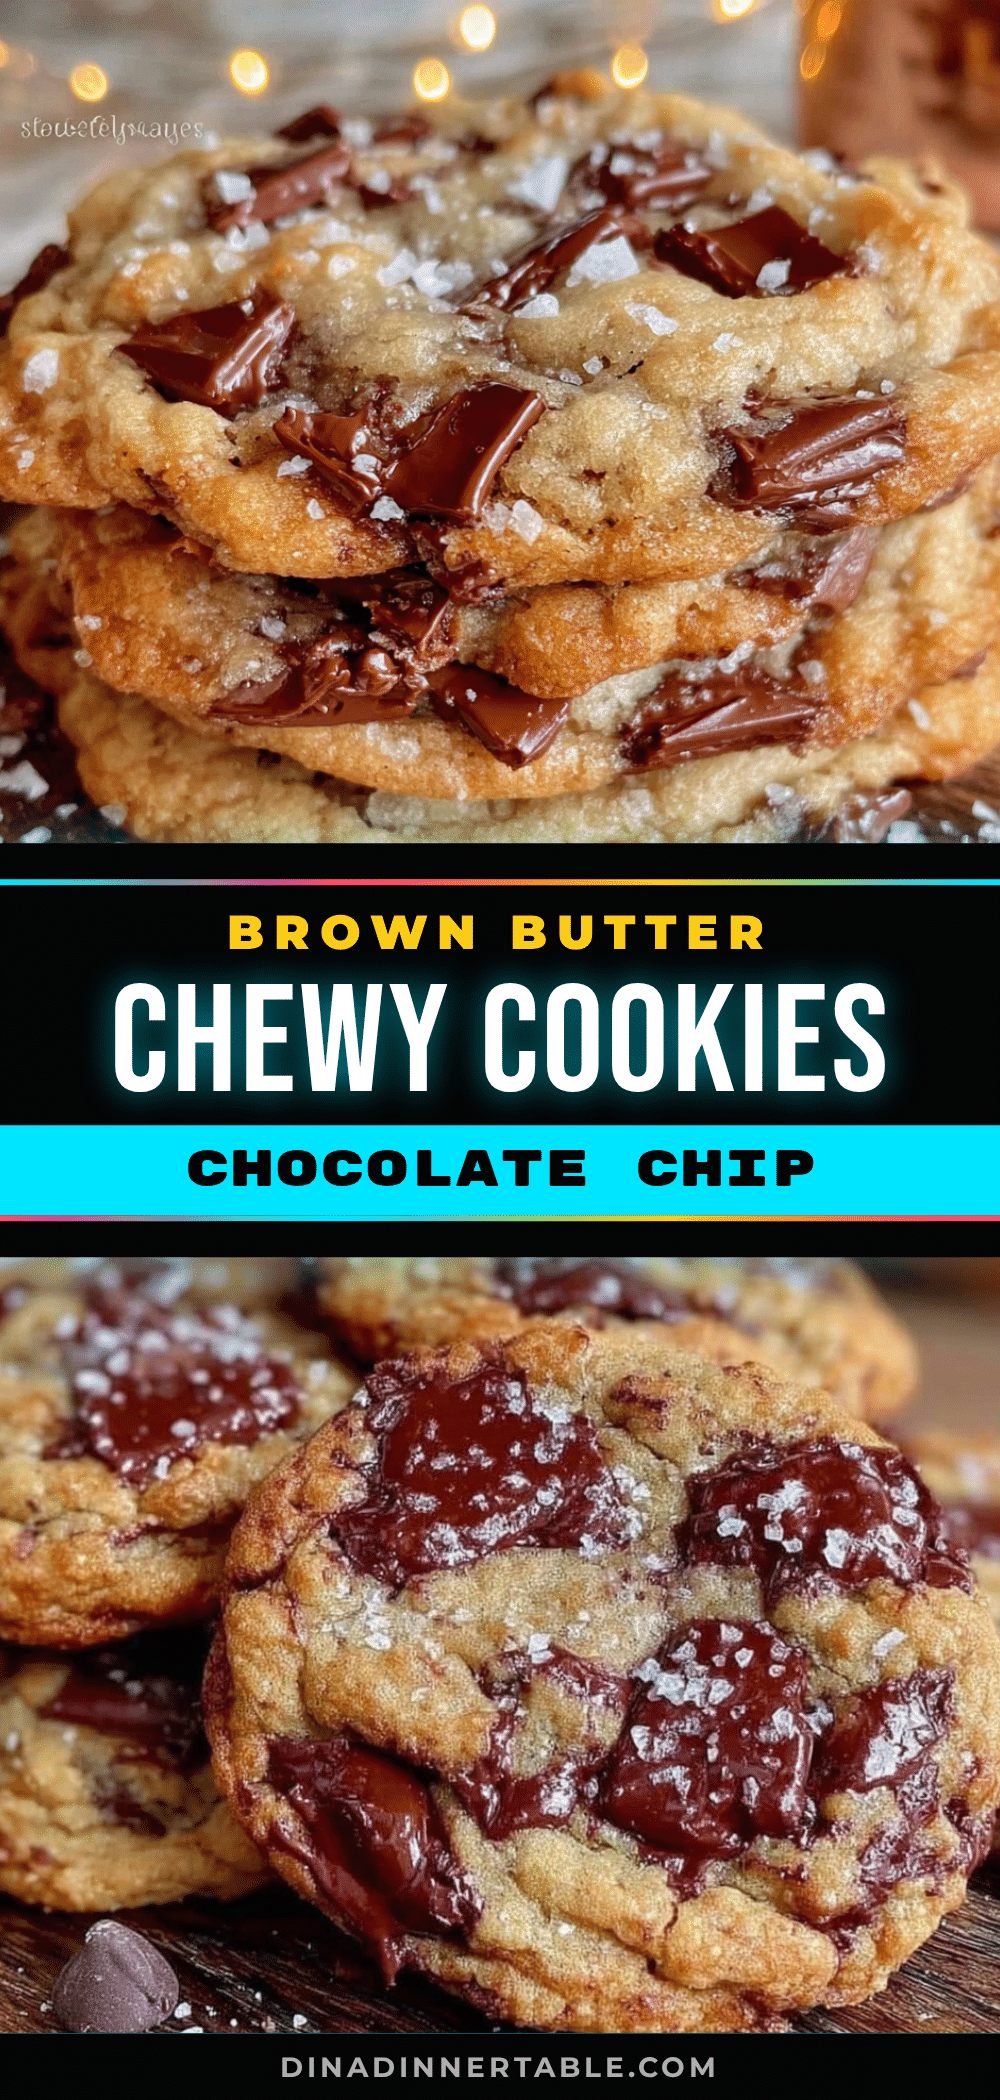
Best Chewy Brown Butter Chocolate Chip Cookies

These chewy, nutty, ridiculously good cookies are the perfect last-minute rescue for any cookie swap or potluck. The brown butter adds a deep, toasty flavor that makes them taste way more complex than they actually are.
- Prep Time: 15 minutes
- Cook Time: 12 minutes
- Total Time: 27 minutes
- Yield: 24 servings 1x
- Category: Dessert
- Cuisine: American
Ingredients
- 1 cup (2 sticks) unsalted butter
- 3/4 cup (150g) granulated sugar
- 3/4 cup (150g) packed light brown sugar
- 2 large eggs, room temperature
- 2 teaspoons vanilla extract
- 2 1/4 cups (280g) all-purpose flour
- 1 teaspoon baking soda
- 1/2 teaspoon salt
- 2 cups (340g) semi-sweet chocolate chips
Instructions
- Brown the butter: Place the butter in a light-colored skillet or saucepan over medium heat. Let it melt completely, then continue cooking, swirling the pan occasionally. After about 5-7 minutes, the butter will start to foam and turn golden brown. You’ll smell a nutty, toasty aroma—that’s your cue. Small brown specks will appear at the bottom of the pan. Remove from heat immediately and pour into a large mixing bowl. Let it cool for 10 minutes.
- Preheat the oven: While the butter cools, preheat your oven to 350°F (175°C). Line two baking sheets with parchment paper.
- Mix the sugars: Add the granulated sugar and packed brown sugar to the cooled brown butter. Whisk vigorously for about 1 minute until the mixture looks like wet sand. The brown butter should be warm but not hot.
- Add the eggs and vanilla: Crack the eggs into the butter-sugar mixture one at a time, whisking well after each addition. Add the vanilla extract and whisk until the mixture is smooth and slightly thickened. It should look glossy and pale in color.
- Combine dry ingredients: In a separate medium bowl, whisk together the flour, baking soda, and salt. Make sure there are no clumps in the baking soda.
- Mix wet and dry: Pour the dry ingredients into the wet mixture. Use a rubber spatula to fold everything together gently. Stop mixing as soon as you no longer see streaks of flour.
- Add the chocolate chips: Fold in the chocolate chips until they’re evenly distributed throughout the dough. The dough will be thick and slightly sticky.
- Scoop the cookies: Use a 2-tablespoon cookie scoop to portion the dough. Place scoops about 2 inches apart on the prepared baking sheets. For extra chewy cookies, slightly flatten each dough ball with your palm.
- Bake: Bake one sheet at a time for 10-12 minutes. The edges should be golden brown and set, but the centers will still look slightly soft and puffy. Don’t overbake!
- Cool: Let the cookies rest on the baking sheet for 5 minutes. Then transfer them to a wire rack to cool completely.
Notes
Don’t skip browning the butter—it’s what makes these cookies special. Let the brown butter cool for 10 minutes before adding sugars. Use room temperature eggs. Measure flour correctly by spooning and leveling. For thicker, chewier cookies, chill the dough for 30 minutes. Bake one sheet at a time for even results. Store in an airtight container at room temperature for up to 5 days. Freeze baked cookies for up to 3 months or freeze dough balls for fresh cookies anytime.
Nutrition
- Serving Size: 1 cookie
- Calories: 185
- Sugar: 16
- Sodium: 115
- Fat: 10
- Saturated Fat: 6
- Carbohydrates: 24
- Fiber: 1
- Protein: 2
Keywords: brown butter, chocolate chip cookies, chewy cookies, easy cookies, last-minute cookies, cookie swap