My husband claimed he hated candy corn for seven years. Seven years of watching him pick the little orange, yellow, and white triangles out of Halloween mix bowls. Seven years of him wrinkling his nose at the thought of that waxy, honey-sweet flavor. Then last October, I made these sugar cookie bars “just for the kids’ school bake sale,” and I found him standing over the cooling rack at eleven o’clock at night, eating a third bar with the guilty look of a man caught red-handed. “These are different,” he mumbled, reaching for another one. And honestly? He was right. Something about pressing that controversial candy into a soft, buttery cookie bar base changes the whole game. The candy melts down just enough to get chewy, the cookie stays thick and tender, and suddenly the guy who swore off candy corn for a decade is asking when I’m making them again. Maybe you’ve been there—someone in your life with a strong opinion about a polarizing candy, and you just need the right vehicle to change their mind. This is that vehicle. I mean, these bars turned a candy corn hater into a fan. If that’s not a recipe worth keeping, I don’t know what is.
Why You’ll Love This Recipe
Let me tell you why these candy corn sugar cookie bars have become my most-requested fall dessert. I tested this recipe six times before getting it just right—the first batch came out too thin, the second was too cakey, and the third had the candy sinking to the bottom. But that fourth batch? That was the one where everything clicked, and I knew I had something special.
- Quick & Easy: From start to finish, these bars come together in under 40 minutes. No chilling dough, no rolling out cookies, no decorating individual pieces. Just mix, press, bake, and slice.
- Simple Ingredients: You probably have everything except the candy corn in your pantry right now. Butter, sugar, eggs, flour—the usual suspects.
- Perfect for Fall Gatherings: These scream Halloween, Thanksgiving, or any cozy autumn afternoon. They’re the star of bake sales, potlucks, and after-school treats.
- Crowd-Pleaser: Even the candy corn skeptics will reach for seconds. I’ve watched it happen more times than I can count.
- Unbelievably Delicious: The texture is what gets you—soft, thick, slightly chewy edges with a tender center. The candy corn adds little pockets of honey-sweet chewiness that make every bite interesting.
What makes this recipe different from every other cookie bar out there is the technique. I press the candy corn into the dough after it’s in the pan, which keeps it from sinking and creates that beautiful, colorful top layer. It’s a small detail, but it makes all the difference between a good bar and a great one.
This is the kind of dessert that makes you close your eyes after the first bite. It’s comfort food for the fall season—easy enough for a Tuesday night, special enough for a party. And honestly, watching someone take that first bite and realize they actually love candy corn? That’s the best part.
What Ingredients You Will Need
This recipe uses simple, pantry-friendly ingredients to deliver that classic sugar cookie flavor with a festive twist. Nothing fancy here—just good, honest baking staples that come together beautifully.
- Unsalted butter, softened (1 cup, or 2 sticks) — I use Land O’Lakes because the butterfat content is consistent. Let it sit out for at least 30 minutes before starting. (Softened butter creams better with sugar, giving you a lighter texture.)
- Granulated sugar (1 ½ cups) — Regular white sugar works perfectly here. No need for anything special.
- Large eggs (2, room temperature) — If you forget to set them out, place them in a bowl of warm water for 5 minutes. (Room temperature eggs incorporate more evenly into the batter.)
- Vanilla extract (2 teaspoons) — Pure vanilla makes a difference here. I prefer Nielsen-Massey, but any good brand works.
- All-purpose flour (3 cups) — Spoon and level your flour for accuracy. Scooping directly from the bag packs in too much flour and makes dry bars.
- Baking powder (1 teaspoon) — Make sure it’s fresh. Test it by dropping a bit in hot water—if it fizzes, you’re good.
- Salt (½ teaspoon) — Balances the sweetness of the candy corn. Don’t skip it.
- Candy corn (2 cups, plus extra for topping) — The classic Brach’s brand works great. Seasonal colors like autumn mix or harvest blend add a nice variety if you want to get fancy.
For the glaze (optional but recommended):
- Powdered sugar (1 cup)
- Milk (2-3 tablespoons) — Start with 2 and add more until you reach drizzling consistency.
- Vanilla extract (½ teaspoon)
A quick note on substitutions: If you need a dairy-free version, use plant-based butter sticks (not the spreadable kind in a tub). For a gluten-free option, swap the all-purpose flour with a 1:1 gluten-free baking flour blend. I’ve tested both, and they work surprisingly well—the texture is slightly more tender, but the flavor is spot on.
Equipment Needed
You don’t need a fancy kitchen to make these bars. Here’s what you’ll need:
- 9×13-inch baking pan — A metal pan gives you more even browning than glass. If using glass, reduce the oven temperature by 25 degrees.
- Electric mixer (hand or stand) — You can mix by hand, but your arm will thank you for using a mixer. I’ve done both, and the mixer gives a fluffier texture.
- Mixing bowls — One large, one medium. Nothing special.
- Parchment paper — This is non-negotiable for easy removal. Leave overhang on two sides for handles.
- Measuring cups and spoons — For accuracy.
- Rubber spatula — For scraping the bowl clean and spreading the dough evenly.
- Cooling rack — Allows air to circulate so the bars cool evenly.
If you don’t have a mixer, a sturdy wooden spoon and some elbow grease will work. Just cream the butter and sugar for a full 3 minutes by hand—it’s a workout, but it gets the job done. And if you don’t have parchment paper, grease the pan thoroughly with butter and dust with flour. The bars might stick a little, but they’ll still taste amazing.
Preparation Method
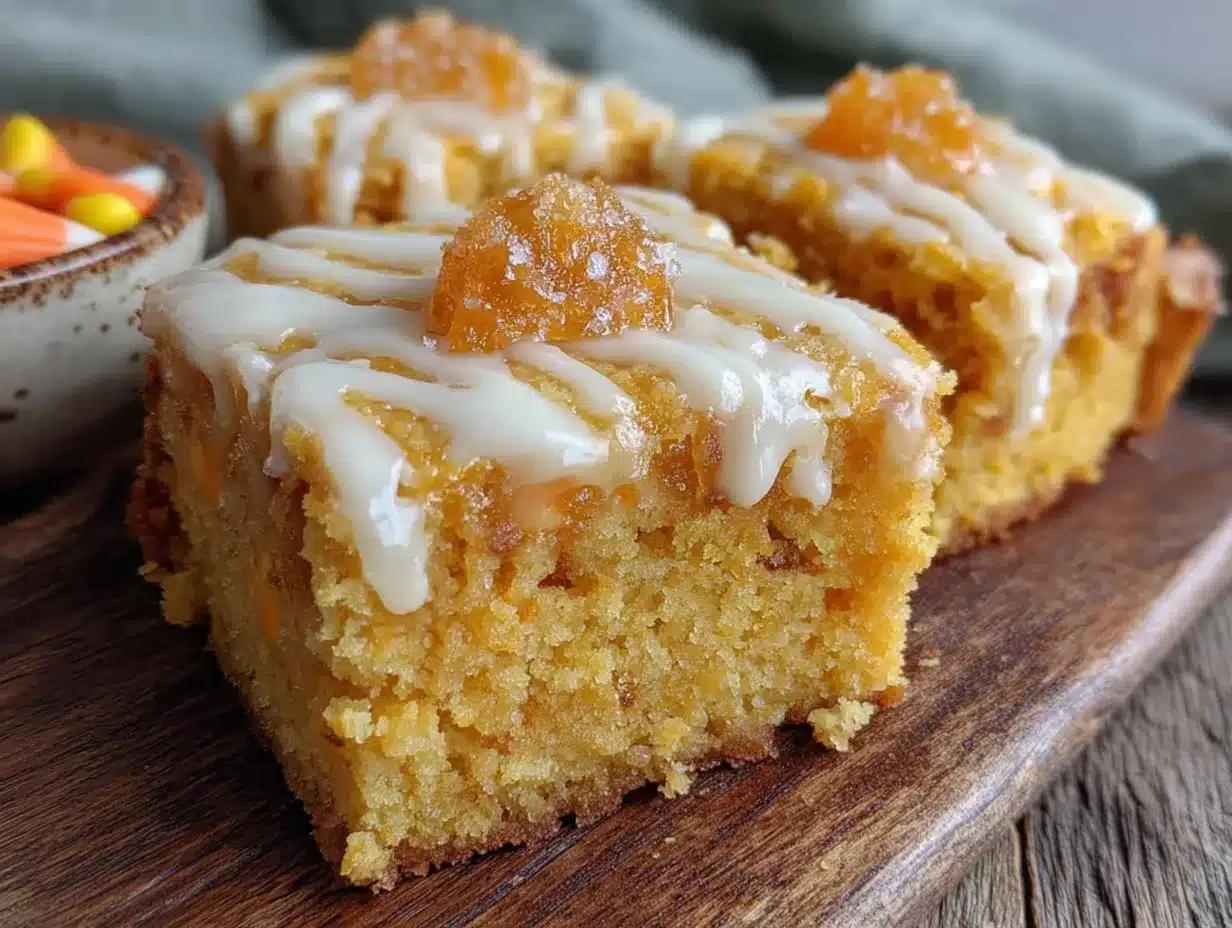
Preheat your oven to 350°F (175°C). Line your 9×13-inch pan with parchment paper, leaving about 2 inches of overhang on the long sides. This creates handles for lifting the bars out later.
- Cream the butter and sugar. In a large mixing bowl, beat the softened butter and granulated sugar together on medium speed until light and fluffy. This takes about 3-4 minutes. You want it to look pale and almost doubled in volume. Scrape down the sides of the bowl halfway through.
- Add the eggs and vanilla. Beat in the eggs one at a time, mixing well after each addition. Add the vanilla extract and mix until combined. The mixture might look slightly curdled at this point—that’s normal, especially if your eggs were cold.
- Mix the dry ingredients. In a separate bowl, whisk together the flour, baking powder, and salt. I always whisk for at least 30 seconds to distribute the baking powder evenly. Nobody wants a pocket of baking powder in their cookie bar.
- Combine wet and dry. Gradually add the dry ingredients to the wet mixture, mixing on low speed. Mix just until the flour disappears—overmixing develops gluten and makes tough bars. The dough will be thick and slightly sticky.
- Fold in the candy corn. Gently fold in 1 ½ cups of the candy corn with a rubber spatula. Don’t overmix here; just fold until the candy is distributed. Save the remaining ½ cup for topping.
- Press into the pan. Transfer the dough to your prepared pan. Here’s the trick: wet your hands slightly with water, then press the dough evenly into the pan. The water keeps the dough from sticking to your fingers. Make sure the dough reaches all the corners and is level on top.
- Add the topping. Press the remaining ½ cup of candy corn into the top of the dough. Space them evenly so every bar gets a few pieces on top. This creates that beautiful, colorful surface.
- Bake. Place the pan on the middle rack and bake for 22-26 minutes. At 22 minutes, check for doneness: the edges should be lightly golden, and the center should look set and slightly puffed. A toothpick inserted in the center should come out with a few moist crumbs, not wet batter. The top will look slightly cracked—that’s the candy corn melting and creating little craters. It’s supposed to look like that.
- Cool completely. Place the pan on a cooling rack and let the bars cool for at least 30 minutes in the pan. Then use the parchment overhang to lift the entire block of bars out and transfer to the cooling rack to cool completely. This is important—if you try to cut them while they’re warm, they’ll crumble. Trust me, I learned this the hard way.
- Make the glaze (optional). In a small bowl, whisk together the powdered sugar, 2 tablespoons of milk, and vanilla extract. Add more milk a teaspoon at a time until you get a drizzling consistency. Drizzle over the cooled bars using a spoon or a piping bag with the tip snipped off.
- Slice and serve. Once the glaze is set (about 15 minutes), use a sharp knife to cut the bars into squares. I usually get 24 bars from one batch, but you can make them bigger or smaller depending on your crowd.
Cooking Tips & Techniques
Here are the things I wish someone had told me before my first attempt at these bars:
Don’t overbake. This is the number one mistake people make. Cookie bars continue to cook from residual heat after they come out of the oven. Pull them when the center still looks slightly soft and underdone. They’ll set up perfectly as they cool. Overbaked bars turn dry and crumbly, and nobody wants that.
Let the candy corn soften. If your candy corn is rock hard (it happens with older bags), spread it on a baking sheet and warm it in the oven for 2-3 minutes before folding it into the dough. This softens it just enough that it won’t crack your mixer or your teeth.
Use the right pan size. I know a 9×13 pan seems obvious, but I’ve seen people try to use an 8×8 pan thinking it’ll just make thicker bars. It won’t—it’ll overflow and make a mess. Stick with the 9×13.
My biggest failure: The first time I made these, I used a glass pan and didn’t adjust the temperature. The bottom burned while the top was still raw. Now I always use metal, and if I have to use glass, I drop the temperature to 325°F and add 5 minutes to the bake time.
Timing strategy: These bars are perfect for making ahead. Bake them, cool them completely, and store them in an airtight container. They actually taste better the next day—the flavors meld together, and the texture softens slightly. So if you’re planning for a party, make them the day before.
Consistency tip: For the most even bars, use a kitchen scale to weigh your dough before pressing it into the pan. The dough should weigh about 1,100 grams. If it’s significantly more or less, adjust your measurements next time.
Variations & Adaptations
One of the best things about this recipe is how adaptable it is. Here are some variations I’ve tried and loved:
Chocolate Drizzle: Instead of the vanilla glaze, melt ½ cup of semi-sweet chocolate chips with 1 teaspoon of coconut oil and drizzle it over the top. The chocolate-candy corn combination is surprisingly good—the bitterness of the chocolate balances the sweetness of the candy.
Autumn Mix Edition: Use a bag of Brach’s Autumn Mix (the one with candy corn, pumpkins, and Indian corn). The pumpkins add a nice chewy texture, and the Indian corn gives a slightly different flavor. My kids love finding the different shapes in their bars.
Gluten-Free Version: Substitute the all-purpose flour with Bob’s Red Mill 1:1 Gluten-Free Baking Flour. The texture is a bit more tender and slightly crumblier, but the flavor is identical. I’ve served this version to gluten-sensitive friends without telling them, and nobody noticed.
Spiced Twist: Add 1 teaspoon of cinnamon and ¼ teaspoon of nutmeg to the dry ingredients. The warm spices complement the honey flavor of the candy corn beautifully. This is my personal favorite fall variation—it makes the kitchen smell incredible.
Peanut Butter Swirl: Warm ¼ cup of peanut butter in the microwave for 20 seconds and drop spoonfuls over the dough before baking. Swirl it in with a knife for a marbled effect. The salty peanut butter cuts through the sweetness perfectly.
Vegan Adaptation: Use plant-based butter sticks (like Earth Balance) and a flax egg (1 tablespoon ground flaxseed mixed with 3 tablespoons water, let sit for 5 minutes). The texture is slightly denser, but the flavor is still fantastic.
Serving & Storage Suggestions
These bars are best served at room temperature. The texture is soft and tender, and the candy corn has just the right amount of chew. If you’ve made the glaze, let it set completely before serving—about 15 minutes at room temperature.
For presentation, I like to arrange the bars on a white platter or a wooden board. The orange, yellow, and white colors pop beautifully against a neutral background. Sprinkle a few extra pieces of candy corn around the platter for a festive touch.
These bars pair wonderfully with a cold glass of milk, a warm cup of apple cider, or a pumpkin spice latte. For a fun dessert board, arrange the bars alongside caramel apples, popcorn balls, and cinnamon sugar pretzels.
Storage: Store the bars in an airtight container at room temperature for up to 5 days. Place a piece of parchment paper between layers to prevent sticking. Do not refrigerate—the cold dries out the bars and makes the candy corn hard.
Freezing: These bars freeze beautifully. Wrap individual bars in plastic wrap, then place them in a freezer-safe bag. They’ll keep for up to 3 months. To thaw, let them sit at room temperature for about 30 minutes. The glaze might get a little sticky after freezing, but the bars themselves taste just as good.
Flavor development: Honestly, these bars are even better on day two. The candy corn softens slightly and integrates more into the cookie base. The flavors meld together in a way that makes the bars taste more cohesive. So don’t feel bad if you can’t serve them the same day—they’re actually better the next day.
Nutritional Information & Benefits
Let’s be real: these are a treat, not a health food. But here’s the estimated nutritional breakdown for one bar (based on 24 servings):
| Nutrient | Amount per bar |
|---|---|
| Calories | 245 |
| Total Fat | 10g |
| Saturated Fat | 6g |
| Cholesterol | 35mg |
| Sodium | 95mg |
| Total Carbohydrates | 38g |
| Sugars | 26g |
| Protein | 3g |
On the bright side, these bars do contain some calcium from the butter and a small amount of iron from the flour. The eggs provide a bit of protein. And hey, seasonal happiness has its own nutritional value, right?
If you’re watching your sugar intake, you can reduce the candy corn to 1 cup and skip the glaze. The bars will still taste great, just with less sweetness. For a lower-calorie version, use a sugar substitute like Swerve in place of the granulated sugar—though I haven’t tested this personally, so proceed with caution.
These bars contain dairy, eggs, and gluten. They are not suitable for those with celiac disease unless you use the gluten-free flour option. The candy corn is typically vegan, so the bars can be made vegan with the substitutions mentioned above.
Frequently Asked Questions
Can I use leftover Halloween candy corn for this recipe?
Absolutely! In fact, slightly stale candy corn works even better because it’s softer and incorporates more easily into the dough. Just make sure it’s not rock hard—if it is, warm it briefly in the oven before using.
Why did my candy corn sink to the bottom of the bars?
This usually happens if the dough is too thin or if you’re using a glass pan that’s too warm. Make sure your butter isn’t too soft (it should be room temperature, not melted) and that your pan is fully cooled if you’re reusing it. Pressing the candy corn into the top after spreading the dough also helps prevent sinking.
Can I make these bars ahead of time for a party?
Yes, and I actually recommend it. These bars taste even better the next day. Bake them, cool them completely, and store them in an airtight container at room temperature. Add the glaze just before serving for the best presentation.
My bars came out dry and crumbly. What went wrong?
Two most likely culprits: overbaking or overmeasuring the flour. Cookie bars dry out quickly if left in the oven even a minute too long. Also, make sure you’re spooning and leveling your flour rather than scooping directly from the bag. Too much flour is the most common baking mistake.
Can I use a different type of candy corn?
Yes! Autumn mix, harvest blend, or even the chocolate-flavored candy corn all work great. Just avoid any candy with a hard shell or coating, as it won’t soften properly during baking. The classic Brach’s candy corn is your best bet for consistent results.
Conclusion
These Classic Candy Corn Sugar Cookie Bars are everything you want in a fall dessert: easy to make, impossible to resist, and just the right amount of festive. They take a polarizing candy and turn it into something everyone can agree on—even the candy corn haters in your life. I’ve seen it happen more times than I can count, and it never gets old.
What I love most about this recipe is how forgiving it is. You can customize it a dozen different ways, make it ahead of time, and still end up with something that feels special. Whether you’re bringing them to a Halloween party, packing them in lunchboxes, or just baking for yourself on a crisp autumn afternoon, these bars deliver.
I’d love to hear how yours turn out! Leave a comment below and let me know if you tried any variations, or tag me in your photos on social media. Happy fall baking, friends—may your kitchen smell like butter and sugar, and may your candy corn skeptics become believers.
Pin This Recipe!
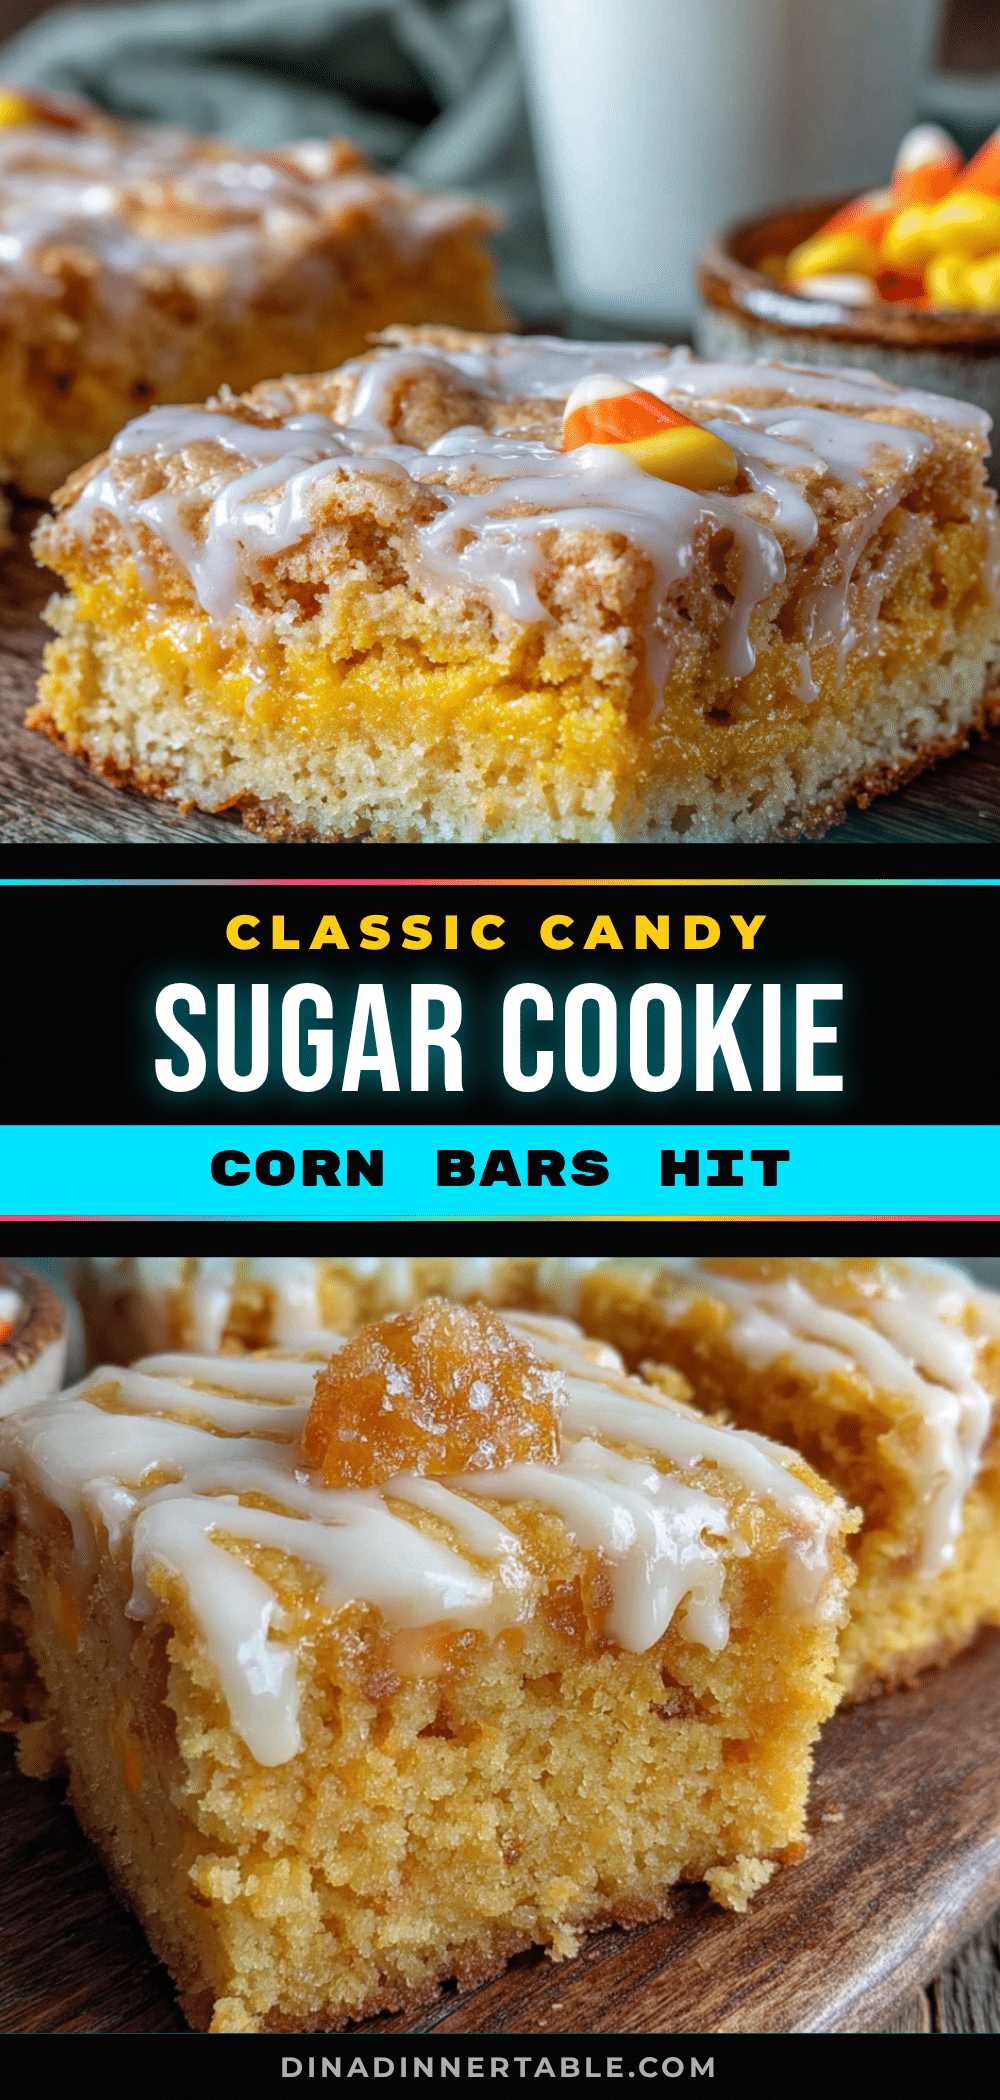
Classic Candy Corn Sugar Cookie Bars: Easy Fall Dessert

These soft, buttery sugar cookie bars are studded with candy corn for a festive fall treat. They come together in under 40 minutes and are perfect for Halloween parties, bake sales, or cozy autumn afternoons.
- Prep Time: 15 minutes
- Cook Time: 25 minutes
- Total Time: 40 minutes
- Yield: 24 bars 1x
- Category: Dessert
- Cuisine: American
Ingredients
- 1 cup (2 sticks) unsalted butter, softened
- 1 ½ cups granulated sugar
- 2 large eggs, room temperature
- 2 teaspoons vanilla extract
- 3 cups all-purpose flour
- 1 teaspoon baking powder
- ½ teaspoon salt
- 2 cups candy corn (plus extra for topping)
- For the glaze (optional):
- 1 cup powdered sugar
- 2–3 tablespoons milk
- ½ teaspoon vanilla extract
Instructions
- Preheat oven to 350°F (175°C). Line a 9×13-inch baking pan with parchment paper, leaving overhang on the long sides.
- In a large bowl, beat softened butter and granulated sugar together on medium speed until light and fluffy, about 3-4 minutes.
- Beat in eggs one at a time, mixing well after each addition. Add vanilla extract and mix until combined.
- In a separate bowl, whisk together flour, baking powder, and salt.
- Gradually add dry ingredients to wet mixture, mixing on low speed just until flour disappears. Dough will be thick and slightly sticky.
- Gently fold in 1 ½ cups of candy corn with a rubber spatula. Reserve remaining ½ cup for topping.
- Transfer dough to prepared pan. Slightly wet hands and press dough evenly into pan.
- Press remaining ½ cup candy corn into the top of the dough, spacing evenly.
- Bake on middle rack for 22-26 minutes, until edges are lightly golden and center is set. A toothpick inserted in center should come out with moist crumbs.
- Cool in pan on a cooling rack for 30 minutes, then use parchment overhang to lift bars out and cool completely.
- For glaze: whisk together powdered sugar, 2 tablespoons milk, and vanilla extract. Add more milk a teaspoon at a time until drizzling consistency. Drizzle over cooled bars.
- Once glaze is set (about 15 minutes), slice into squares. Makes 24 bars.
Notes
Don’t overbake; bars continue to cook from residual heat. For best results, use a metal pan. Bars taste even better the next day. Store in an airtight container at room temperature for up to 5 days. Freeze individual bars wrapped in plastic wrap for up to 3 months.
Nutrition
- Serving Size: 1 bar
- Calories: 245
- Sugar: 26
- Sodium: 95
- Fat: 10
- Saturated Fat: 6
- Carbohydrates: 38
- Protein: 3
Keywords: candy corn, sugar cookie bars, fall dessert, Halloween, easy dessert, cookie bars