I was standing in the spice aisle of the grocery store last Tuesday when a jar of molasses slipped through my fingers and shattered on the tile floor. The smell hit me instantly—that dark, smoky-sweet scent—and suddenly I was seven years old in my aunt Rita’s tiny kitchen in Portland, watching her pour molasses into a measuring cup with a steady hand I’ve never managed to replicate. She’d let me lick the spoon afterward, and I’d stand there with that bitter-sweet taste on my tongue, convinced I was getting away with something. Aunt Rita passed about five years ago, and I swear I haven’t smelled molasses the same way since. I stood there in that grocery store aisle, apologizing to the stock boy, and all I could think about was getting home to make something that smelled like her kitchen. That’s how these cozy molasses spice pumpkin dessert bars happened—they’re my attempt to bottle up that exact feeling, that warm, safe, everything’s-going-to-be-okay sensation. Honestly, I think I got pretty close.
These bars aren’t just another pumpkin dessert. They’ve got this deep, almost mysterious flavor from the molasses that makes you slow down with each bite. The pumpkin keeps them tender, and the spices—cinnamon, ginger, cloves—wrap around you like a favorite sweater. I’ve made them three times this month already, and let me tell you, they disappear fast. Maybe you’ve been there, chasing a taste from your past, trying to get it just right. That’s what this recipe is for me.
Why You’ll Love This Recipe
I’ve tested this recipe more times than I care to admit, and each batch taught me something new. These molasses spice pumpkin dessert bars come together with the kind of ease that makes you feel like a pro, even on a Tuesday night when you’re tired and the kitchen’s a mess.
- Quick & Easy: From start to finish, you’re looking at about 45 minutes. That’s less time than it takes to decide what to watch on Netflix.
- Simple Ingredients: No fancy grocery trips needed. You likely have most of these in your pantry right now—pumpkin puree, molasses, flour, eggs, and basic spices.
- Perfect for Cozy Evenings: These bars were made for chilly nights, rainy afternoons, or any time you need a little edible hug.
- Crowd-Pleaser: I brought a batch to my book club last week, and three people asked for the recipe before I’d even sat down.
- Unbelievably Delicious: The texture is this perfect middle ground between a brownie and a cake—fudgy, tender, and absolutely packed with flavor.
What makes these different from every other pumpkin bar recipe out there? It’s the molasses. Most recipes treat pumpkin as the main event, but here, the molasses brings this深沉, almost caramel-like depth that makes people stop and ask, “What’s in this?” I blend the pumpkin and molasses together before adding the dry ingredients, which keeps everything ultra-smooth and prevents that gummy texture that plagues so many pumpkin desserts. This isn’t just another version—it’s the version I keep coming back to, and I think you will too.
These bars are the kind of dessert that makes you close your eyes after the first bite. It’s comfort food at its finest—simple, honest, and completely soul-soothing. Perfect for when you need to impress without the stress, or just want to turn an ordinary evening into something memorable.
What Ingredients You Will Need
This recipe uses simple, wholesome ingredients that work together to create something truly special. Most of these are pantry staples, which makes these bars perfect for spontaneous baking sessions.
- Pumpkin puree, 1 cup (not pumpkin pie filling—make sure it’s 100% pure pumpkin. I prefer Libby’s for consistent texture)
- Unsulfured molasses, 1/2 cup (I use Grandma’s brand, but any unsulfured variety works. Stay away from blackstrap here—it’s too bitter)
- Unsalted butter, 1/2 cup, melted and slightly cooled
- Granulated sugar, 3/4 cup
- Light brown sugar, 1/2 cup, packed (adds moisture and a hint of caramel)
- Large eggs, 2, at room temperature
- Vanilla extract, 1 teaspoon (pure, not imitation—it makes a difference)
- All-purpose flour, 1 and 3/4 cups (spooned and leveled—don’t scoop directly from the bag)
- Baking soda, 1 teaspoon
- Baking powder, 1/2 teaspoon
- Ground cinnamon, 2 teaspoons
- Ground ginger, 1 teaspoon
- Ground cloves, 1/2 teaspoon
- Ground nutmeg, 1/2 teaspoon (freshly grated if you have it)
- Salt, 1/2 teaspoon (I use fine sea salt)
For the glaze (optional but highly recommended):
- Powdered sugar, 1 cup
- Milk, 2-3 tablespoons (or use heavy cream for a richer glaze)
- Vanilla extract, 1/2 teaspoon
- Pinch of cinnamon, for sprinkling on top
A few notes on ingredient selection: For the pumpkin puree, look for cans that feel heavy for their size—that means less water content. If you’re using homemade pumpkin puree, make sure to drain it in a cheesecloth-lined strainer for at least an hour to remove excess moisture. For the molasses, unsulfured is key. Sulfured molasses has a harsh, chemical taste that can ruin the delicate spice balance here.
Substitution-wise, you can swap the all-purpose flour with a 1:1 gluten-free baking blend if needed. For a dairy-free version, use melted coconut oil instead of butter and your favorite non-dairy milk in the glaze. I’ve tried both, and while the texture changes slightly, the flavor stays fantastic.
Equipment Needed
You don’t need a fancy kitchen to make these bars, which is part of their charm. Here’s what you’ll need:
- 9×13-inch baking pan (glass or metal both work—I prefer glass because it heats more evenly)
- Parchment paper (for easy removal—trust me on this)
- Large mixing bowl (for the wet ingredients)
- Medium mixing bowl (for the dry ingredients)
- Whisk (a balloon whisk works best for aerating the flour mixture)
- Rubber spatula (for folding everything together)
- Measuring cups and spoons (dry and liquid sets)
- Cooling rack (a wire rack lets air circulate so the bars don’t get soggy)
If you don’t have parchment paper, you can grease the pan thoroughly with butter and dust it with flour. I’ve done it that way more times than I can count, and it works fine—just be careful when cutting the first piece. Also, if you don’t have a cooling rack, you can use the inverted lid of a clean roasting pan. I learned that trick during a particularly desperate Thanksgiving, and it’s saved me more than once.
Preparation Method
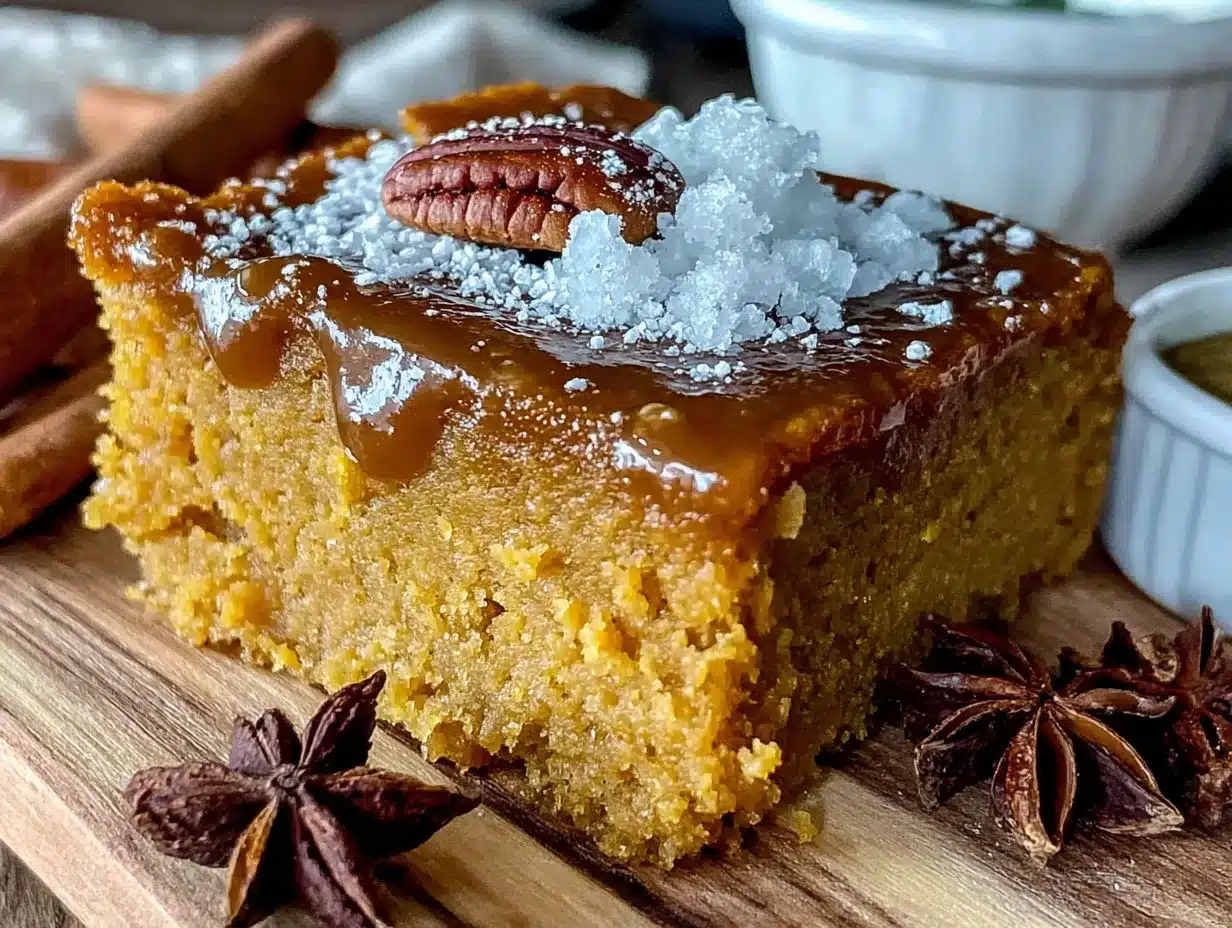
Let’s get to the good part. I’ve broken this down step by step, with all the little things I’ve learned from making these bars over and over.
- Preheat your oven to 350°F (175°C). Line your 9×13-inch baking pan with parchment paper, leaving some overhang on the long sides. This creates handles that let you lift the whole batch out later. I forgot to do this once and spent twenty minutes trying to pry the corner piece out with a butter knife. Learn from my mistakes.
- In your large mixing bowl, whisk together the pumpkin puree, molasses, melted butter, granulated sugar, and brown sugar. Make sure the butter isn’t hot when you add it—you don’t want to scramble the eggs later. Whisk until everything is smooth and well combined. The mixture will look a bit like thick caramel, and it should smell amazing already.
- Add the eggs and vanilla extract. Crack the eggs into a small bowl first (just in case you get shell fragments—I’ve been there), then add them to the pumpkin mixture. Whisk until the eggs are fully incorporated and the batter is smooth and glossy. This should take about 30 seconds of steady whisking.
- In your medium mixing bowl, whisk together the flour, baking soda, baking powder, cinnamon, ginger, cloves, nutmeg, and salt. Whisking the dry ingredients aerates them and ensures the spices are evenly distributed. I used to skip this step, and I always ended up with one bite that tasted like straight cloves. Don’t be like me.
- Gradually add the dry ingredients to the wet ingredients, folding gently with your rubber spatula. Add the flour mixture in thirds, folding just until you can’t see any more white streaks. Overmixing is the enemy here—it develops the gluten and makes the bars tough. You want a thick, scoopable batter that looks almost like a muffin batter.
- Pour the batter into your prepared pan and spread it evenly. Use your spatula to push the batter into the corners and smooth the top. The batter will be thick, so take your time. I like to give the pan a couple of gentle taps on the counter to release any air bubbles.
- Bake for 25-30 minutes, or until a toothpick inserted into the center comes out with just a few moist crumbs. The edges should look set and slightly pulling away from the sides of the pan. Every oven runs a little different—mine tends to run hot, so I start checking at 22 minutes. The smell when these are baking is absolutely ridiculous. Your whole kitchen will smell like autumn.
- Let the bars cool in the pan on a wire rack for at least 15 minutes. Then use the parchment paper handles to lift the entire batch out and transfer to the cooling rack. Let them cool completely before adding the glaze or cutting. I know it’s hard to wait, but warm bars crumble when you cut them. I’ve made that mistake more times than I want to admit.
- If making the glaze, whisk together the powdered sugar, milk, and vanilla extract in a small bowl. Start with 2 tablespoons of milk and add more if needed. The glaze should be thick but pourable—it should drizzle off your whisk in a steady ribbon. Drizzle over the cooled bars and sprinkle with a pinch of cinnamon.
- Let the glaze set for about 10 minutes before cutting. Use a sharp knife to cut into squares or bars. I like to wipe the knife clean between cuts for the cleanest edges.
Cooking Tips & Techniques
After making these bars more times than I can count, I’ve picked up a few tricks that make a real difference. Let me share them so you don’t have to learn the hard way.
Room temperature eggs matter. I know it sounds fussy, but cold eggs can seize up the melted butter and create a lumpy batter. If you forgot to take your eggs out ahead of time, place them in a bowl of warm water for 5 minutes. It works like magic.
Don’t overmix the batter. This is probably the most common mistake I see in baking. Once you add the flour, mix just until combined. A few small lumps are totally fine. Overmixing develops gluten, and gluten makes these bars tough instead of tender. I ruined my first two batches this way.
Check for doneness early. Ovens are liars. They run hot and cold and have hot spots that can fool you. Start checking your bars at 22 minutes, even if the recipe says 25. Insert a toothpick into the center—if it comes out with wet batter, give it more time. If it comes out with a few moist crumbs, you’re golden. If it comes out clean, you’ve gone a minute too far.
Let them cool completely. I can’t stress this enough. Warm bars are soft and fragile. They’ll crumble and fall apart if you try to cut them too soon. The glaze will also slide right off and pool on your cutting board. Patience is hard, but it pays off here.
Use a sharp knife for clean cuts. A dull knife will drag through the bars and mess up the edges. Run your knife under hot water, wipe it dry, then cut. Wipe the blade clean between cuts for the best-looking bars.
Variations & Adaptations
One of the best things about this recipe is how flexible it is. Here are some variations I’ve tried and loved:
Gluten-Free Version: Substitute the all-purpose flour with a 1:1 gluten-free baking blend that contains xanthan gum. I’ve used King Arthur’s Measure for Measure blend with great results. The texture will be slightly more delicate, so handle the bars gently.
Vegan Version: Replace the butter with melted coconut oil or vegan butter. Use flax eggs (1 tablespoon ground flaxseed mixed with 3 tablespoons water per egg, let sit for 5 minutes). For the glaze, use your favorite non-dairy milk. The flavor is slightly different—more coconut-forward if you use coconut oil—but still delicious.
Spice It Up: If you like things a little more adventurous, add 1/4 teaspoon of black pepper or a pinch of cayenne pepper to the spice mix. It sounds weird, but the heat plays beautifully against the sweet molasses. I tried this on a whim and now I can’t stop making it that way.
Nutty Crunch: Fold in 1/2 cup of toasted pecans or walnuts before baking. The crunch adds a lovely contrast to the soft, tender bars. I like to chop them roughly so you get nice chunks in every bite.
Chocolate Lover’s Version: Fold in 1/2 cup of dark chocolate chips or chunks. The bitterness of the chocolate pairs beautifully with the molasses and spices. This version is dangerously good.
Pumpkin Seed Topping: Sprinkle pumpkin seeds (pepitas) over the top before baking for a nutty, crunchy finish. This is my favorite variation for holiday gatherings—it looks beautiful and adds a nice texture.
Serving & Storage Suggestions
These bars are incredibly versatile when it comes to serving. Here’s how I like to enjoy them:
Serving Temperature: Room temperature is ideal. The flavors are most pronounced when the bars aren’t too cold or too warm. If you’ve stored them in the fridge, let them sit on the counter for about 20 minutes before serving.
Presentation Ideas: Cut into clean squares and arrange on a nice plate or cake stand. A light dusting of powdered sugar on top looks beautiful. For a more decadent presentation, serve with a dollop of lightly sweetened whipped cream or a scoop of vanilla ice cream. The cold cream against the spiced bars is pure heaven.
Complementary Dishes: These bars pair beautifully with a hot cup of coffee, chai tea, or spiced apple cider. They also make a fantastic addition to a fall dessert board alongside apple slices, caramel dip, and roasted nuts.
Storage Instructions: Store leftover bars in an airtight container at room temperature for up to 3 days. If you’ve added the glaze, lay a piece of parchment paper between layers to prevent sticking. For longer storage, keep them in the refrigerator for up to a week.
Freezing Instructions: These bars freeze beautifully. Wrap individual bars tightly in plastic wrap, then place them in a freezer-safe bag or container. They’ll keep for up to 3 months. To thaw, let them sit at room temperature for about 30 minutes. I like to keep a stash in the freezer for when I need a quick dessert or a little comfort on a tough day.
Flavor Development: Here’s a secret—these bars actually taste better the next day. The spices and molasses have time to meld and deepen, creating an even more complex flavor. If you can resist eating them all right away, you’ll be rewarded.
Nutritional Information & Benefits
While these bars are definitely a treat, they do have some redeeming qualities. Here’s a rough breakdown per bar (assuming 16 bars per batch):
| Nutrient | Amount Per Bar |
|---|---|
| Calories | 215 |
| Total Fat | 8g |
| Saturated Fat | 4.5g |
| Carbohydrates | 34g |
| Sugar | 22g |
| Fiber | 2g |
| Protein | 3g |
| Vitamin A | 45% DV |
| Iron | 8% DV |
The pumpkin provides a solid dose of Vitamin A, which is great for eye health and immune function. Molasses is actually a decent source of iron, calcium, and potassium—much more so than refined sugar. The spices, particularly ginger and cinnamon, have anti-inflammatory properties. That said, these are still a dessert, and I believe in enjoying them without guilt. Food is about pleasure and connection, not just numbers. Eat one, savor it, and move on with your day.
For dietary considerations: These bars contain gluten, dairy, and eggs. See the variations section for adaptations. They are nut-free as written, making them safe for school events.
Conclusion
These cozy molasses spice pumpkin dessert bars have become my go-to for so many reasons. They’re simple enough for a Tuesday night, special enough for a holiday gathering, and they carry that intangible something that makes people stop and ask for the recipe. For me, they’re a way of keeping Aunt Rita’s kitchen alive, of holding onto that feeling of safety and warmth that I’ve been chasing since I was seven years old.
I hope you’ll give them a try, and I hope they become something special in your kitchen too. Maybe you’ll add your own twist—some extra spice, a different glaze, a handful of nuts. That’s the beautiful thing about recipes; they’re meant to be adapted and made your own. I’d love to hear how they turn out for you. Drop a comment below and let me know what variations you tried, or tag me in your photos. Happy baking, friends. May your kitchen smell like autumn and your heart feel full.
Frequently Asked Questions
Can I use pumpkin pie filling instead of pumpkin puree?
I wouldn’t recommend it. Pumpkin pie filling already has sugar and spices added, which will throw off the balance of this recipe. Stick with 100% pure pumpkin puree for the best results.
Why did my bars turn out dry?
This usually happens from overbaking or overmixing the batter. Check your bars at the 22-minute mark, and remember to mix just until the flour disappears. Also, make sure you’re measuring your flour correctly—scooping directly from the bag can pack in too much flour.
Can I make these bars ahead of time?
Absolutely! In fact, they taste even better the next day. You can bake them a day ahead, cool them completely, and store them in an airtight container. Add the glaze just before serving for the prettiest presentation.
Can I use blackstrap molasses?
I’d steer clear of blackstrap for this recipe. It has a very strong, bitter flavor that can overpower the pumpkin and spices. Stick with unsulfured molasses (sometimes labeled as “mild” or “original”) for the best balance.
How do I know when the bars are done baking?
Insert a toothpick into the center of the bars. If it comes out with a few moist crumbs clinging to it, they’re done. If it comes out with wet batter, give them another 2-3 minutes and check again. The edges should also look set and slightly pulling away from the pan.
Pin This Recipe!
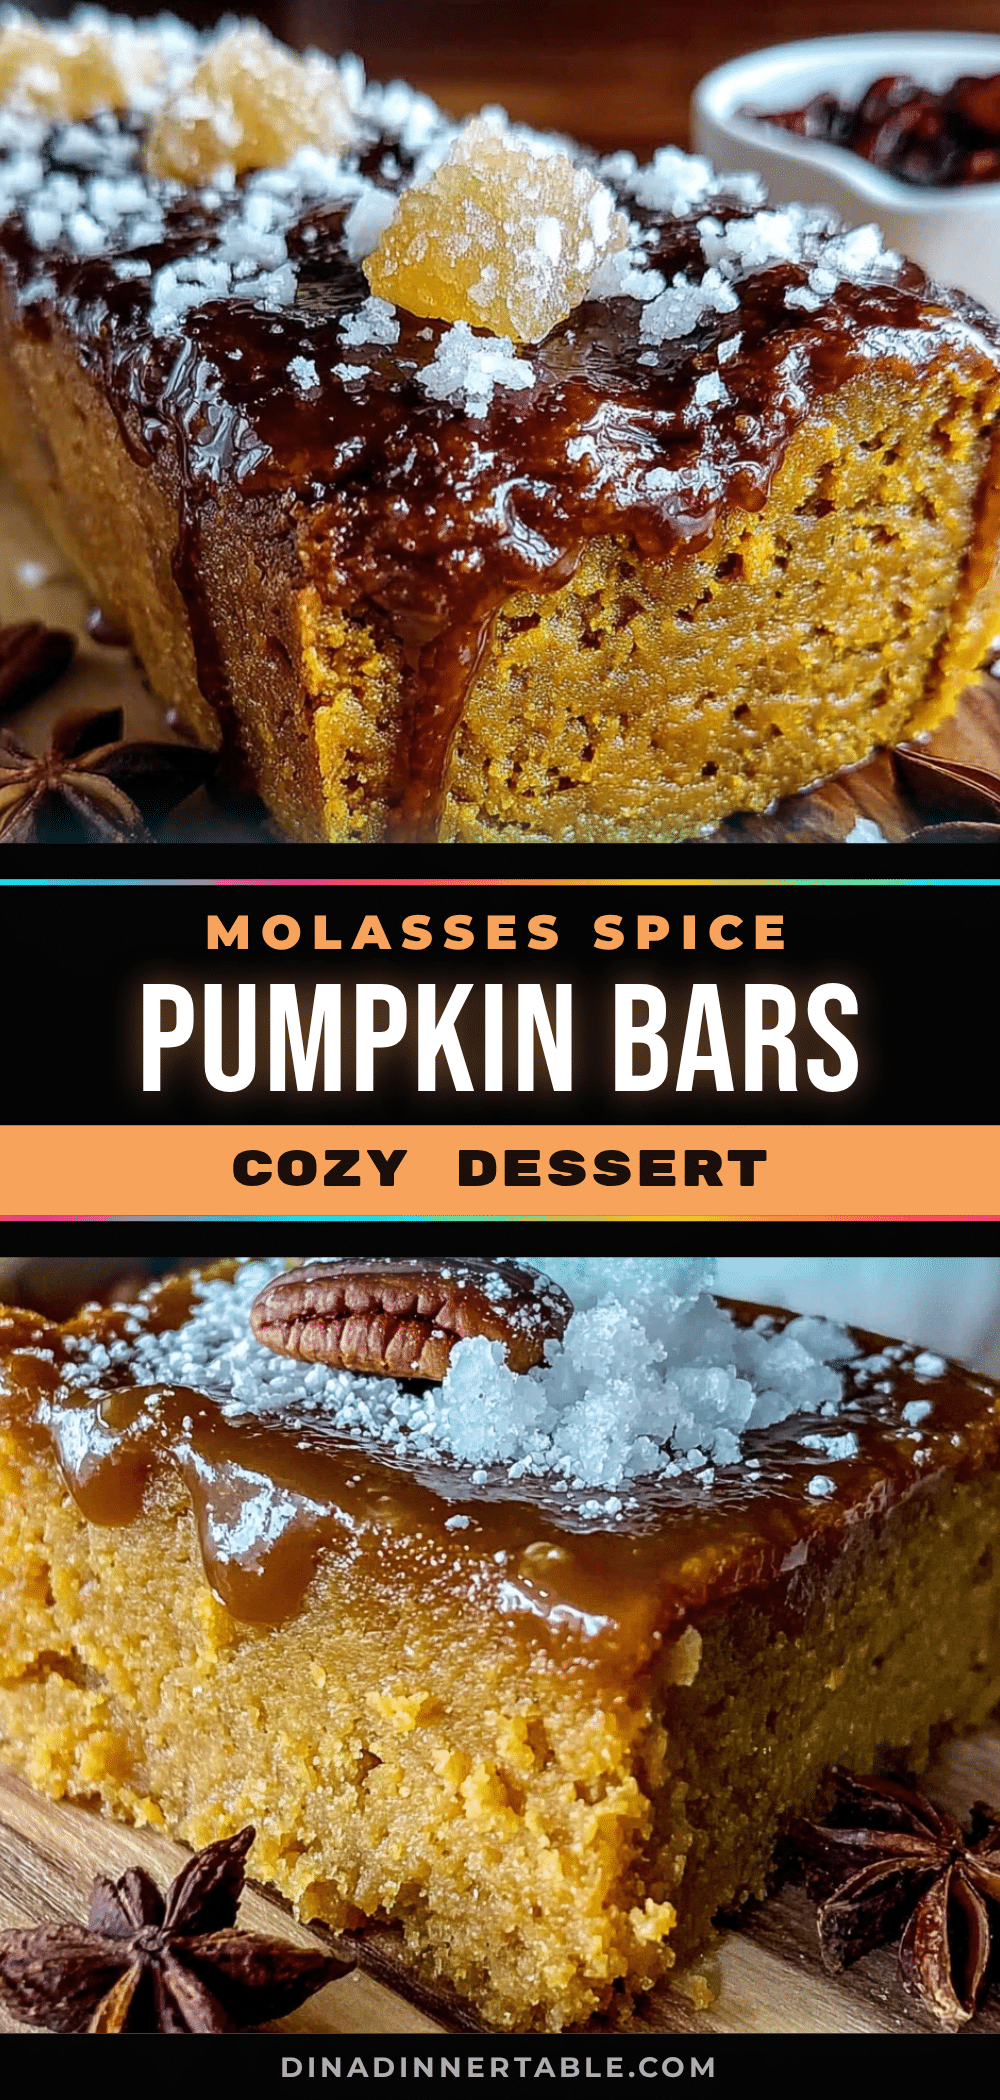
Cozy Molasses Spice Pumpkin Dessert Bars (Easy Fall Recipe)
These cozy molasses spice pumpkin dessert bars are a comforting fall treat with deep, mysterious flavor from molasses, tender pumpkin, and warm spices. They come together in about 45 minutes and are perfect for chilly evenings or holiday gatherings.
- Prep Time: 15 minutes
- Cook Time: 25-30 minutes
- Total Time: 45 minutes
- Yield: 16 bars 1x
- Category: Dessert
- Cuisine: American
Ingredients
- 1 cup pumpkin puree (not pumpkin pie filling)
- 1/2 cup unsulfured molasses
- 1/2 cup unsalted butter, melted and slightly cooled
- 3/4 cup granulated sugar
- 1/2 cup light brown sugar, packed
- 2 large eggs, at room temperature
- 1 teaspoon vanilla extract (pure)
- 1 and 3/4 cups all-purpose flour (spooned and leveled)
- 1 teaspoon baking soda
- 1/2 teaspoon baking powder
- 2 teaspoons ground cinnamon
- 1 teaspoon ground ginger
- 1/2 teaspoon ground cloves
- 1/2 teaspoon ground nutmeg
- 1/2 teaspoon fine sea salt
- For the glaze (optional):
- 1 cup powdered sugar
- 2–3 tablespoons milk (or heavy cream)
- 1/2 teaspoon vanilla extract
- Pinch of cinnamon (for sprinkling)
Instructions
- Preheat your oven to 350°F (175°C). Line a 9×13-inch baking pan with parchment paper, leaving overhang on the long sides.
- In a large mixing bowl, whisk together the pumpkin puree, molasses, melted butter, granulated sugar, and brown sugar until smooth and well combined.
- Add the eggs and vanilla extract. Whisk until fully incorporated and the batter is smooth and glossy, about 30 seconds.
- In a medium mixing bowl, whisk together the flour, baking soda, baking powder, cinnamon, ginger, cloves, nutmeg, and salt.
- Gradually add the dry ingredients to the wet ingredients, folding gently with a rubber spatula in thirds, just until no white streaks remain. Do not overmix.
- Pour the batter into the prepared pan and spread evenly. Tap the pan gently on the counter to release air bubbles.
- Bake for 25-30 minutes, or until a toothpick inserted into the center comes out with just a few moist crumbs. Start checking at 22 minutes.
- Let the bars cool in the pan on a wire rack for at least 15 minutes. Then use the parchment paper handles to lift the entire batch out and transfer to the cooling rack. Cool completely before glazing or cutting.
- If making the glaze, whisk together the powdered sugar, milk, and vanilla extract in a small bowl. Start with 2 tablespoons of milk and add more if needed. Drizzle over the cooled bars and sprinkle with a pinch of cinnamon.
- Let the glaze set for about 10 minutes before cutting into squares or bars using a sharp knife.
Notes
For best results, use room temperature eggs. Do not overmix the batter. Check for doneness early. Let bars cool completely before cutting. These bars taste even better the next day. For gluten-free, use a 1:1 gluten-free baking blend. For dairy-free, use melted coconut oil instead of butter and non-dairy milk in the glaze.
Nutrition
- Serving Size: 1 bar
- Calories: 215
- Sugar: 22
- Fat: 8
- Saturated Fat: 4.5
- Carbohydrates: 34
- Fiber: 2
- Protein: 3
Keywords: pumpkin bars, molasses, fall dessert, easy recipe, spice bars, pumpkin dessert, cozy bars