The summer I turned thirty, my air conditioner died. Not a dramatic death—more of a wheeze, a shudder, and then nothing but the sound of cicadas mocking me through the window. It was the kind of heat that makes you question every life choice that led you to a third-floor walkup with western-facing windows. I was sprawled on the couch, fan pointed directly at my face, when my phone buzzed. It was my landlord’s wife, Mrs. Kowalski, a woman I’d only ever seen shuffling to her mailbox in house slippers. She asked if I had a can of sweetened condensed milk. I mean, honestly, who asks that out of the blue? I said yes, mostly because I was too hot to think of a lie. Ten minutes later, she was at my door, not with a wrench to fix the AC, but with a quart-sized container of the most incredible frozen thing I’d ever tasted. “It’s no-churn,” she said, pushing it into my hands. “You don’t even need a machine. Just the heat to make you desperate enough to try it.” That was my first bite of creamy no-churn salted caramel ice cream, and let me tell you, it was a revelation. The salt cut through the sweet, the texture was silky, and I forgot all about the sweat trickling down my back. Maybe you’ve been there—too hot to cook, too stubborn to buy expensive ice cream. This recipe is for those moments. It stayed with me because it turned a miserable afternoon into a memory I actually smile about. And honestly, it’s the only good thing that came from that broken AC.
Why You’ll Love This Recipe
Let’s be real—homemade ice cream usually sounds like a project. You think about the expensive machine, the rock salt, the wrist cramps from cranking. This creamy no-churn salted caramel ice cream throws all that out the window. I’ve tested this more times than I care to admit, tweaking the caramel so it doesn’t seize, adjusting the salt so it doesn’t overwhelm. It’s been taste-tested by my skeptical neighbor (the one who only buys premium store-bought) and my seven-year-old niece (who has zero patience for “healthy” desserts). Both gave it a thumbs up. Here’s why it works:
- Quick & Easy: You’re looking at about 20 minutes of active work. The freezer does the rest. Perfect for those “I need ice cream now” summer afternoons.
- Simple Ingredients: Heavy cream, sweetened condensed milk, butter, sugar, salt, and vanilla. That’s it. No weird stabilizers or trips to a specialty store.
- Perfect for Summer: This is the dessert for backyard barbecues, lazy pool days, or, you know, surviving a heatwave without AC.
- Crowd-Pleaser: Kids love the sweetness. Adults appreciate the salted caramel complexity. It disappears fast.
- Unbelievably Delicious: The texture is what gets me every time. It’s creamy, not icy. The caramel ribbons are soft, not rock-hard. It’s next-level comfort food that feels fancy but isn’t.
What makes this different from other recipes? It’s the technique. Most no-churn recipes just swirl in caramel sauce, which sinks to the bottom. I use a method where you partially freeze the base, then layer and swirl. It keeps the caramel suspended throughout. This isn’t just another version—it’s your best version. The kind that makes you close your eyes after the first bite. It’s summer in a bowl, reimagined to be faster and more satisfying than anything you’d buy.
What Ingredients You Will Need
This creamy no-churn salted caramel ice cream relies on a handful of pantry-friendly ingredients to create that luscious texture and deep flavor. No strange additives here—just real food doing its thing.
For the Ice Cream Base
- 2 cups (480 ml) heavy cream – Make sure it’s cold. I prefer Organic Valley or Horizon for consistent whipping. The fat content is crucial for that creamy texture.
- 1 can (14 oz / 397 g) sweetened condensed milk – This is non-negotiable for the no-churn method. It adds sweetness and prevents ice crystals. I use Eagle Brand, but store brands work fine.
- 1 teaspoon vanilla extract – Pure vanilla is best. The imitation stuff works, but you’ll taste the difference.
- ¼ teaspoon fine sea salt – Just to balance the sweetness. Don’t skip it.
For the Salted Caramel Swirl
- ½ cup (100 g) granulated sugar – Regular white sugar. No need for fancy organic here.
- 3 tablespoons (42 g) unsalted butter – Cut into cubes. Kerrygold is my go-to for flavor, but any unsalted butter works.
- ¼ cup (60 ml) heavy cream – Warm it slightly before adding to prevent the caramel from seizing.
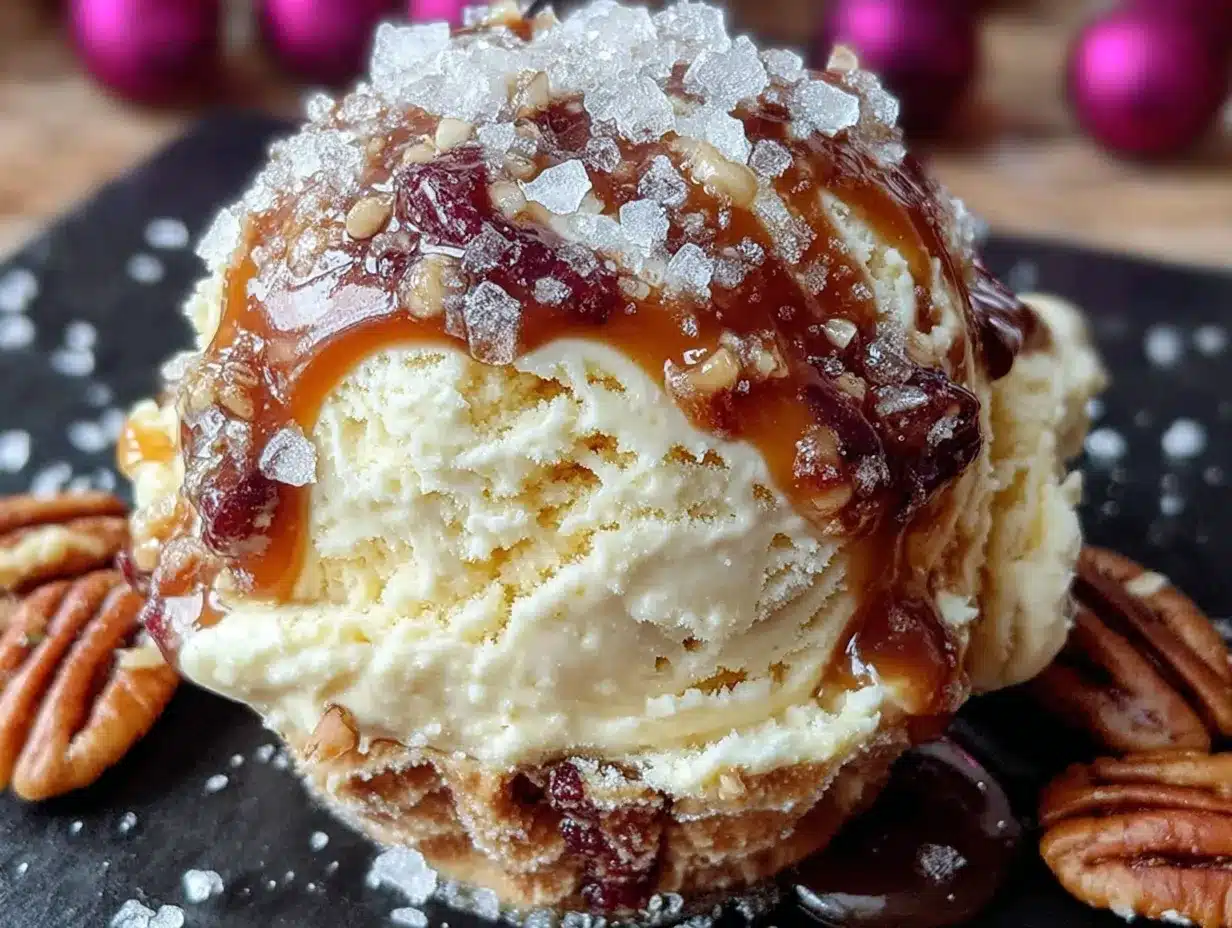
- ½ teaspoon flaky sea salt – Like Maldon. This is for the final sprinkle. It gives those little pops of saltiness that make the caramel sing.
Ingredient Tips: For the caramel, use a light-colored pan so you can see the color change. Dark pans make it hard to tell if the sugar is burning. Also, if you’re dairy-free, you can swap the heavy cream for full-fat coconut cream (chilled) and use a dairy-free butter. The texture will be slightly different—a bit more icy—but still delicious. In summer, I sometimes add a splash of bourbon or rum to the base for a grown-up twist. It also helps with softness straight from the freezer.
Equipment Needed
You don’t need much, which is the beauty of this creamy no-churn salted caramel ice cream. Here’s what I use:
- Electric hand mixer or stand mixer – You’ll be whipping the cream to stiff peaks. You can do this by hand with a whisk, but your arm will hate you. A hand mixer is fine. I use my KitchenAid stand mixer because I’m lazy.
- Large mixing bowl – Make sure it’s clean and dry. Any residual grease can prevent the cream from whipping.
- Medium saucepan – For the caramel. A light-colored one is ideal so you can monitor the sugar’s color.
- 8×4-inch loaf pan or 9-inch square dish – For freezing. Glass or metal both work. I prefer metal because it conducts cold faster.
- Spatula – A good silicone one for folding and swirling.
- Plastic wrap or beeswax wrap – To cover the surface directly, preventing ice crystals.
Budget-Friendly Options: No hand mixer? Use a whisk and some elbow grease. It’ll take 5-7 minutes, but it works. No loaf pan? Use a disposable aluminum tin. No saucepan? A microwave-safe bowl works for the caramel if you’re careful. I’ve done it in a pinch—just watch it closely.
Preparation Method
Let’s get to it. This creamy no-churn salted caramel ice cream comes together in a few simple steps. Take your time with the caramel—it’s worth it.
- Make the caramel swirl (15 minutes): In a medium saucepan over medium heat, add the ½ cup granulated sugar. Shake the pan gently to spread it out. Don’t stir with a spoon yet—just let it melt. After about 3-4 minutes, the edges will start to turn amber. Now you can gently stir with a heatproof spatula. Cook until the sugar is a deep amber color, like a copper penny. This usually takes 6-8 minutes total. Immediately add the 3 tablespoons butter and whisk until melted. The mixture will bubble up—that’s normal. Slowly pour in the ¼ cup warm heavy cream while whisking. It will steam and bubble more. Keep whisking until smooth. Remove from heat and stir in the ½ teaspoon flaky sea salt. Pour into a heatproof bowl and let it cool to room temperature. It will thicken as it cools.
- Whip the cream (5 minutes): In your large mixing bowl, pour in the 2 cups cold heavy cream. Using your hand mixer or stand mixer with the whisk attachment, beat on medium-high speed until stiff peaks form. You’re looking for peaks that hold their shape when you lift the beaters. Don’t over-whip, or you’ll end up with butter. It should take about 3-4 minutes. You’ll hear the sound change from sloshy to thick—that’s your cue.
- Fold in the condensed milk (3 minutes): In a separate small bowl, stir together the can of sweetened condensed milk, 1 teaspoon vanilla extract, and ¼ teaspoon fine sea salt. Pour this mixture over the whipped cream. Gently fold it in using a spatula. Use a cutting motion—down through the middle, scrape along the bottom, up and over. Don’t stir vigorously. You want to keep the air you whipped in. Fold until no white streaks remain. The mixture should look like soft, pillowy clouds.
- Layer and swirl (5 minutes): Spoon about one-third of the cream mixture into your loaf pan. Spread it evenly. Drizzle about one-third of the cooled caramel over the top. Use a knife or skewer to gently swirl it in—just a few figure-eight motions. Don’t overmix, or you’ll lose the distinct ribbons. Repeat with another third of cream, more caramel, and swirl. Finish with the last of the cream and caramel. Save a tiny bit of caramel for drizzling on top before serving.
- Freeze (6 hours or overnight): Place a piece of plastic wrap directly on the surface of the ice cream. This prevents ice crystals from forming. Put the lid on the pan or cover tightly with foil. Freeze for at least 6 hours, but overnight is better. The texture is creamiest after a full 8-12 hours. If you’re impatient like me, you can sneak a spoonful after 4 hours—it’ll be soft-serve consistency.
Pro Tip: If your caramel hardens too much after cooling, microwave it for 10 seconds to loosen it up. Just don’t get it hot—warm is fine.
Cooking Tips & Techniques
I’ve made this creamy no-churn salted caramel ice cream at least a dozen times, and I’ve messed it up plenty. Here’s what I’ve learned the hard way so you don’t have to.
Don’t rush the caramel. The first time I made this, I cranked the heat too high and ended up with burnt sugar that smelled like a campfire. Low and slow is the way. Watch for that amber color. If you see smoke, you’ve gone too far. Just start over—sugar is cheap.
Temperature matters. Your cream needs to be cold for whipping. If it’s warm, it won’t hold peaks. Pop it in the freezer for 10 minutes if you forgot to chill it. Also, when you add the cream to the caramel, make sure it’s warm (not cold). Cold cream will make the caramel seize into hard lumps. I learned that one the messy way.
Swirl with a light hand. It’s tempting to really mix that caramel in, but resist. You want distinct ribbons of caramel, not a uniform tan color. A few figure-eights with a knife is plenty. Think of it as painting, not stirring.
Multitasking strategy: Make the caramel first and let it cool while you whip the cream. That way, everything is ready at the same time. Also, clear a shelf in your freezer beforehand. There’s nothing worse than playing freezer Tetris with a half-frozen pan of ice cream.
Consistency tip: If your ice cream comes out too hard after freezing, let it sit on the counter for 5-10 minutes before scooping. The alcohol trick (adding a tablespoon of vodka or bourbon) helps keep it scoopable, but it’s not necessary.
Variations & Adaptations
This creamy no-churn salted caramel ice cream is a great base for experimentation. Here are some twists I’ve tried and loved.
- Chocolate Salted Caramel: Add ¼ cup cocoa powder to the condensed milk mixture before folding. The chocolate and salted caramel are a match made in heaven. I did this for a party and it vanished in minutes.
- Vegan Version: Use full-fat coconut cream (chilled overnight) instead of heavy cream. Use a dairy-free sweetened condensed milk (like Nature’s Charm) and vegan butter. The texture is slightly less creamy but still delicious. My vegan friend approved.
- Spiced Caramel: Add ½ teaspoon cinnamon and a pinch of cayenne to the caramel while it’s cooking. The warmth of the spices cuts through the sweetness. Perfect for fall, but honestly, I make it in summer too.
- Nutty Crunch: Fold in ½ cup toasted pecans or salted peanuts after swirling the caramel. The crunch adds a lovely contrast to the creamy base. I did this once when I had leftover nuts from a salad, and it was a happy accident.
- Espresso Kick: Dissolve 1 teaspoon instant espresso powder in the vanilla extract before adding to the cream. It doesn’t make it coffee-flavored—it just deepens the caramel flavor. Trust me on this one.
Serving & Storage Suggestions
This creamy no-churn salted caramel ice cream is best served slightly softened. Take it out of the freezer about 5-10 minutes before scooping. Use a warm ice cream scoop (run it under hot water) for those perfect round scoops.
Serving Ideas: Serve in a waffle cone or a simple bowl. Drizzle with the reserved caramel and a pinch of flaky sea salt. It’s also amazing on top of a warm brownie or a slice of apple pie. For a summer party, I sometimes serve it in mini mason jars with a drizzle of caramel and a sprinkle of sea salt—looks fancy, takes zero effort.
Storage: Keep the ice cream in the freezer, tightly covered. Press plastic wrap directly onto the surface to prevent ice crystals. It will keep for up to 2 weeks, but honestly, it never lasts that long in my house. The flavor actually deepens after a day or two—the caramel infuses the cream more.
Reheating: You don’t reheat ice cream, obviously, but if it’s too hard, microwave the container for 10-15 seconds to soften it slightly. Or just leave it on the counter for 10 minutes. The texture will be perfect.
Nutritional Information & Benefits
Let’s be honest—this is a treat. But here’s the estimated nutritional breakdown per ½-cup serving (based on 8 servings):
- Calories: ~380
- Fat: 24g
- Carbohydrates: 38g
- Protein: 4g
- Sugar: 35g
- Sodium: 220mg
Health Highlights: The heavy cream provides calcium and vitamin A. The salt in the caramel helps with electrolyte balance (okay, I’m reaching, but it’s true). If you use grass-fed butter, you’ll get more omega-3s. This recipe is naturally gluten-free and vegetarian. For a lower-sugar version, you can use a no-sugar-added sweetened condensed milk, but the texture will be slightly different—still good, just less creamy.
Allergen Note: Contains dairy. Not suitable for vegans unless modified. Always check labels if you’re serving someone with allergies.
From a wellness perspective, I believe in balance. This ice cream is meant to be enjoyed, not stressed over. A scoop after a long day is good for the soul, and that counts for something.
Conclusion
This creamy no-churn salted caramel ice cream is the summer dessert you didn’t know you needed. It’s simple enough for a Tuesday night, impressive enough for a party, and so good you’ll find excuses to make it. The salted caramel swirl is the star—it’s rich, buttery, and perfectly balanced with sea salt. The no-churn method means you don’t need any special equipment, just a little patience while it freezes.
I love this recipe because it reminds me that the best things often come from unexpected places—like a broken AC and a landlord’s wife with a sweet tooth. It’s proof that you don’t need fancy tools or complicated techniques to make something amazing. Just good ingredients and a little bit of time.
Now I’d love to hear from you. Have you tried making no-churn ice cream before? What’s your favorite flavor combination? Drop a comment below and let me know. And if you make this, tag me in your photos—I want to see those caramel swirls! Share this recipe with someone who needs a little summer sweetness in their life. Happy scooping!
Frequently Asked Questions
Can I use half-and-half instead of heavy cream?
I wouldn’t recommend it. Heavy cream has a high fat content (36% or more), which is what gives this ice cream its creamy texture. Half-and-half has less fat and more water, which will lead to ice crystals and a less rich result. Stick with heavy cream for the best texture.
How long does this ice cream need to freeze?
At least 6 hours, but overnight is ideal. The longer it freezes, the firmer and creamier it gets. If you’re in a hurry, you can eat it after 4 hours—it’ll be soft-serve consistency. Just don’t expect perfect scoops.
Why did my caramel turn into a hard lump?
This usually happens when you add cold cream to hot caramel. The temperature shock causes the sugar to seize. To fix it, gently reheat the caramel while whisking in a splash of warm cream. Next time, warm your cream slightly before adding it.
Can I make this without a hand mixer?
Yes! You can whip the cream by hand with a whisk. It takes about 5-7 minutes of vigorous whisking, but it works. Your arm will get a workout, but the result is the same. Just make sure the cream is very cold.
How do I store leftovers and keep them fresh?
Press a piece of plastic wrap directly onto the surface of the ice cream before sealing the container. This prevents air from reaching it and forming ice crystals. Store in the coldest part of your freezer, not the door. It keeps well for up to 2 weeks, but the texture is best within the first week.
Pin This Recipe!
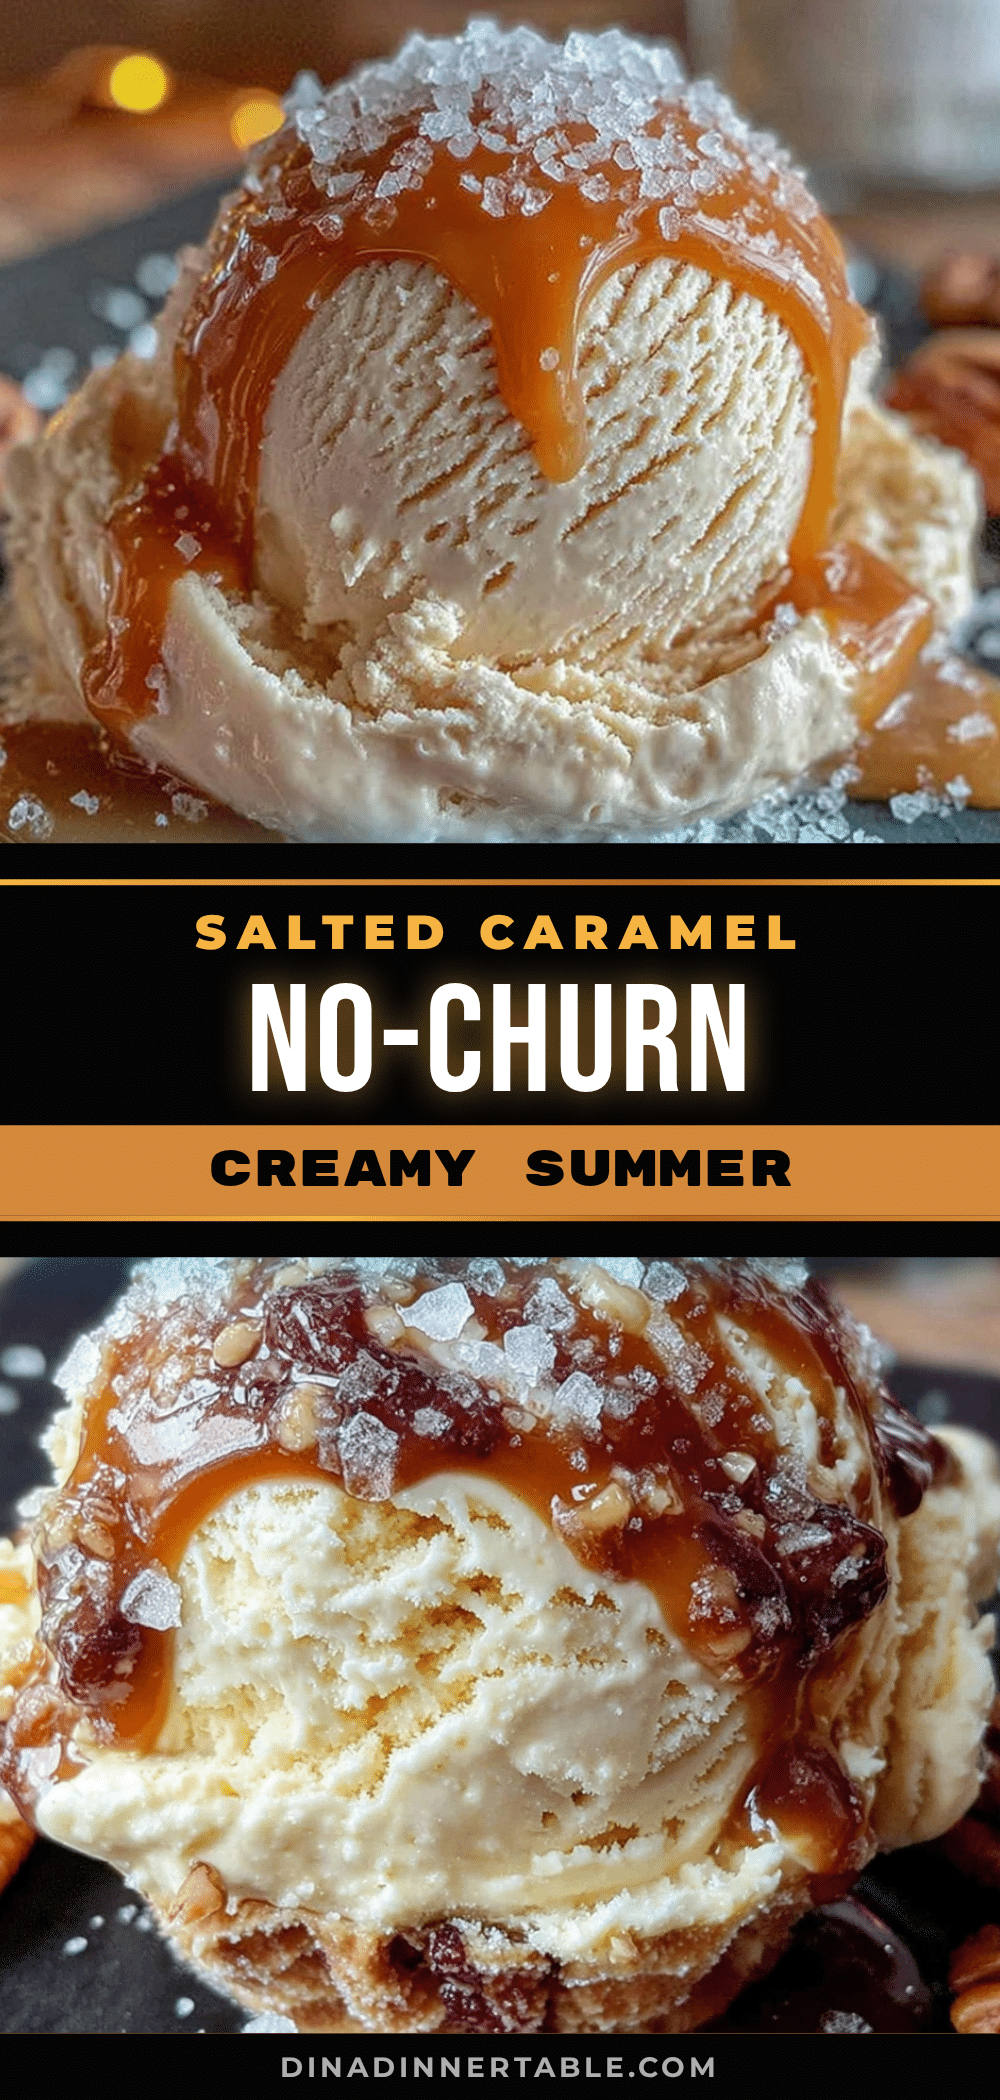
Creamy No-Churn Salted Caramel Ice Cream Easy Summer Dessert
This creamy no-churn salted caramel ice cream is a simple, no-machine summer dessert with a rich salted caramel swirl. It’s quick to make with just a few ingredients and perfect for hot days.
- Prep Time: 20 minutes
- Cook Time: 15 minutes
- Total Time: 6 hours 35 minutes
- Yield: 8 servings 1x
- Category: Dessert
- Cuisine: American
Ingredients
- 2 cups (480 ml) heavy cream
- 1 can (14 oz / 397 g) sweetened condensed milk
- 1 teaspoon vanilla extract
- ¼ teaspoon fine sea salt
- ½ cup (100 g) granulated sugar
- 3 tablespoons (42 g) unsalted butter, cubed
- ¼ cup (60 ml) heavy cream, warmed
- ½ teaspoon flaky sea salt
Instructions
- Make the caramel swirl: In a medium saucepan over medium heat, add the ½ cup granulated sugar. Shake the pan gently to spread it out. Don’t stir with a spoon yet—just let it melt. After about 3-4 minutes, the edges will start to turn amber. Now you can gently stir with a heatproof spatula. Cook until the sugar is a deep amber color, like a copper penny. This usually takes 6-8 minutes total. Immediately add the 3 tablespoons butter and whisk until melted. The mixture will bubble up—that’s normal….
- Whip the cream: In your large mixing bowl, pour in the 2 cups cold heavy cream. Using your hand mixer or stand mixer with the whisk attachment, beat on medium-high speed until stiff peaks form. You’re looking for peaks that hold their shape when you lift the beaters. Don’t over-whip, or you’ll end up with butter. It should take about 3-4 minutes.
- Fold in the condensed milk: In a separate small bowl, stir together the can of sweetened condensed milk, 1 teaspoon vanilla extract, and ¼ teaspoon fine sea salt. Pour this mixture over the whipped cream. Gently fold it in using a spatula. Use a cutting motion—down through the middle, scrape along the bottom, up and over. Don’t stir vigorously. You want to keep the air you whipped in. Fold until no white streaks remain. The mixture should look like soft, pillowy clouds.
- Layer and swirl: Spoon about one-third of the cream mixture into your loaf pan. Spread it evenly. Drizzle about one-third of the cooled caramel over the top. Use a knife or skewer to gently swirl it in—just a few figure-eight motions. Don’t overmix, or you’ll lose the distinct ribbons. Repeat with another third of cream, more caramel, and swirl. Finish with the last of the cream and caramel. Save a tiny bit of caramel for drizzling on top before serving.
- Freeze: Place a piece of plastic wrap directly on the surface of the ice cream. This prevents ice crystals from forming. Put the lid on the pan or cover tightly with foil. Freeze for at least 6 hours, but overnight is better. The texture is creamiest after a full 8-12 hours.
Notes
For best texture, freeze overnight. If caramel hardens after cooling, microwave for 10 seconds to loosen. Let ice cream sit at room temperature for 5-10 minutes before scooping for easier serving.
Nutrition
- Serving Size: 1/2 cup
- Calories: 380
- Sugar: 35
- Sodium: 220
- Fat: 24
- Saturated Fat: 15
- Carbohydrates: 38
- Protein: 4
Keywords: no-churn ice cream, salted caramel ice cream, easy summer dessert, homemade ice cream, no machine ice cream