I was standing in the produce aisle last Tuesday, staring at a pile of clementines, when the smell hit me. Not the oranges themselves—it was the faint, earthy scent of a cardboard box that had gotten a little damp. And just like that, I was seven years old, sitting cross-legged on my aunt Carol’s linoleum kitchen floor, helping her unpack the grocery bags for our annual Halloween get-together.
She’d always buy a sugar pumpkin that year’s centerpiece, but I was more interested in the fruit. She’d lay everything out on the counter—green grapes, apple slices, mandarin wedges—and arrange them in this weird, haphazard way that I didn’t understand until I was older. She was making a pumpkin patch, she told me. Out of fruit. I thought she was a little nuts, honestly. But I also thought it was the coolest thing I’d ever seen.
I tried to recreate that fruit tray a few times over the years, and it always came out looking like a sad, lumpy blob. The proportions were off, the colors clashed, and I could never get that carefree, whimsical look she had. Maybe you’ve been there—trying to make something healthy and festive, but it ends up looking more like a science experiment than a snack. Then, a few weeks ago, I was at a friend’s fall brunch, and someone brought a fruit platter that stopped me in my tracks. It was a pumpkin patch. A beautiful, light, fresh pumpkin patch fruit tray that looked like it belonged on a magazine cover. I practically tackled her for the method. And after a few tries of my own, I finally cracked the code. This is that tray. The one that finally tastes as good as the memory.
Why You’ll Love This Recipe
This isn’t just another fruit platter that sits on the table looking pretty while everyone grabs a handful of chips instead. This Healthy Pumpkin Patch Fruit Tray is designed to be the star of the show—the thing people hover around, the thing that gets devoured before the dip even hits the table. I’ve tested this at a kid’s birthday party, a work potluck, and a quiet Thanksgiving with my in-laws, and it disappeared every single time.
- Quick & Easy: You can assemble this in under 20 minutes flat. No baking, no complicated steps, no messing up the kitchen. It’s the perfect last-minute thing to bring when you realize you can’t show up empty-handed.
- Simple Ingredients: Everything on this tray comes from the regular grocery store. No fancy health food runs, no weird superfood powders. Just real fruit that looks like a pumpkin patch.
- Perfect for Fall Gatherings: Whether it’s a Halloween party, a Friendsgiving, or just a cozy Saturday afternoon, this tray fits right in. It’s festive without being fussy.
- Crowd-Pleaser: I’ve watched kids who swear they don’t like fruit go back for thirds. There’s something about the little pumpkin shapes and the “dirt” dip that makes it irresistible.
- Unbelievably Delicious: The combination of sweet honeydew, tart green apples, and creamy yogurt dip is honestly next-level. The texture contrast between the crisp fruit and the smooth dip is pure comfort food magic.
What makes this different from every other fruit tray out there? It’s the presentation, sure, but it’s also the balance. The dip isn’t too sweet. The fruit is cut into manageable, fun shapes. And the whole thing feels like a celebration, not a compromise. This is the kind of healthy snack that makes you close your eyes after the first bite. It’s comfort food reimagined—lighter, fresher, but with all the soul-soothing satisfaction of a warm slice of pumpkin pie.
What Ingredients You Will Need
This recipe uses simple, wholesome ingredients to create a visually stunning and deliciously satisfying snack. The beauty of this pumpkin patch fruit tray is that everything is easy to find and easy to swap based on what looks good at the store. Here’s what you’ll need to gather:
For the Pumpkin Patch Base (The “Pumpkins”)
- 1 large honeydew melon – This is the star of the show. Look for one that feels heavy for its size and has a slightly waxy, not soft, rind. The light green color is perfect for the pumpkin base.
- 2-3 medium navel oranges – These will be your “mini pumpkins.” The bright orange color is essential. I prefer navel oranges because they’re seedless and easy to segment.
- 1 small cantaloupe – Optional, but I like using it to add a few “speckled” pumpkins for variety. The orange flesh and netted rind give a nice texture contrast.
For the “Dirt” & Vines (The Patch)
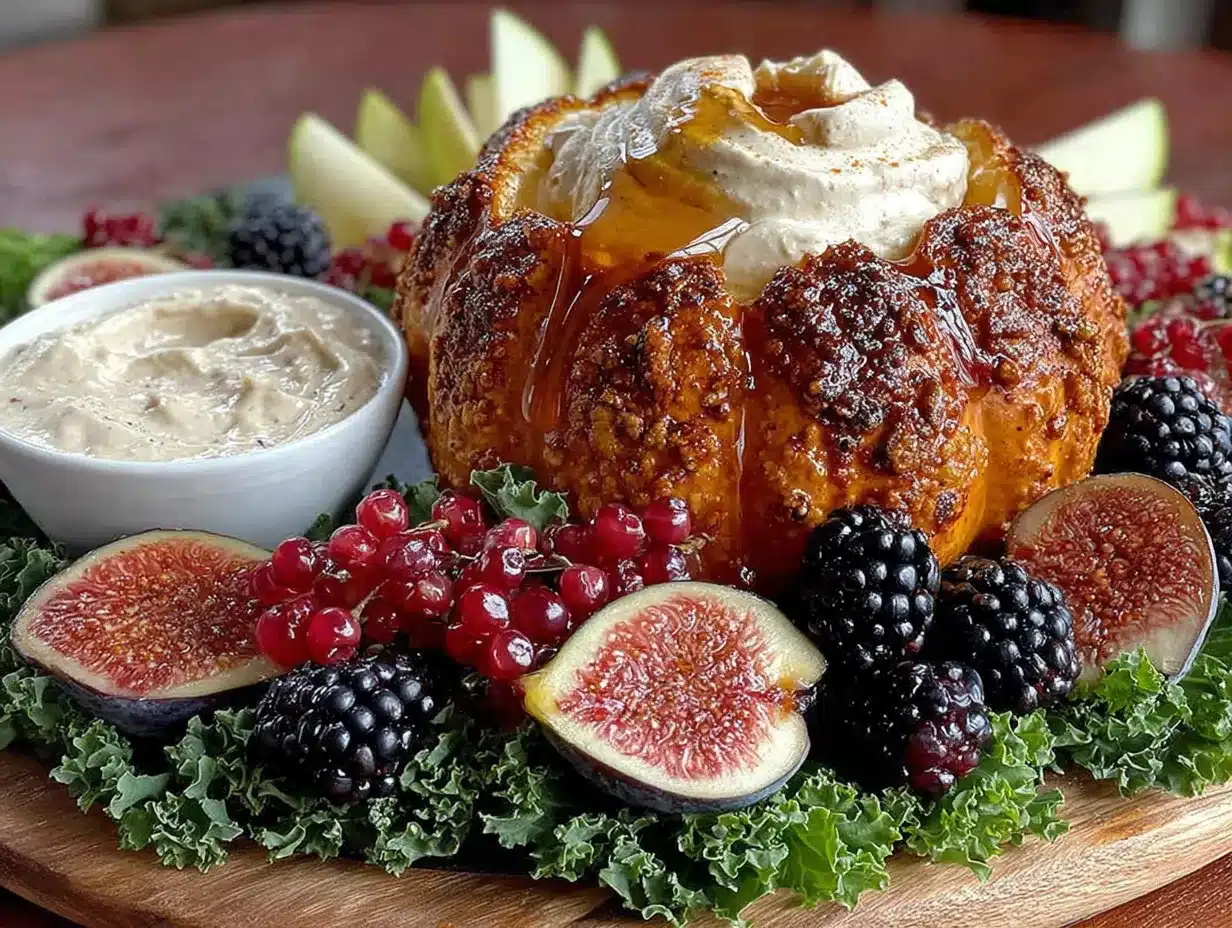
- 2 cups plain Greek yogurt – This is the base of your “dirt” dip. I recommend full-fat or 2% for the creamiest texture. The tanginess balances the sweet fruit perfectly. (I’ve tried nonfat, and it’s too runny.)
- 3 tablespoons honey or maple syrup – A little sweetness for the dip. Maple syrup gives a slightly more fall-ish flavor, but honey works beautifully too.
- 1 teaspoon vanilla extract – Just a splash to round out the flavors.
- 1/2 cup crushed graham crackers or almond flour – This is your “dirt.” Graham crackers are classic and sweet, but almond flour is great for a lower-carb option.
- 1 tablespoon unsweetened cocoa powder – Mix this with the graham crackers to make the “dirt” look more like real soil. It adds a tiny bit of chocolate flavor, but not enough to overpower.
- Green grapes or celery sticks – These become the “vines” trailing out of the pumpkins. Grapes are easier, but celery gives a nice crunch. I use both.
For the “Pumpkin Stems” (The Finishing Touch)
- Small pretzel sticks – These are the most realistic stems. Just snap them to the right size.
- Fresh mint leaves or small basil leaves – These become the little leaves on top of the pumpkins. Mint is prettier, but basil works in a pinch.
Pro Tips for Ingredient Selection
I’ve learned the hard way that a watery melon ruins the whole thing. When you pick your honeydew, give it a gentle press near the stem. If it gives a little, it’s ripe. If it’s rock hard, it’s not ready. Also, for the oranges, I recommend getting ones that are firm and heavy. The juice content matters for the shape of the segments. And honestly, if you can’t find a good honeydew, a large cantaloupe works just as well—just pick one with a nice, symmetrical shape.
Equipment Needed
You don’t need a lot of fancy tools for this, which is part of the charm. Here’s what I use:
- Sharp chef’s knife – A good, sharp knife is non-negotiable for cutting melons cleanly. A dull knife will crush the flesh.
- Cutting board – Preferably a large one. You’ll be doing a lot of slicing.
- Melon baller or small cookie scoop – This is for making the perfect round “pumpkin” shapes from the honeydew. If you don’t have one, you can cut cubes, but the spheres look way more like pumpkins.
- Small round cookie cutters (optional) – I use a 1-inch and a 1.5-inch round cutter to make the orange segments into perfect circles. It’s not strictly necessary, but it makes the pumpkins look uniform.
- Large serving platter or tray – A white or wooden board works best to make the colors pop. I have a big white ceramic platter that I use for everything.
- Small bowl – For the yogurt “dirt” dip.
- Piping bag or small zip-top bag – For drizzling the dip. Not essential, but it makes it look cleaner.
A melon baller is the best $5 I ever spent. If you don’t have one, just cut the honeydew into 1-inch cubes and call it a day. It’ll still taste amazing.
Preparation Method
Alright, let’s get to it. This Healthy Pumpkin Patch Fruit Tray comes together in about 20 minutes, but I promise it looks like you spent an hour on it. Here’s exactly how I do it:
- Make the “dirt” dip. In a small bowl, combine 2 cups of Greek yogurt, 3 tablespoons of honey (or maple syrup), and 1 teaspoon of vanilla extract. Whisk until smooth. In a separate small bowl, mix the crushed graham crackers and cocoa powder. Set both aside. The dip should be thick and creamy—if it’s too runny, add a little more yogurt. (I once added too much honey and it was a soupy mess. Learn from my mistakes.)
- Prep the honeydew “pumpkins.” Cut the honeydew in half and scoop out the seeds with a spoon. Using your melon baller, scoop out as many perfect spheres as you can. You’ll need about 20-25 for a nice, full tray. If you don’t have a melon baller, just cut the flesh into 1-inch cubes and round the edges slightly with a knife. The shape doesn’t have to be perfect—they’re going to look like pumpkins anyway.
- Make the orange “mini pumpkins.” Peel the oranges and separate them into segments. Using your small round cookie cutter, cut each segment into a neat circle. If you don’t have a cutter, just cut them into small, round-ish pieces. You want them to be about the size of a quarter. These will sit on top of the honeydew spheres to look like little pumpkin tops.
- Assemble the pumpkin patch. Take your large platter and arrange the honeydew spheres in a rough cluster, leaving some space between them. Place one orange circle on top of each honeydew sphere. This is the “top” of the pumpkin. Don’t press down too hard—you want them to sit gently.
- Add the stems and leaves. Snap a small pretzel stick in half and gently press one half into the center of each orange circle. This is the stem. Then, tuck a small mint leaf (or basil leaf) next to the stem to look like a pumpkin leaf. It’s a tiny detail, but it makes the whole thing look incredibly cute.
- Create the “vines.” Take your green grapes or celery sticks and arrange them around the pumpkins, trailing outwards like vines. I like to use a mix of both—the grapes look like little leaves, and the celery looks like stems. Place them so they connect the pumpkins to each other.
- Add the “dirt.” Spoon the yogurt dip into a small bowl and place it in the center of the tray, or off to one side. Sprinkle the graham cracker-cocoa mixture around the pumpkins and on the tray to look like soil. Be generous—it’s the “dirt” that makes the pumpkin patch look real.
- Drizzle the dip (optional but fun). If you want to make it extra pretty, transfer a little of the yogurt dip into a piping bag or a small zip-top bag with the corner snipped off. Drizzle it in a zigzag pattern over the “dirt.” It looks like little patches of frost or dew.
- Garnish and serve. Add a few extra mint leaves around the tray for color. Serve immediately, or refrigerate for up to an hour before serving. The dip will keep the fruit from browning too quickly.
Sensory cue: When you place the orange segment on the honeydew, you should feel a slight resistance. If it slides off, the honeydew sphere is too smooth. Just dab a tiny bit of yogurt dip on the bottom of the orange to act as glue. And when you bite into one, you’ll get that burst of honeydew sweetness followed by the tangy pop of orange—it’s a perfect little flavor bomb.
Cooking Tips & Techniques
I’ve made this pumpkin patch fruit tray about a dozen times now, and I’ve picked up a few tricks that make the process smoother and the result prettier. Here’s what I’ve learned:
- Chill your melon first. A cold honeydew is much easier to scoop into clean spheres. If it’s room temperature, the flesh gets mushy and the balls come out lopsided. Pop it in the fridge for an hour before you start.
- Don’t over-mix the “dirt.” The graham cracker-cocoa mixture should be a little clumpy. If you stir it too much, it becomes a fine powder that looks more like sand than soil. A few larger crumbs make it look authentic.
- Use a toothpick for the stems. If pretzel sticks are too thick or break into weird shapes, use a toothpick instead. Just snap off the sharp tip. It looks surprisingly realistic.
- Prep the fruit ahead of time. You can cut the honeydew and oranges up to 24 hours in advance. Store them in an airtight container in the fridge. The dip can also be made a day ahead. Assemble the tray right before serving to keep everything looking fresh.
- My biggest failure: The first time I made this, I used a very ripe cantaloupe. It was so soft that the melon balls fell apart as soon as I scooped them. I ended up with a pile of melon mush and a very sad-looking tray. Now I always use a firm, slightly under-ripe melon. It holds its shape much better.
- Timing tip: If you’re bringing this to a party, assemble everything except the “dirt” at home. Transport the components separately and sprinkle the graham cracker mix on right before you set it out. That way, the “soil” stays crunchy and doesn’t get soggy.
Variations & Adaptations
One of the best things about this Healthy Pumpkin Patch Fruit Tray is how easy it is to adapt. I’ve tried a few different versions, and they’ve all been hits. Here are some ideas to make it your own:
- Low-Carb / Keto Version: Swap the honeydew for a large zucchini (peeled and cut into spheres). Use a sugar-free maple syrup in the dip and skip the graham crackers. Use crushed pork rinds mixed with cocoa powder for the “dirt.” It sounds weird, but it works. I tried it for a friend who’s keto, and she said it was the best thing she’d eaten in months.
- Berry Patch Twist: Instead of a pumpkin patch, make a “berry patch.” Use a mix of large strawberries (cut to look like little pumpkins) and blackberries. The dip stays the same, but use crushed freeze-dried raspberries for the “dirt.” It’s a gorgeous deep red color.
- Spiced Dip Variation: Add 1/2 teaspoon of pumpkin pie spice or cinnamon to the yogurt dip. It gives the whole tray a warm, fall-like flavor that pairs beautifully with the fruit. I did this for a Thanksgiving brunch, and people couldn’t stop talking about it.
- Allergen-Friendly: Use coconut yogurt instead of Greek yogurt for a dairy-free version. For a nut-free option, skip the almond flour and use crushed gluten-free graham crackers. The dip is naturally gluten-free if you use honey and skip the graham crackers entirely.
- Savory Pumpkin Patch: This is a wild one, but I tried it for a party and it was a hit. Use cucumber spheres instead of honeydew, and use a ranch or herb dip instead of the sweet yogurt. The “dirt” can be crushed everything bagel seasoning. It’s a fun, unexpected appetizer.
Serving & Storage Suggestions
This tray is best served cold, straight from the fridge. The contrast between the chilled fruit and the creamy room-temperature dip is part of the magic. I like to set the platter out about 10 minutes before guests arrive so the dip can soften slightly, but the fruit stays crisp.
What to serve with it: This fruit tray is a meal on its own, but it pairs beautifully with a cup of hot apple cider or a cozy pumpkin spice latte. If you’re making it for a brunch, serve it alongside a stack of fluffy pumpkin pancakes for a full fall spread. For a savory contrast, I love putting it next to a warm bowl of butternut squash soup—the sweet fruit balances the earthy soup perfectly.
Storage: If you have leftovers (which is rare, but it happens!), store the fruit in an airtight container in the refrigerator for up to 2 days. The dip should be stored separately. The graham cracker “dirt” will get soggy if left on the fruit, so try to remove it before storing. The honeydew and orange pieces will keep their texture well, but the mint leaves will wilt, so pick those out.
Reheating: This is a cold dish, so there’s no reheating needed. But if the dip has been sitting out for a while, just give it a quick stir before serving again. The flavors actually develop as it sits—the honey and vanilla meld together beautifully after a few hours.
Flavor development: I honestly think this tray tastes even better after it’s been sitting for an hour or two. The honey in the dip starts to soak into the fruit just a little, creating a subtle sweetness that’s really lovely. Just don’t leave it out for more than 2 hours if you’re serving it at a party.
Nutritional Information & Benefits
This Healthy Pumpkin Patch Fruit Tray is as good for you as it is delicious. Here’s a rough breakdown per serving (about 1 cup of fruit with 2 tablespoons of dip):
| Nutrient | Amount per Serving |
|---|---|
| Calories | ~180 |
| Protein | 8g |
| Carbohydrates | 32g |
| Fiber | 3g |
| Sugar | 24g (natural from fruit) |
| Fat | 3g |
| Vitamin C | 70% DV |
| Calcium | 15% DV |
Health benefits: Honeydew melon is packed with vitamin C and potassium, which are great for your immune system and blood pressure. Oranges are a powerhouse of antioxidants and fiber. Greek yogurt provides protein and probiotics for gut health. And the honey adds natural antibacterial properties. This is a snack that actually fuels your body instead of just filling it up.
Dietary considerations: This recipe is naturally vegetarian and can be made gluten-free (use certified gluten-free graham crackers or skip them), dairy-free (use coconut yogurt), and low-carb (see variations above). It’s also nut-free if you skip the almond flour. The only potential allergen is dairy, which is easily swapped.
I love that I can serve this at a party and feel good about what I’m eating. It’s not a “guilty pleasure”—it’s a genuinely wholesome snack that happens to look like a work of art.
Frequently Asked Questions
Can I make this fruit tray the night before?
Yes, you can prep the fruit and dip the night before, but I recommend assembling the tray no more than 2-3 hours before serving. The “dirt” will get soggy if it sits on the fruit too long, and the mint leaves will wilt. Store the components separately in the fridge and put it all together right before your guests arrive.
What if I can’t find a honeydew melon?
No problem! A large cantaloupe works beautifully as a substitute. The color is a little different (more orange than green), but it still looks like a pumpkin patch. Just make sure the cantaloupe is firm so it holds its shape when you scoop it. A small watermelon also works, but it’s a bit trickier to cut into neat spheres.
How do I keep the fruit from turning brown?
The citrus in the oranges helps prevent browning, but if you’re worried about the honeydew, toss the spheres in a little lemon juice (about 1 tablespoon) right after you cut them. It won’t affect the flavor much, and it keeps them looking bright and fresh for hours. The yogurt dip also acts as a barrier, so the fruit under the dip stays perfect.
Can I use a different dip?
Absolutely! A cream cheese-based dip (mix 8 oz softened cream cheese with 1/4 cup honey and 1 tsp vanilla) is delicious and richer. For a lighter option, a simple honey-lime dressing (3 tbsp lime juice, 2 tbsp honey) drizzled over the fruit is amazing. Just keep in mind that a runnier dip might make the “dirt” soggy faster.
How many people does this serve?
This recipe makes a generous platter that serves about 8-10 people as a snack or appetizer. If you’re serving it as part of a larger spread (like a brunch or buffet), it can stretch to 12-15 people. I’ve found that people tend to eat more fruit when it’s presented in a fun way, so I always make a little extra.
Conclusion
This Healthy Pumpkin Patch Fruit Tray is more than just a pretty snack—it’s a little piece of fall magic that brings people together. It’s the kind of thing that makes kids giggle and adults smile, and it somehow manages to be both healthy and indulgent at the same time. I love that I can whip it up in 20 minutes and feel like I’ve created something special.
The best part? You can make it your own. Swap in your favorite fruits, tweak the dip to your taste, or go wild with the decorations. I’ve seen versions with pomegranate seeds as “little pumpkins” and kiwi slices as “leaves.” The possibilities are endless. So go ahead—give it a try. And when you do, I’d love to hear about it. Drop a comment below and tell me how your pumpkin patch turned out. Did you add a twist? Did the kids love it? Share your photos and tag me—I can’t wait to see your creations. Happy snacking, friends!
Pin This Recipe!
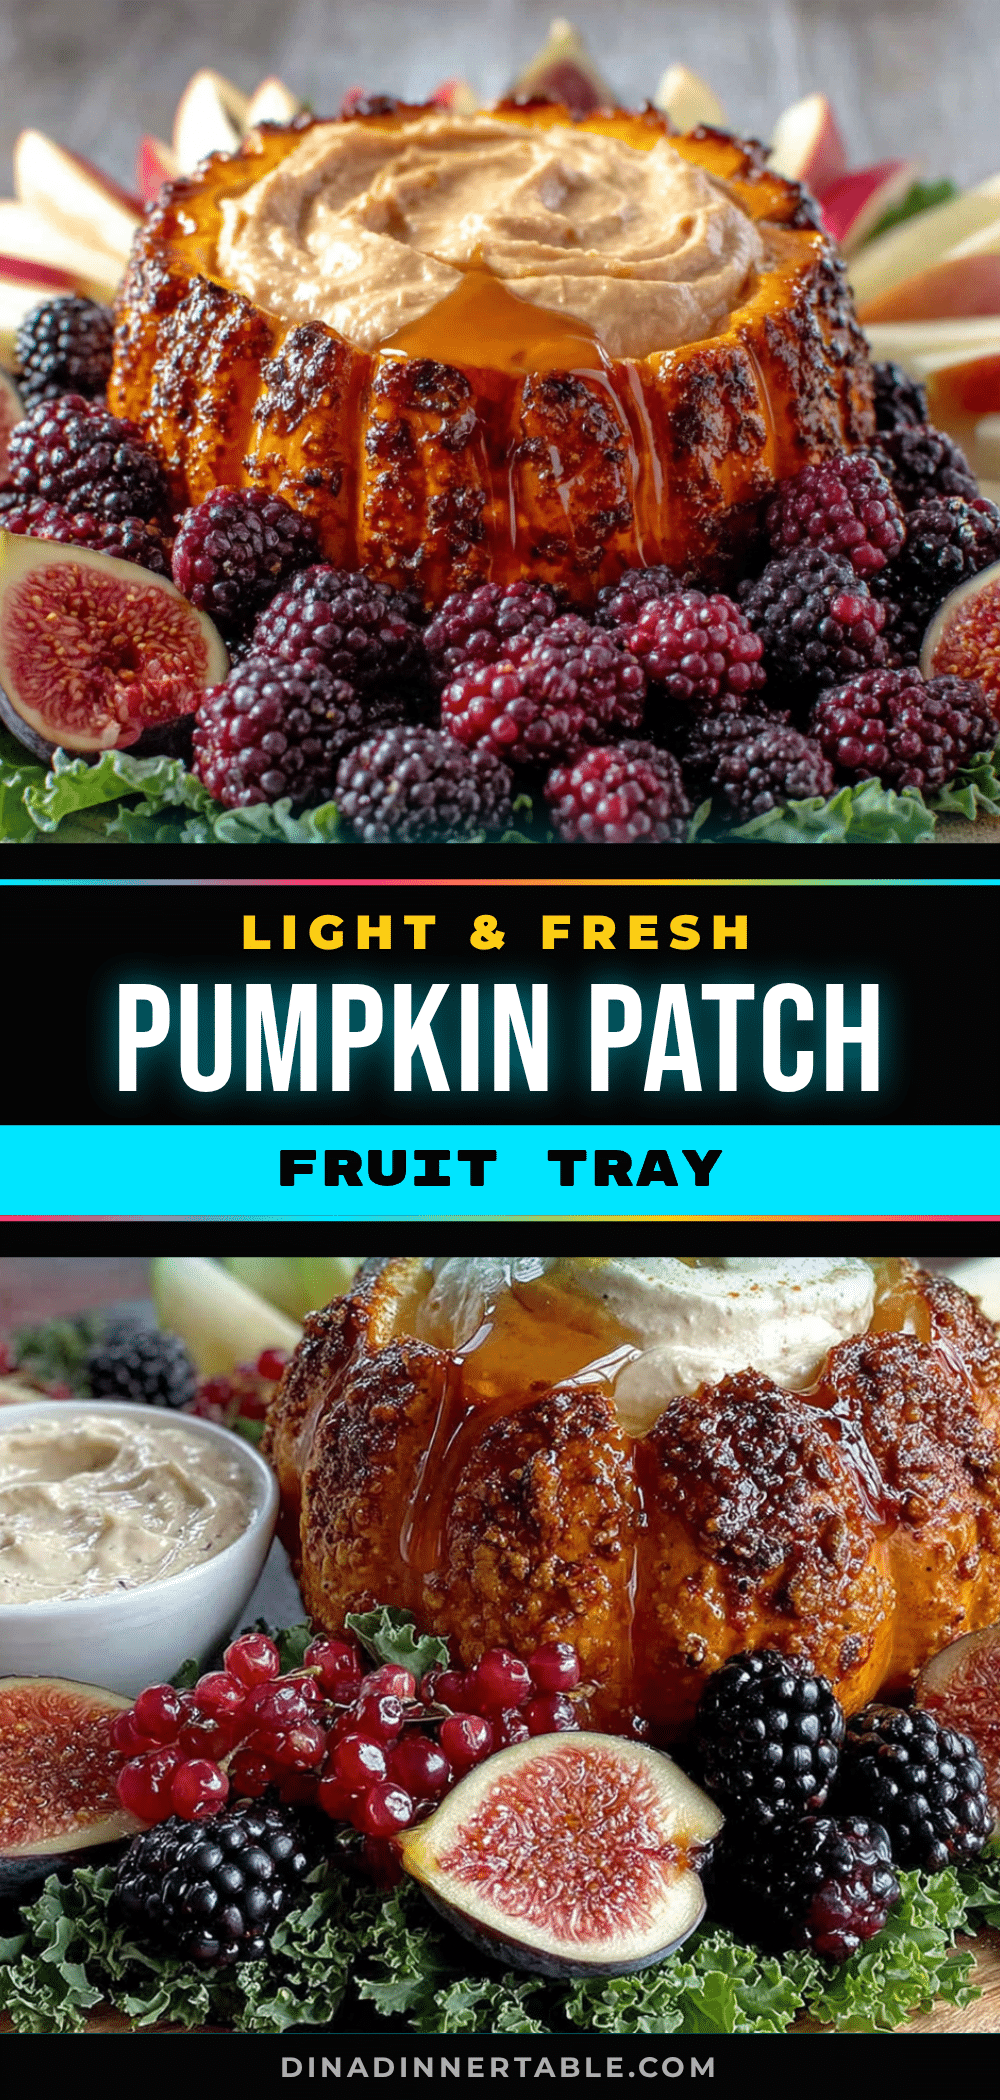
Healthy Pumpkin Patch Fruit Tray: Easy & Light Recipe
A fun and festive fruit tray that looks like a pumpkin patch, featuring honeydew melon ‘pumpkins’, orange ‘mini pumpkins’, and a creamy yogurt ‘dirt’ dip. Perfect for fall gatherings, this healthy snack is quick to assemble and a crowd-pleaser.
- Prep Time: 20 minutes
- Cook Time: 0 minutes
- Total Time: 20 minutes
- Yield: 8-10 servings 1x
- Category: Appetizer
- Cuisine: American
Ingredients
- 1 large honeydew melon
- 2–3 medium navel oranges
- 1 small cantaloupe (optional)
- 2 cups plain Greek yogurt (full-fat or 2%)
- 3 tablespoons honey or maple syrup
- 1 teaspoon vanilla extract
- 1/2 cup crushed graham crackers or almond flour
- 1 tablespoon unsweetened cocoa powder
- Green grapes or celery sticks (for vines)
- Small pretzel sticks (for stems)
- Fresh mint leaves or small basil leaves (for leaves)
Instructions
- Make the ‘dirt’ dip: In a small bowl, combine 2 cups Greek yogurt, 3 tablespoons honey (or maple syrup), and 1 teaspoon vanilla extract. Whisk until smooth. In a separate small bowl, mix crushed graham crackers and cocoa powder. Set both aside.
- Prep the honeydew ‘pumpkins’: Cut the honeydew in half and scoop out seeds. Using a melon baller, scoop out 20-25 perfect spheres. If no melon baller, cut into 1-inch cubes and round edges slightly.
- Make the orange ‘mini pumpkins’: Peel oranges and separate into segments. Use a small round cookie cutter (1-inch or 1.5-inch) to cut each segment into a neat circle. If no cutter, cut into small round-ish pieces about the size of a quarter.
- Assemble the pumpkin patch: On a large platter, arrange honeydew spheres in a rough cluster, leaving space between them. Place one orange circle on top of each honeydew sphere to form the ‘top’ of the pumpkin.
- Add stems and leaves: Snap a small pretzel stick in half and gently press one half into the center of each orange circle. Tuck a small mint or basil leaf next to the stem.
- Create the ‘vines’: Arrange green grapes or celery sticks around the pumpkins, trailing outwards like vines, connecting the pumpkins.
- Add the ‘dirt’: Spoon the yogurt dip into a small bowl and place it on the tray. Sprinkle the graham cracker-cocoa mixture around the pumpkins and on the tray to look like soil.
- Drizzle the dip (optional): Transfer a little yogurt dip into a piping bag or small zip-top bag with corner snipped off. Drizzle in a zigzag pattern over the ‘dirt’.
- Garnish and serve: Add extra mint leaves around the tray for color. Serve immediately or refrigerate for up to 1 hour before serving.
Notes
Chill the melon before scooping for cleaner spheres. Don’t over-mix the ‘dirt’ mixture; keep it clumpy for a realistic soil look. Use a toothpick instead of pretzel sticks if needed. Prep fruit up to 24 hours in advance; assemble just before serving. For a low-carb version, use zucchini spheres and sugar-free syrup.
Nutrition
- Serving Size: 1 cup of fruit with
- Calories: 180
- Sugar: 24
- Sodium: 50
- Fat: 3
- Saturated Fat: 1
- Carbohydrates: 32
- Fiber: 3
- Protein: 8
Keywords: pumpkin patch fruit tray, healthy fruit tray, fall fruit platter, Halloween fruit tray, easy fruit tray, fruit pumpkin patch


