My neighbor, Mrs. Kowalski, watched me untangling a string of orange lights from a knot the size of my fist and didn’t say anything at first. Then she shuffled over, a chipped mug in her hand, and said, “You’re overthinking it. Halloween dinner for the kids isn’t about the lights. It’s about the dip.” She laughed, a warm, gravelly sound. That afternoon, sitting on her porch while her ancient cat wound between our ankles, she told me about the chili cheese dips she used to make for her own boys. The secret, she said, was never to be scared of the cheese. “Let it get a little brown on top,” she whispered, like she was sharing a spell. I scribbled her rough instructions on the back of a pizza flyer. Honestly, I messed it up the first time I tried it. I used pre-shredded cheese (don’t do it), and the whole thing turned into a greasy mess. But I tried again, using her voice in my head — “block cheese, grate it yourself” — and it worked. This Kid-Approved Black Cauldron Chili Cheese Dip with Tortilla Bats is my thank you to her. It’s the recipe that turned a chaotic Halloween prep into a quiet moment of connection. Maybe you’ve been there, stressing over a party, and a simple dish saved the day. This dip is that dish. It’s the one your kids will remember, not for the fancy decorations, but for the way it tasted on a cold October night.
Why You’ll Love This Recipe
Let me tell you, I have tested this dip more times than I care to count. I’ve made it for soccer parties, rainy day movie marathons, and even a surprisingly elegant New Year’s Eve spread (don’t judge). This version is the one that finally earned the “Kid-Approved” stamp from my own picky eaters and the neighbor kids who always seem to show up at dinner time. It’s not just another chili cheese dip; it’s the one that disappears fastest.
- Quick & Easy: From stove to table in under 30 minutes. You can throw it together while the kids are still arguing over what costume to wear.
- Simple Ingredients: No fancy grocery trips. This uses pantry staples you probably already have—canned beans, tomato sauce, block cheese, and tortillas.
- Perfect for Halloween: The “cauldron” presentation and tortilla bats make it the star of any spooky spread without requiring artistic talent.
- Crowd-Pleaser: It’s cheesy, it’s hearty, and it’s dippable. Kids love the fun shapes, and adults love the rich, savory flavor.
- Unbelievably Delicious: The combination of smoky chili and gooey, melted cheese is pure comfort. The crispy tortilla bats add the perfect crunch.
What makes this recipe different from the rest? It’s the technique. Instead of a watery dip, we create a thick, meaty chili base that holds up to the cheese without getting soupy. It’s a small detail, but it makes a world of difference. This isn’t just good—it’s the kind of dip that makes you close your eyes after the first bite. It’s Halloween comfort food, faster and more fun, but with the same soul-soothing satisfaction.
What Ingredients You Will Need
This recipe uses simple, wholesome ingredients to deliver bold flavor and satisfying texture without the fuss. Most of these are probably in your pantry or fridge right now.
- 1 tablespoon olive oil (for sautéing the aromatics)
- 1 small yellow onion, finely chopped (adds sweetness and depth)
- 2 cloves garlic, minced (fresh is best for that punchy flavor)
- 1 pound ground beef (I use 80/20 for the best flavor; you can also use ground turkey)
- 1 can (15 ounces) black beans, drained and rinsed (adds fiber and texture)
- 1 can (15 ounces) kidney beans, drained and rinsed (for a heartier chili)
- 1 can (15 ounces) diced tomatoes, undrained (I prefer fire-roasted for a smoky kick)
- 1 can (8 ounces) tomato sauce (creates the perfect thick base)
- 2 tablespoons chili powder (use your favorite brand; I like McCormick for consistent heat)
- 1 teaspoon ground cumin (essential for that warm, earthy chili flavor)
- 1/2 teaspoon smoked paprika (optional, but it adds a lovely campfire note)
- Salt and black pepper to taste
- 2 cups shredded sharp cheddar cheese (buy a block and shred it yourself—it melts so much better than pre-shredded)
- 1 cup shredded Monterey Jack cheese (for extra creaminess)
- For the Tortilla Bats:
- 6 small corn or flour tortillas (corn tortillas get crispier)
- 2 tablespoons olive oil or avocado oil spray (for brushing)
- Salt and chili powder for dusting (optional)
- For serving: Tortilla chips, carrot sticks, celery sticks, bell pepper strips
Ingredient Tips & Substitutions: For a vegetarian version, swap the ground beef for a plant-based crumble or an extra can of black beans. If you’re avoiding dairy, use a high-quality vegan cheddar shred that melts well. Look for firm, small-curd cottage cheese if you want to add a protein boost—though I don’t use it here, some readers have told me they sneak it in for extra creaminess. In summer, you can swap the canned tomatoes for fresh, chopped tomatoes, just cook them down a little longer to remove excess liquid.
Equipment Needed
You don’t need a witch’s kitchen to make this dip. Here’s what you will need:
- A large oven-safe skillet or Dutch oven: I use a 12-inch cast iron skillet. It goes from stovetop to oven perfectly. If you don’t have one, use a regular skillet and transfer the chili to a baking dish before adding the cheese.
- Cutting board and sharp knife: For chopping the onion and garlic.
- Wooden spoon or spatula: For stirring the chili.
- Small cookie cutters: A bat-shaped cutter is ideal, but you can also use a small knife to cut freehand bats. I found my bat cutter at a dollar store, so don’t overthink it.
- Baking sheet: For baking the tortilla bats.
- Parchment paper: To prevent the bats from sticking.
- Pastry brush: For brushing the tortillas with oil.
- Oven mitts: Because that handle gets hot!
If you don’t have a bat cookie cutter, you can use a small knife to cut simple bat shapes. I’ve also used a pizza cutter to make jagged “spider web” tortilla strips. It’s all about having fun. My first batch of tortilla bats looked more like blobs, but the kids didn’t care—they ate them anyway!
Preparation Method
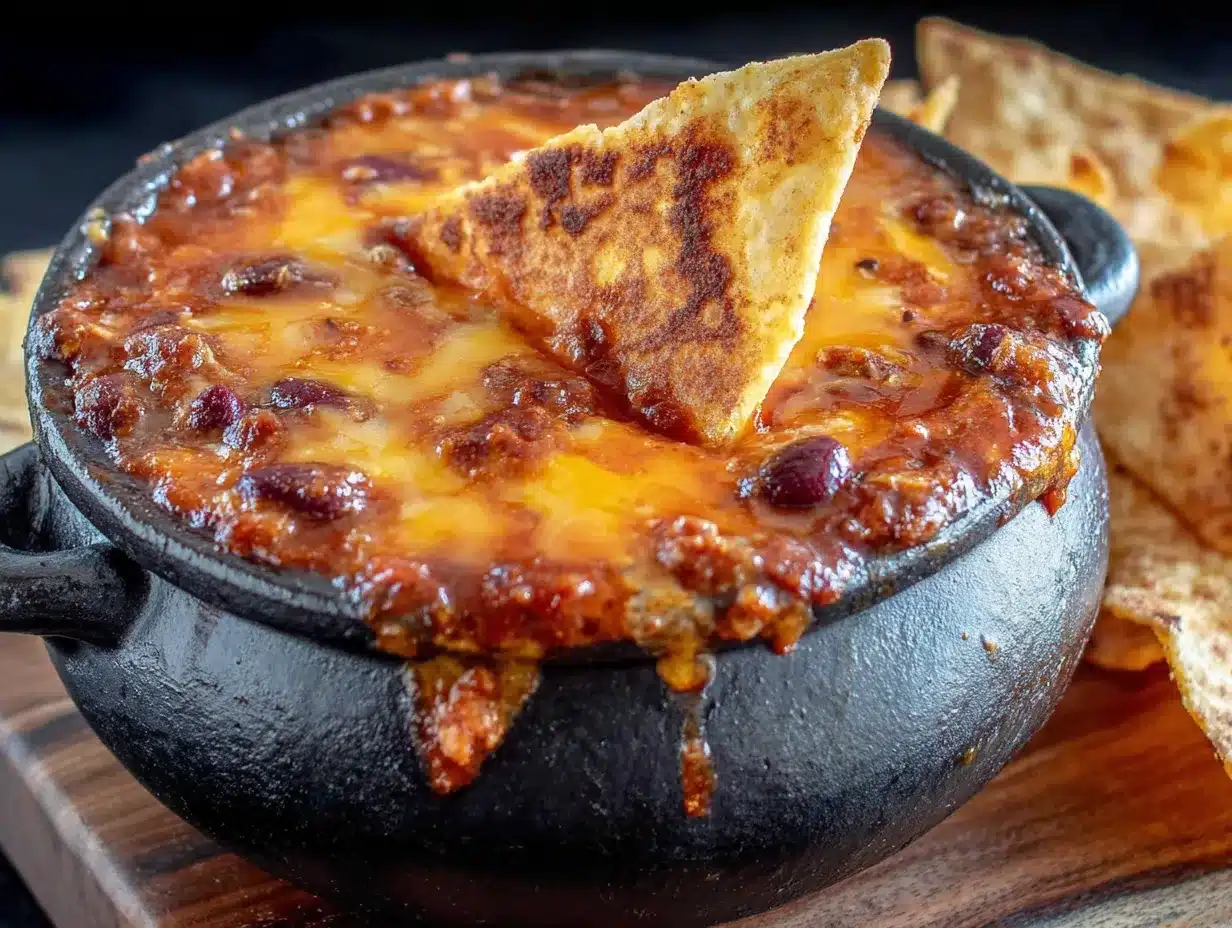
Let’s get cooking. This comes together fast, so have all your ingredients prepped and ready to go.
- Preheat your oven to 375°F (190°C). Position a rack in the upper third of the oven.
- Cook the aromatics. Place your large oven-safe skillet over medium heat. Add the olive oil. Once it shimmers, add the chopped onion. Cook for 4-5 minutes, stirring occasionally, until the onion is soft and translucent. Add the minced garlic and cook for another 30 seconds until fragrant. Do not let the garlic burn.
- Brown the meat. Add the ground beef to the skillet. Break it up with your wooden spoon. Cook for 6-8 minutes, until it is browned and no longer pink. If there is a lot of excess fat, carefully spoon most of it out, leaving about a tablespoon for flavor.
- Build the chili base. Add the drained black beans, kidney beans, diced tomatoes (with their juices), and tomato sauce. Stir well to combine. Add the chili powder, ground cumin, smoked paprika, salt, and pepper. Stir again.
- Simmer the chili. Bring the mixture to a gentle simmer. Reduce the heat to low and let it cook for 10 minutes, stirring occasionally. The chili should thicken slightly. If it looks too thin, let it simmer a few more minutes. You want a hearty, scoopable consistency, not a soup.
- Make the tortilla bats. While the chili simmers, prepare the bats. Place the tortillas on a cutting board. Use the bat cookie cutter to press out shapes. You can usually get 2-3 bats per tortilla. Place the bats on a parchment-lined baking sheet. Brush them lightly with olive oil and sprinkle with a tiny bit of salt and chili powder if you want. Bake for 6-8 minutes, until they are golden and crisp. Keep an eye on them—they burn quickly!
- Top with cheese. Turn off the heat under the chili. Sprinkle the shredded cheddar and Monterey Jack cheese evenly over the top of the chili. Do not stir it in.
- Bake the dip. Transfer the skillet to the preheated oven. Bake for 12-15 minutes, until the cheese is completely melted, bubbly, and starting to turn golden brown in spots. This is the magic part—the brown bits are the best!
- Garnish and serve. Carefully remove the skillet from the oven (it will be very hot!). Let it cool for 5 minutes. Arrange your crispy tortilla bats on top of the melted cheese, as if they are flying over the cauldron. Serve immediately with tortilla chips and veggie sticks for dipping.
Sensory Cue: At step 5, your kitchen should smell like a cozy fall evening—smoky, savory, and a little bit spicy. The chili should look dark and rich, not watery. When the cheese comes out of the oven, you should see it gently bubbling around the edges. That’s the sign it’s perfect.
Cooking Tips & Techniques
I’ve made this dip more times than I can count, and I’ve learned a few things the hard way. Let me save you some trouble.
Grate your own cheese. This is non-negotiable for the best texture. Pre-shredded cheese is coated with anti-caking agents that prevent it from melting smoothly. It will leave you with a gritty, greasy dip. A block of sharp cheddar grated on a box grater melts into a silky, cohesive layer. Trust me on this.
Don’t skip the simmer. The 10-minute simmer is crucial. It allows the flavors to meld and the chili to thicken. A watery chili will result in a watery dip, no matter how much cheese you add. If your chili is still thin after 10 minutes, let it go for another 5.
Watch the tortilla bats. These little guys go from perfectly crisp to burnt in about 30 seconds. I’ve lost a whole batch while I was busy stirring the chili. Set a timer for 6 minutes and check them. They should be lightly golden and firm to the touch. They will continue to crisp up as they cool.
Multitasking strategy: Start the chili first. While it simmers, cut out your tortilla bats. While the bats bake, the chili is finishing its simmer. This way, everything is ready at the same time, and you’re not running around like a headless chicken.
Use a cold start for the cheese. If you’re worried about the cheese separating, you can sprinkle a tablespoon of cornstarch over the shredded cheese and toss it before adding it to the chili. This stabilizes the cheese and prevents it from breaking. I don’t usually do this, but it’s a great trick for a foolproof result.
Variations & Adaptations
This recipe is a great base for your own creativity. Here are a few ways I’ve changed it up over the years.
- Vegetarian Cauldron Dip: Skip the ground beef entirely. Use two cans of black beans and one can of pinto beans. Add a cup of frozen corn kernels along with the tomatoes. It’s just as hearty and even more colorful.
- Spicy Adult Version: For a game-day dip, add a diced jalapeño (seeds and all) with the onion. Stir in a teaspoon of chipotle powder with the other spices. Top the finished dip with pickled jalapeños and a drizzle of hot honey. It’s dangerously good.
- Slow Cooker Method: Brown the beef and onions on the stovetop, then transfer everything (except the cheese and tortillas) to a slow cooker. Cook on low for 4-6 hours. When you’re ready to serve, top with cheese, cover, and let it melt for 15 minutes. This is perfect for parties.
- Dairy-Free Adaptation: Use a plant-based ground beef crumble and a vegan cheddar shred that melts well. I’ve found that Violife brand melts the best. Follow the same instructions; the result is surprisingly creamy.
I once made a “White Cauldron” version using ground chicken, white beans, and a blend of Monterey Jack and mozzarella. I topped it with green tortilla strips shaped like little ghosts. It was a hit, but my kids still demanded the original red version the next week.
Serving & Storage Suggestions
This dip is best served hot, straight from the oven. Place the skillet on a trivet in the center of the table so everyone can dig in. The cheese will stay molten for a good 15-20 minutes.
What to serve with it: Tortilla chips are the classic choice, but don’t stop there. The thick chili cheese dip is also fantastic with sturdy carrot sticks, celery sticks, and bell pepper strips. The crunch of the vegetables is a great contrast to the rich dip. For a full Halloween meal, I serve this alongside a simple green salad with a tangy vinaigrette to cut through the richness.
Storage: Leftover dip will keep in an airtight container in the refrigerator for up to 3 days. The tortilla bats will get soft, so store them separately in a paper bag at room temperature.
Reheating: The best way to reheat is in the oven. Place the dip in an oven-safe dish, cover with foil, and warm at 350°F (175°C) for 15-20 minutes. You can also reheat it in a skillet on the stovetop over low heat, stirring occasionally. The microwave works in a pinch, but the texture won’t be as good. The flavors actually deepen overnight, so leftovers taste even better the next day.
Nutritional Information & Benefits
This is a treat, not a health food, but it does have some redeeming qualities. Here’s an estimated breakdown per serving (about 1 cup of dip, without chips):
| Nutrient | Amount |
|---|---|
| Calories | ~420 |
| Protein | 28g |
| Fat | 24g |
| Carbohydrates | 22g |
| Fiber | 8g |
| Sugar | 6g |
Health Benefits: The black beans and kidney beans are packed with fiber and plant-based protein, which helps keep everyone full and satisfied. The tomatoes are a great source of lycopene, an antioxidant. Using grass-fed beef (if you can find it) adds a good dose of iron and B vitamins. This dip is naturally gluten-free if you use corn tortillas and check your spice blends.
Dietary Considerations: This recipe is naturally gluten-free (check your chili powder blend). For a lower-fat version, use ground turkey and reduced-fat cheese. It is not suitable for a low-carb diet due to the beans, but you can serve it with pork rinds instead of chips.
Conclusion
This Kid-Approved Black Cauldron Chili Cheese Dip with Tortilla Bats is more than just a Halloween appetizer. It’s a little piece of kitchen magic that brings people together. It’s the kind of recipe that turns a regular Tuesday into a celebration. I love it because it’s forgiving, it’s fun, and it never fails to make my kids smile. I hope you give it a try and make it your own. Add more spice, swap the beans, or let the kids cut out the tortilla shapes. The best recipes are the ones that adapt to your family.
I’d love to hear how it turns out for you! Drop a comment below and tell me about your Halloween table. Did your kids love the bats? Did you try a crazy variation? Share a photo on Pinterest and tag me—I can’t wait to see your cauldrons!
Frequently Asked Questions
Can I make this dip ahead of time?
Yes! You can prepare the chili base up to 2 days in advance. Store it in the refrigerator. When you’re ready to serve, reheat the chili on the stovetop, then proceed with adding the cheese and baking. You can also freeze the chili base for up to 3 months.
My cheese dip turned out greasy. What went wrong?
This usually happens when the heat is too high or the cheese is pre-shredded. Always use block cheese and grate it yourself. Also, make sure your chili is not too watery before adding the cheese. A thick chili base prevents the cheese from separating.
Can I use a different type of meat?
Absolutely. Ground turkey, ground chicken, or even spicy Italian sausage (casings removed) work great. If using sausage, you may want to reduce the added salt. For a vegetarian version, use a plant-based crumble or extra beans.
How do I make the tortilla bats without a bat cookie cutter?
You can use a small, sharp knife to cut freehand bat shapes. It doesn’t have to be perfect—a little imperfection adds character! Alternatively, cut the tortillas into jagged “spider web” strips or use a ghost-shaped cutter if you have one.
Can I make this in a slow cooker?
Yes! Brown the beef and onions on the stovetop first, then transfer everything (except the cheese and tortillas) to a slow cooker. Cook on low for 4-6 hours. When ready to serve, top with cheese, cover, and let it melt for 15 minutes. Serve straight from the slow cooker.
Pin This Recipe!
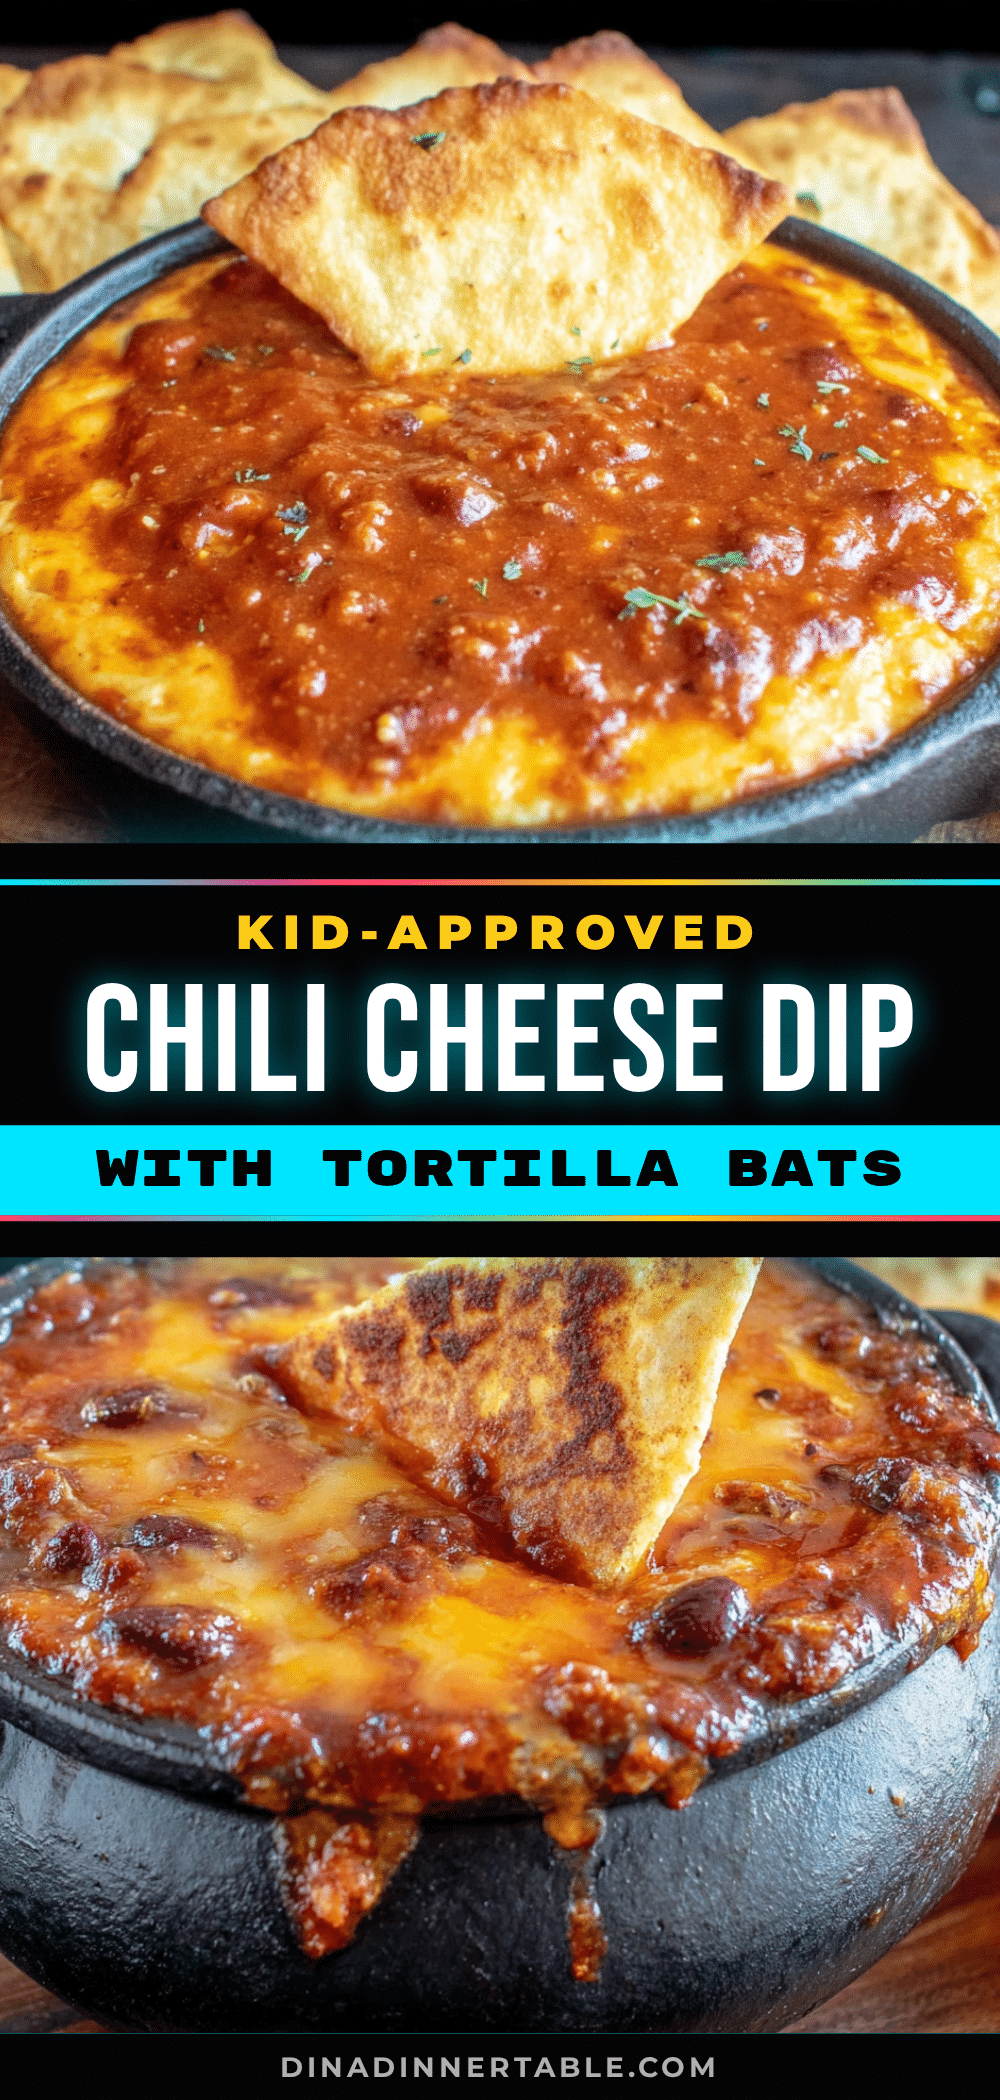
Kid-Approved Black Cauldron Chili Cheese Dip with Tortilla Bats

A fun and festive Halloween dip featuring a thick, meaty chili base topped with melted cheese and crispy tortilla bats. Perfect for parties and guaranteed to be a crowd-pleaser.
- Prep Time: 15 minutes
- Cook Time: 30 minutes
- Total Time: 45 minutes
- Yield: 8 servings 1x
- Category: Appetizer
- Cuisine: American
Ingredients
- 1 tablespoon olive oil
- 1 small yellow onion, finely chopped
- 2 cloves garlic, minced
- 1 pound ground beef (80/20)
- 1 can (15 ounces) black beans, drained and rinsed
- 1 can (15 ounces) kidney beans, drained and rinsed
- 1 can (15 ounces) diced tomatoes, undrained (fire-roasted preferred)
- 1 can (8 ounces) tomato sauce
- 2 tablespoons chili powder
- 1 teaspoon ground cumin
- 1/2 teaspoon smoked paprika (optional)
- Salt and black pepper to taste
- 2 cups shredded sharp cheddar cheese (from a block)
- 1 cup shredded Monterey Jack cheese (from a block)
- 6 small corn or flour tortillas
- 2 tablespoons olive oil or avocado oil spray
- Salt and chili powder for dusting (optional)
- For serving: tortilla chips, carrot sticks, celery sticks, bell pepper strips
Instructions
- Preheat your oven to 375°F (190°C). Position a rack in the upper third of the oven.
- Cook the aromatics: Place a large oven-safe skillet over medium heat. Add olive oil. Once shimmering, add chopped onion. Cook for 4-5 minutes until soft and translucent. Add minced garlic and cook for 30 seconds until fragrant.
- Brown the meat: Add ground beef to the skillet. Break it up with a wooden spoon. Cook for 6-8 minutes until browned. Spoon out excess fat, leaving about 1 tablespoon.
- Build the chili base: Add drained black beans, kidney beans, diced tomatoes (with juices), and tomato sauce. Stir well. Add chili powder, ground cumin, smoked paprika, salt, and pepper. Stir again.
- Simmer the chili: Bring to a gentle simmer. Reduce heat to low and cook for 10 minutes, stirring occasionally, until thickened.
- Make the tortilla bats: While chili simmers, use a bat-shaped cookie cutter to cut shapes from tortillas. Place on a parchment-lined baking sheet. Brush lightly with olive oil and sprinkle with salt and chili powder if desired. Bake for 6-8 minutes until golden and crisp.
- Top with cheese: Turn off heat under chili. Sprinkle shredded cheddar and Monterey Jack cheese evenly over the top. Do not stir.
- Bake the dip: Transfer skillet to preheated oven. Bake for 12-15 minutes until cheese is melted, bubbly, and starting to brown.
- Garnish and serve: Carefully remove skillet from oven. Let cool for 5 minutes. Arrange tortilla bats on top. Serve immediately with tortilla chips and veggie sticks.
Notes
Grate your own cheese for best melting. Do not skip the simmer step to ensure a thick chili base. Watch tortilla bats closely as they burn quickly. For a vegetarian version, swap ground beef for plant-based crumble or extra beans.
Nutrition
- Serving Size: 1 cup of dip (withou
- Calories: 420
- Sugar: 6
- Sodium: 800
- Fat: 24
- Saturated Fat: 12
- Carbohydrates: 22
- Fiber: 8
- Protein: 28
Keywords: Halloween dip, chili cheese dip, tortilla bats, kid-friendly, party appetizer, easy chili dip


