I was elbow-deep in dish soap last Tuesday evening—the good kind with the lemon scent that almost makes you forget you’re scrubbing—when the smell hit me. Not the lemon. Something warmer. Cinnamon, maybe, or that earthy sweetness that only comes from a can of pumpkin being popped open. And just like that, I was seven years old, standing on a step stool in my Aunt Lena’s tiny kitchen, watching her dump an entire can of pumpkin into a mixing bowl without measuring a thing. She never measured. She just knew. The kitchen was steamy, the radio was playing something scratchy, and I was waiting—impatiently—for her to let me lick the spatula. She passed away three years ago, and I still haven’t found a pumpkin muffin that tastes like hers. Honestly, I stopped looking for a while. But then that smell hit me last Tuesday, and I grabbed a can of pumpkin from the pantry before I even knew what I was doing. This is the closest I’ve gotten. And you know what? I think she’d approve.
These Kid-Approved Pumpkin Chocolate Chip Muffins aren’t just another pumpkin recipe. They’re the ones you make when you need something easy—one bowl, no stand mixer, minimal cleanup—but you also need them to be good. Like, close-your-eyes-after-the-first-bite good. I tested this batch on my neighbor’s three kids, and let me tell you, they disappeared faster than I could say “chocolate chip.” One of them, a picky little guy named Max, actually asked for a second one. That’s when I knew I had something special.
Maybe you’ve been there—standing in your kitchen, a can of pumpkin staring at you from the counter, wondering if you can pull off something that makes everyone happy without spending all afternoon doing it. These muffins are that answer. They’re soft, they’re moist, they’re packed with chocolate chips in every bite, and they come together in about 30 minutes. No fuss, no fancy ingredients, just good old-fashioned comfort food that tastes like fall but works any time of year. Let me show you how to make them.
Why You’ll Love This Recipe
I’ve made a lot of muffins in my time—some that flopped, some that were just okay, and a few that became family legends. These Pumpkin Chocolate Chip Muffins fall into that last category. Here’s why they’re worth every bit of the hype:
- Quick & Easy: From start to finish, these muffins take about 30 minutes. That’s mixing, baking, and cooling (well, as long as you can wait before diving in). Perfect for busy mornings or last-minute playdate snacks.
- Simple Ingredients: You probably already have most of these in your pantry. Canned pumpkin, flour, sugar, eggs, oil, chocolate chips—nothing weird, nothing expensive. No trips to a specialty store required.
- Perfect for Family Meals: These muffins work for breakfast, snack time, lunchboxes, or even dessert. They’re not too sweet, which means they feel appropriate at 8 a.m. and 8 p.m.
- Crowd-Pleaser: I’ve yet to meet a kid—or an adult, for that matter—who doesn’t love these. The chocolate chips do the heavy lifting, but the pumpkin keeps them moist and tender. It’s a winning combo.
- Unbelievably Delicious: The texture is what gets me every time. They’re soft, almost pillowy, with just enough structure to hold together. And the chocolate? It melts into little pockets of goodness throughout. Honestly, I’ve eaten three in one sitting and felt zero shame.
What makes these different from every other pumpkin muffin recipe out there? It’s the method. By mixing the wet ingredients first—pumpkin, eggs, oil, sugar—you create a base that’s perfectly emulsified. Then you fold in the dry ingredients gently, just until combined. No overmixing, no tough muffins. It’s a small thing, but it makes a huge difference. Plus, I’ve tested this with both regular chocolate chips and mini ones, and let me tell you, the mini chips distribute more evenly. Every single bite gets a little chocolate. That’s the kind of detail that turns a good muffin into a great one.
These muffins aren’t just good—they’re the kind that make you feel like you’ve got this whole parenting thing figured out, even if just for a moment. And honestly, that’s worth more than any fancy recipe.
What Ingredients You Will Need
This recipe uses simple, everyday ingredients that come together to create something truly special. No need to hunt down anything unusual—just good, honest staples that work every time.
- Canned pumpkin puree (1 can, 15 oz / 425 g) — Make sure you grab pumpkin puree, not pumpkin pie filling. The puree is just pumpkin, no added sugar or spices. I prefer Libby’s or 365 brand for consistent texture. If you’re feeling ambitious, you can use homemade pumpkin puree, just make sure it’s well-drained so the muffins aren’t too wet.
- All-purpose flour (2 cups / 250 g) — Standard all-purpose flour works beautifully here. For a slightly heartier texture, you can substitute up to half with whole wheat flour. Just know the muffins will be a bit denser. Spoon and level your flour—don’t scoop directly from the bag, or you’ll end up with too much.
- Granulated sugar (1 cup / 200 g) — Regular white sugar keeps the muffins light and tender. You can reduce it to 3/4 cup if you prefer less sweetness, but I find the full cup balances the pumpkin and chocolate perfectly.
- Brown sugar (1/2 cup / 100 g, packed) — This adds moisture and a hint of molasses flavor that pairs beautifully with pumpkin. Light or dark brown sugar both work. Dark will give a deeper, more caramel-like taste.
- Vegetable oil (1/2 cup / 120 ml) — Oil keeps these muffins incredibly moist. Canola, grapeseed, or any neutral oil works. Melted coconut oil is also fine, just make sure it’s cooled slightly before adding to the eggs.
- Eggs (2 large, room temperature) — Room temperature eggs mix more evenly into the batter. If you forgot to take them out ahead of time, place them in a bowl of warm water for 5 minutes.
- Vanilla extract (2 teaspoons / 10 ml) — Pure vanilla extract adds warmth and depth. Imitation vanilla works in a pinch, but the real stuff makes a difference here.
- Pumpkin pie spice (2 teaspoons) — If you don’t have pumpkin pie spice, you can make your own: 1 tsp cinnamon, 1/2 tsp ginger, 1/4 tsp nutmeg, 1/4 tsp cloves, and a pinch of allspice. I keep a jar of the store-bought stuff on hand because it’s just easier.
- Baking soda (1 teaspoon) — This helps the muffins rise and gives them a tender crumb. Make sure it’s fresh—test it by dropping a bit into vinegar; if it fizzes, you’re good.
- Baking powder (1 teaspoon) — Works alongside the baking soda for lift. Double-check the expiration date, especially if your baking powder has been sitting in the pantry for a while.
- Salt (1/2 teaspoon) — Don’t skip this! Salt enhances all the flavors and balances the sweetness. Fine sea salt or table salt both work.
- Semi-sweet chocolate chips (1 cup / 175 g) — I prefer semi-sweet because it’s not too sugary and complements the pumpkin without overwhelming it. Mini chocolate chips distribute more evenly, but regular ones work great too. If you’re feeling fancy, try dark chocolate chips or even white chocolate for a different twist.
Equipment Needed
You don’t need a fancy kitchen to make these muffins. Here’s what you’ll need:
- One large mixing bowl — Any bowl will do, but a wide one makes mixing easier. I use a ceramic one my sister gave me years ago. It’s chipped on the edge, but it still does the job.
- Whisk and rubber spatula — A whisk for the wet ingredients and a spatula for folding in the dry stuff and chocolate chips. If you don’t have a spatula, a wooden spoon works fine.
- Muffin tin — Standard 12-cup muffin tin. I’ve had mine for years—it’s nothing fancy, just a basic non-stick pan. If yours is older, give it a good grease even if it claims to be non-stick.
- Paper liners — These make cleanup a breeze and keep the muffins from sticking. I like the unbleached parchment ones, but any will work.
- Measuring cups and spoons — For accurate measurements. Liquid measuring cups for the oil and vanilla, dry ones for flour and sugar.
- Cooling rack — A wire rack lets the muffins cool evenly and prevents soggy bottoms. If you don’t have one, you can use a clean dish towel laid flat on the counter.
- Optional but helpful: A cookie scoop for portioning the batter evenly into the muffin cups. It’s not necessary, but it makes the process neater and faster.
Preparation Method
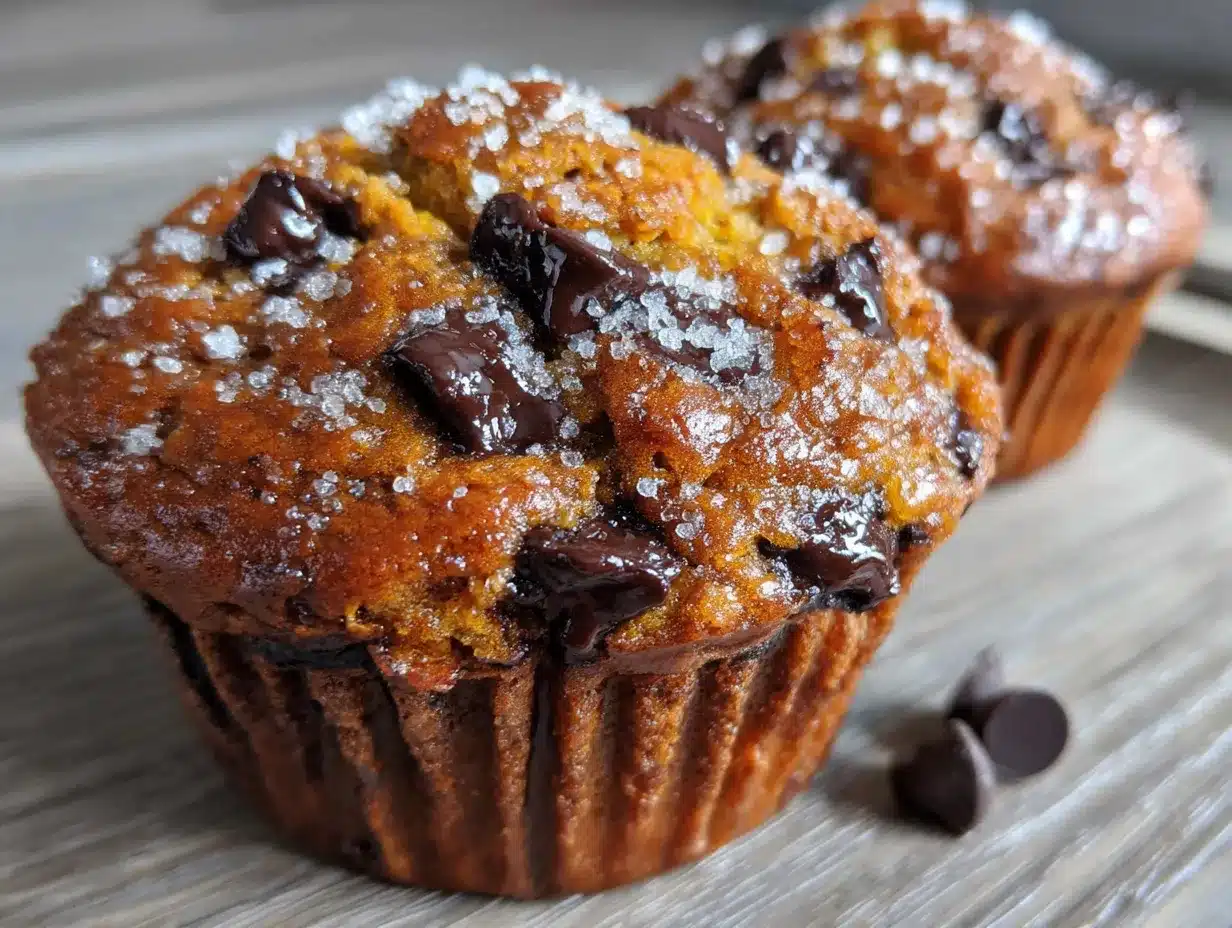
Let’s get baking! This is the easy part—I promise. Follow these steps, and you’ll have a batch of warm, chocolate-studded muffins in no time.
- Preheat your oven to 350°F (175°C). Line a 12-cup muffin tin with paper liners. If you’re out of liners, grease the cups well with butter or cooking spray. While the oven heats, pull out all your ingredients and let the eggs come to room temperature if they haven’t already.
- In your large mixing bowl, whisk together the wet ingredients. Start with the pumpkin puree (one 15-ounce can), then add the granulated sugar, brown sugar, vegetable oil, eggs, and vanilla extract. Whisk until everything is smooth and well combined. It should look glossy and smell amazing already—that pumpkin spice is doing its thing.
- Add the dry ingredients right into the same bowl. No need for a separate bowl—this is the one-bowl magic I promised. Sprinkle the flour, pumpkin pie spice, baking soda, baking powder, and salt over the wet mixture. Use a spatula or wooden spoon to fold everything together gently. Stir just until you no longer see streaks of flour. A few lumps are totally fine. Overmixing will make the muffins tough, so resist the urge to keep stirring.
- Fold in the chocolate chips. Pour in the cup of chocolate chips and fold them into the batter with a few gentle strokes. Make sure they’re evenly distributed. If you’re using mini chips, they’ll scatter more evenly; regular chips tend to sink a bit, but that’s okay—they’ll still taste amazing.
- Portion the batter into the prepared muffin cups. Use a cookie scoop or a spoon to fill each liner about three-quarters full. This gives the muffins room to rise without overflowing. If you have extra batter, you can make a few mini muffins on the side, or just fill the cups a little more generously—you’ll get 12 muffins either way, maybe 11 if you’re heavy-handed.
- Bake for 18-22 minutes. Place the muffin tin on the middle rack of your oven. Bake until the tops are golden brown and a toothpick inserted into the center of a muffin comes out clean or with a few moist crumbs. Start checking at 18 minutes—ovens vary, and you don’t want dry muffins. The kitchen will smell like fall, and you’ll be tempted to open the oven every two minutes. Try to resist.
- Cool in the pan for 5 minutes. This allows the muffins to set without sticking to the liners. After 5 minutes, transfer them to a wire rack to cool completely. If you’re impatient like me, you can eat one after about 3 minutes—just watch out for molten chocolate. It will burn your tongue, but honestly, it’s worth it.
Cooking Tips & Techniques
I’ve made these muffins at least a dozen times, and I’ve learned a few things along the way. Here are my best tips to ensure success every time:
- Don’t overmix the batter. This is the number one mistake people make with muffins. Mix until the flour is just incorporated—a few streaks are fine. Overmixing develops gluten, which leads to tough, dense muffins. We want tender, not tough.
- Use room temperature ingredients. Cold eggs and cold pumpkin can cause the batter to seize up, resulting in uneven baking. Let everything sit out for 15-20 minutes before you start. If you’re in a hurry, you can warm the eggs in a bowl of warm water for a few minutes.
- Check your baking soda and powder. Old leavening agents are the reason muffins don’t rise. If your baking soda is more than 6 months old, test it by adding a pinch to a bit of vinegar. If it fizzes vigorously, you’re good. If not, toss it and buy fresh.
- Fill the muffin cups evenly. Use a cookie scoop or measure the batter to ensure uniform muffins. This helps them bake at the same rate. I once eyeballed it and ended up with two giant muffins and a bunch of tiny ones. They still tasted fine, but it was a mess.
- Let them cool in the pan. I know it’s tempting to pop them out immediately, but the muffins need that 5-minute rest to set. If you try to remove them too soon, they might fall apart or stick to the liners. Patience, my friend.
- For extra sparkly tops: Sprinkle a little coarse sugar or a few extra chocolate chips on top of each muffin before baking. It adds a nice crunch and makes them look bakery-style.
Variations & Adaptations
One of the best things about this recipe is how flexible it is. Here are some ways to make it your own:
- Gluten-Free Option: Substitute the all-purpose flour with a 1:1 gluten-free baking blend. I’ve used King Arthur’s Measure for Measure with great results. The texture will be slightly different—a bit more tender—but still delicious.
- Dairy-Free Version: Use dairy-free chocolate chips (Enjoy Life makes a good one) and make sure your pumpkin puree is plain. The recipe itself has no dairy otherwise, so you’re good to go.
- Lower Sugar: Reduce the granulated sugar to 3/4 cup and use dark chocolate chips, which are less sweet. The muffins will still be moist and flavorful, just a little less indulgent.
- Add Nuts or Seeds: Fold in 1/2 cup of chopped walnuts, pecans, or pepitas (pumpkin seeds) along with the chocolate chips. It adds a nice crunch and extra nutrition.
- Spice It Up: If you love a strong pumpkin spice flavor, add an extra teaspoon of pumpkin pie spice or a pinch of ground ginger and cardamom. It gives the muffins a warm, aromatic kick.
- Mini Muffins: This batter makes about 24 mini muffins. Bake them for 10-12 minutes at 350°F. Perfect for little hands or lunchboxes.
I once tried a version with white chocolate chips and dried cranberries—it was a hit at a holiday brunch. The white chocolate gets sweet and creamy, and the cranberries add a tart pop. Just a thought if you’re feeling adventurous.
Serving & Storage Suggestions
These muffins are wonderful warm, but they’re just as good at room temperature. Here’s how to serve and store them:
- Serving Temperature: Serve them warm for the ultimate experience—the chocolate chips will be melty and the pumpkin flavor will be at its peak. If they’ve cooled, pop one in the microwave for 10-15 seconds to bring back that fresh-from-the-oven feel.
- Presentation: Arrange them on a pretty plate or in a basket lined with a kitchen towel. For a special touch, dust with a little powdered sugar or drizzle with a simple glaze (1 cup powdered sugar + 2 tablespoons milk + 1/2 teaspoon vanilla).
- Pairings: These muffins are perfect with a cup of coffee, a glass of cold milk, or a warm mug of apple cider. They also make a great breakfast alongside scrambled eggs and fruit.
- Storage: Store leftover muffins in an airtight container at room temperature for up to 3 days. Place a paper towel in the bottom of the container to absorb excess moisture, and another on top to keep the muffins from drying out. Change the paper towels if they get damp.
- Freezing: These muffins freeze beautifully. Wrap each muffin individually in plastic wrap, then place them in a freezer-safe bag or container. They’ll keep for up to 3 months. To thaw, leave them on the counter for an hour or microwave for 20-30 seconds.
- Flavor Development: Honestly, these muffins taste even better the next day. The flavors meld together overnight, and the texture stays incredibly moist. So if you can resist eating them all on day one, you’re in for a treat on day two.
Nutritional Information & Benefits
Here’s a rough estimate of the nutritional content per muffin (based on 12 muffins):
- Calories: ~280
- Fat: 12g
- Carbohydrates: 40g
- Fiber: 2g
- Sugar: 24g
- Protein: 4g
These numbers are approximate and will vary based on the specific ingredients you use. The beauty of this recipe is that it’s a treat, but it’s not a total sugar bomb. Pumpkin is packed with vitamin A and fiber, and the chocolate chips add a little antioxidant boost (hey, dark chocolate counts!). Plus, using oil instead of butter keeps the saturated fat content lower.
If you’re watching your sugar intake, you can swap half the chocolate chips for chopped nuts or reduce the sugar as mentioned in the variations. These muffins are meant to be enjoyed as part of a balanced diet—no guilt required.
Conclusion
So there you have it—my go-to recipe for Kid-Approved Pumpkin Chocolate Chip Muffins that come together in one bowl and about 30 minutes. They’re soft, they’re chocolatey, they’re perfectly spiced, and they make everyone happy. What more could you ask for?
I love this recipe because it reminds me that you don’t need complicated techniques or fancy ingredients to create something special. Sometimes the best things come from a can of pumpkin, a bag of chocolate chips, and a little bit of patience. And honestly, the mess is minimal—one bowl, one whisk, one spatula. That’s my kind of baking.
I’d love to hear how these turn out for you! Did your kids gobble them up? Did you try a fun variation? Drop a comment below and let me know. And if you’re looking for more easy, family-friendly recipes, be sure to check out my easy banana bread or these fluffy pancakes that are perfect for weekend mornings. Happy baking, friends!
Frequently Asked Questions
Can I use fresh pumpkin instead of canned?
Yes, you can! Just make sure you cook and puree the pumpkin first, then drain off any excess liquid. Fresh pumpkin tends to be more watery than canned, so you might need to reduce the oil slightly or add an extra tablespoon of flour to compensate. Canned is definitely more convenient and gives consistent results, but fresh works in a pinch.
Why did my muffins turn out dense?
Dense muffins are usually the result of overmixing the batter or using old leavening agents. Mix just until the flour disappears, and make sure your baking soda and powder are fresh. Another culprit could be overfilling the muffin cups—too much batter can weigh them down. Fill them about three-quarters full for the best rise.
Can I make these muffins vegan?
Absolutely! Replace the eggs with flax eggs (1 tablespoon ground flaxseed + 3 tablespoons water per egg, let sit for 5 minutes) and use dairy-free chocolate chips. The texture will be a bit denser, but they’ll still be delicious. I’ve tested this with flax eggs and they turned out great—just don’t overmix.
How do I keep the chocolate chips from sinking to the bottom?
This is a common issue, especially with regular-sized chips. Toss the chocolate chips in a tablespoon of flour before folding them into the batter. The flour helps suspend them in the mixture. Mini chips are less prone to sinking, so that’s another easy fix. Also, make sure your batter isn’t too thin—if it is, add a tablespoon more flour.
Can I double this recipe?
Yes, this recipe doubles beautifully. Just use a larger bowl and make sure you have enough muffin tins. You might need to bake in batches if you only have one tin. The baking time stays the same, but keep an eye on them—ovens can get finicky with a full load. I’ve doubled this for bake sales and potlucks, and it’s never let me down.
Pin This Recipe!
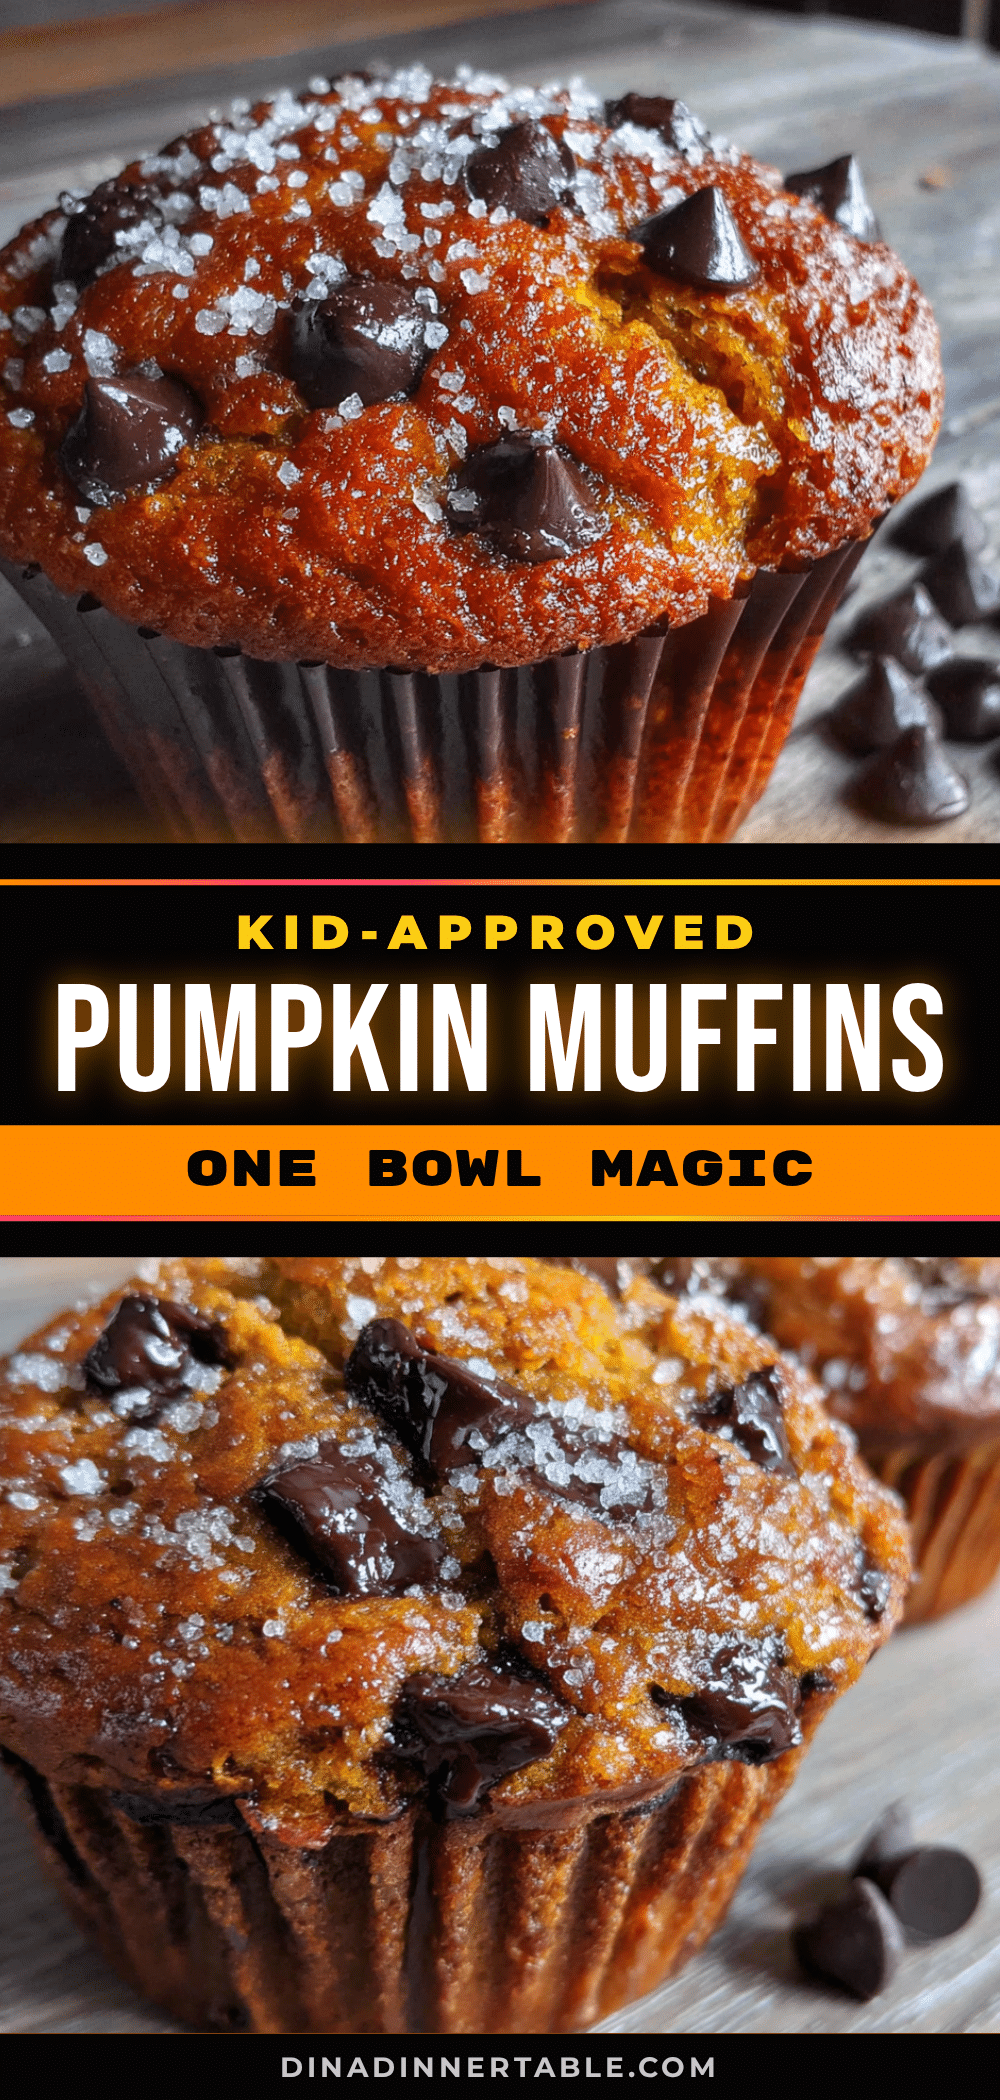
Kid-Approved Pumpkin Chocolate Chip Muffins (Easy One Bowl)

Soft, moist, and packed with chocolate chips, these one-bowl pumpkin muffins come together in about 30 minutes. They’re a family-friendly treat perfect for breakfast, snacks, or dessert, and they disappear fast!
- Prep Time: 10 minutes
- Cook Time: 20 minutes
- Total Time: 30 minutes
- Yield: 12 muffins 1x
- Category: Dessert
- Cuisine: American
Ingredients
- 1 can (15 oz / 425 g) canned pumpkin puree (not pumpkin pie filling)
- 2 cups (250 g) all-purpose flour
- 1 cup (200 g) granulated sugar
- 1/2 cup (100 g) brown sugar, packed
- 1/2 cup (120 ml) vegetable oil (or other neutral oil)
- 2 large eggs, room temperature
- 2 teaspoons (10 ml) vanilla extract
- 2 teaspoons pumpkin pie spice
- 1 teaspoon baking soda
- 1 teaspoon baking powder
- 1/2 teaspoon salt
- 1 cup (175 g) semi-sweet chocolate chips (mini chips recommended for even distribution)
Instructions
- Preheat your oven to 350°F (175°C). Line a 12-cup muffin tin with paper liners or grease the cups well.
- In a large mixing bowl, whisk together the pumpkin puree, granulated sugar, brown sugar, vegetable oil, eggs, and vanilla extract until smooth and well combined.
- Add the flour, pumpkin pie spice, baking soda, baking powder, and salt directly into the same bowl. Fold gently with a spatula or wooden spoon until just combined—do not overmix; a few lumps are fine.
- Fold in the chocolate chips with a few gentle strokes until evenly distributed.
- Portion the batter into the prepared muffin cups, filling each about three-quarters full.
- Bake on the middle rack for 18-22 minutes, until the tops are golden brown and a toothpick inserted into the center comes out clean or with a few moist crumbs.
- Cool in the pan for 5 minutes, then transfer to a wire rack to cool completely. Serve warm or at room temperature.
Notes
For best results, use room temperature ingredients and do not overmix the batter. Mini chocolate chips distribute more evenly. Muffins can be stored in an airtight container at room temperature for up to 3 days or frozen for up to 3 months. They taste even better the next day as flavors meld.
Nutrition
- Serving Size: 1 muffin
- Calories: 280
- Sugar: 24
- Sodium: 220
- Fat: 12
- Saturated Fat: 3
- Carbohydrates: 40
- Fiber: 2
- Protein: 4
Keywords: pumpkin muffins, chocolate chip muffins, easy muffins, one bowl muffins, kid-friendly muffins, fall baking, pumpkin chocolate chip muffins