My dad claimed to hate pumpkin bread for thirty-seven years. That’s not an exaggeration—he said it every single autumn, without fail, as soon as the first pumpkin-spice-everything started appearing on shelves. “Too sweet,” he’d grumble. “Too wet. It’s not bread, it’s a science experiment gone wrong.” And honestly? He wasn’t totally wrong about most pumpkin breads out there. They can be dense, gummy, and cloying in a way that feels more like a brick of sugar than a proper quick bread. So I never pushed it. Until last October, when I made this version “just for myself” on a rainy Tuesday, using browned butter because I had leftover butter from another recipe and couldn’t bear to waste it. I left the loaf cooling on the counter and walked away to answer my phone. When I came back fifteen minutes later, there he was—standing at the kitchen island, holding a slice in one hand and a butter knife in the other, ready for seconds. He didn’t say a word. He just pointed at the loaf and raised his eyebrows. That’s when I knew this recipe was different. And honestly? It changed everything I thought I knew about pumpkin bread too.
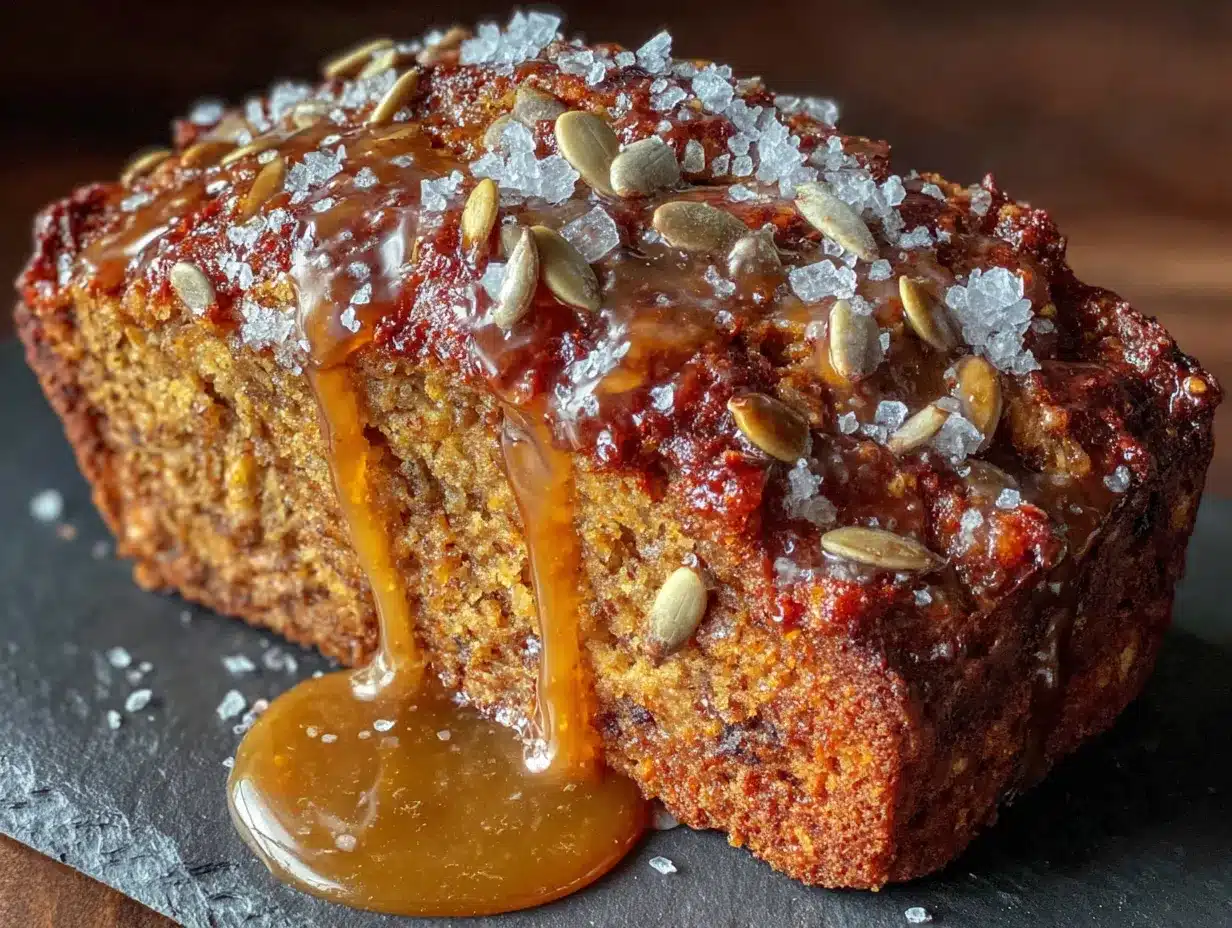
This isn’t your standard pumpkin bread, and I mean that in the best possible way. The browned butter brings this deep, nutty warmth that plays off the pumpkin in a way that feels almost savory at first—before the maple glaze hits and reminds you it’s dessert. It’s the kind of bread that makes you close your eyes after the first bite, maybe you’ve been there. I’ve made it for book club, for Thanksgiving morning, and for a “just because” gift for my neighbor, and every single time, someone asks for the recipe. Let me tell you, there’s something deeply satisfying about watching someone who swore they hated something take another slice. Quietly, of course. Without admitting anything.
Why You’ll Love This Recipe
Listen, I’ve tested a lot of pumpkin bread recipes over the years. Some were fine. Some were forgettable. This one? It’s the one I keep coming back to, and here’s why you will too:
- Browned Butter Magic: That extra step of browning the butter takes this from “good” to “I-can’t-stop-eating-this” good. It adds a toasty, nutty depth that standard butter just can’t touch.
- Perfectly Moist, Never Gummy: The key is using a combination of oil and browned butter—the oil keeps it tender for days, while the butter adds flavor. No soggy streaks here.
- Easy Maple Glaze: Three ingredients, two minutes, and it sets into this crackly, sweet layer that complements the pumpkin without overwhelming it.
- Simple Pantry Ingredients: No weird flours, no obscure extracts. You probably have everything except maybe the pumpkin puree and maple syrup.
- Made for Sharing: This loaf is sturdy enough to gift, pretty enough to serve at a brunch table, and delicious enough to keep all to yourself (no judgment).
What makes this recipe different from the dozens of other pumpkin breads out there is the technique. Browning the butter isn’t just a flavor gimmick—it changes the entire profile of the bread. And the maple glaze? It’s not cloying. It’s balanced, with a touch of salt that makes the whole thing sing. This isn’t just another pumpkin bread. It’s the one you’ll make every single fall, and probably a few times in spring too, because once you taste it, you won’t want to wait for October to roll around again.
What Ingredients You Will Need
This recipe relies on simple, everyday ingredients, but each one plays a specific role in creating that perfect texture and flavor. Here’s what you’ll need to grab:
For the Brown Butter Pumpkin Bread
- 1/2 cup (113g) unsalted butter — You’ll be browning this, so use a light-colored pan to monitor the color. I prefer Kerrygold or any European-style butter here; the higher fat content browns more evenly and adds a richer flavor.
- 1 cup (200g) granulated sugar — Standard white sugar works perfectly. It helps create that tender crumb.
- 1/3 cup (65g) packed light brown sugar — Adds moisture and a hint of molasses that pairs beautifully with the browned butter. Dark brown sugar works too, but it will make the bread slightly darker and more intensely flavored.
- 2 large eggs, at room temperature — Room temperature eggs emulsify better into the batter, giving you a smoother, more uniform texture. If you forgot to set them out, place them in a bowl of warm water for 5 minutes.
- 1 teaspoon vanilla extract — Pure vanilla extract is worth it here; the flavor shines through. I use Nielsen-Massey, but any good-quality brand works.
- 1 cup (245g) pumpkin puree — Not pumpkin pie filling! Make sure you grab 100% pure pumpkin puree. Libby’s is my go-to for consistent results. If you’re using homemade pumpkin puree, drain it slightly by pressing it through a fine-mesh strainer to remove excess water.
- 1/2 cup (120ml) neutral oil — Vegetable, canola, or avocado oil all work. The oil keeps the bread moist for days, which is crucial because browned butter alone can make baked goods dry out faster.
- 1 3/4 cups (220g) all-purpose flour — Spoon and level your flour for accuracy. Scooping directly from the bag can pack in too much flour, leading to a dense, dry loaf.
- 1 teaspoon baking soda — Make sure it’s fresh; old baking soda won’t give you the rise you need.
- 1/2 teaspoon baking powder — Adds a little extra lift.
- 1/2 teaspoon salt — Fine sea salt or table salt. Don’t skip it—salt balances the sweetness and enhances the pumpkin and butter flavors.
- 1 1/2 teaspoons ground cinnamon — The backbone of the spice blend. I use Saigon cinnamon for a warmer, more intense flavor.
- 1/2 teaspoon ground nutmeg — Freshly grated if you have it; pre-ground works fine too.
- 1/4 teaspoon ground ginger — Adds a gentle warmth without overpowering.
- 1/8 teaspoon ground cloves — Just a pinch. Cloves are potent, so a little goes a long way.
For the Maple Glaze
- 1 cup (120g) powdered sugar, sifted — Sifting prevents lumps in the glaze. Trust me on this one.
- 2 tablespoons (30ml) pure maple syrup — Not pancake syrup! Use the real stuff. Grade A dark amber has a stronger maple flavor that stands up well here.
- 1 to 2 tablespoons (15-30ml) milk or heavy cream — Adjust based on how thick you want the glaze. Heavy cream makes it richer and slightly thicker.
- Pinch of salt — Optional, but I highly recommend it. It cuts the sweetness and makes the maple flavor pop.
Equipment Needed
You don’t need a fancy kitchen to make this bread, but having the right tools makes the process smoother. Here’s what I use:
- 9×5-inch loaf pan — A standard metal or glass loaf pan works. If you’re using a dark non-stick pan, reduce the oven temperature by 25°F to prevent over-browning.
- Light-colored saucepan or skillet — Essential for browning the butter. A dark pan makes it nearly impossible to see when the butter solids turn golden.
- Mixing bowls — One large, one medium. Glass or stainless steel works best.
- Whisk — For combining dry ingredients and smoothing the batter.
- Rubber spatula — For scraping every last bit of browned butter and batter. I prefer a heat-resistant silicone one.
- Parchment paper — Lining the pan makes lifting the bread out effortless. You can also use butter and flour, but parchment is foolproof.
- Cooling rack — A wire rack allows air to circulate, preventing the bottom from getting soggy.
- Small whisk or fork — For mixing the glaze.
If you don’t have a stand mixer, don’t worry—you can mix everything by hand with a whisk and some elbow grease. Honestly, I prefer hand-mixing for quick breads; it’s harder to overmix that way.
Preparation Method
Alright, let’s get to the good part. Take your time with the browned butter—it’s the star of the show, and rushing it won’t do you any favors.
Step 1: Brown the Butter
Place the 1/2 cup of unsalted butter in your light-colored saucepan over medium heat. Let it melt completely, then swirl the pan occasionally. After a few minutes, you’ll hear it start to crackle and pop—that’s the water evaporating. Keep going until the butter turns a deep amber color and smells nutty and toasty, about 5 to 7 minutes total. You’ll see brown specks forming at the bottom; those are the milk solids toasting. Once it reaches that golden-brown stage, immediately remove the pan from the heat and pour the butter into a heat-safe bowl to stop the cooking process. Don’t walk away during this step—browned butter can go from perfect to burnt in seconds.
Step 2: Cool the Butter
Let the browned butter cool for about 10 to 15 minutes. It should be warm but not hot—you don’t want it to cook the eggs when you add them. If you’re in a hurry, you can place the bowl in the fridge for 5 minutes, stirring occasionally.
Step 3: Preheat and Prep
Preheat your oven to 350°F (175°C). Line your 9×5-inch loaf pan with parchment paper, leaving some overhang on the long sides—this creates “handles” for lifting the bread out later. Lightly grease the parchment with cooking spray or butter.
Step 4: Mix the Wet Ingredients
In a large bowl, whisk together the cooled browned butter, granulated sugar, and brown sugar until well combined. It will look a bit grainy, that’s normal. Add the eggs one at a time, whisking well after each addition until the mixture is smooth and glossy. Stir in the vanilla extract, pumpkin puree, and neutral oil. The batter will be thick and smell incredible already.
Step 5: Combine the Dry Ingredients
In a separate medium bowl, whisk together the all-purpose flour, baking soda, baking powder, salt, cinnamon, nutmeg, ginger, and cloves. Make sure everything is evenly distributed—nobody wants a pocket of baking soda in their slice.
Step 6: Fold It Together
Add the dry ingredients to the wet ingredients in two additions, folding gently with a rubber spatula after each addition. Mix just until you no longer see streaks of flour—overmixing at this stage will develop gluten and make your bread tough. A few small lumps are totally fine.
Step 7: Bake
Pour the batter into your prepared loaf pan and spread it into an even layer. Bake for 55 to 65 minutes, or until a toothpick inserted into the center comes out clean or with just a few moist crumbs. If the top is browning too quickly (around the 40-minute mark), tent the pan loosely with aluminum foil. Let the bread cool in the pan for 15 minutes, then lift it out using the parchment handles and transfer it to a wire rack to cool completely.
Step 8: Make the Glaze
While the bread cools, make the maple glaze. In a small bowl, whisk together the sifted powdered sugar and maple syrup. Add milk or heavy cream one tablespoon at a time until you reach a pourable consistency. Stir in a pinch of salt if you’re using it. The glaze should be thick enough to coat the back of a spoon but thin enough to drizzle.
Step 9: Glaze and Serve
Once the bread is completely cool—and I mean completely cool, or the glaze will melt right off—drizzle the maple glaze over the top. Let it set for about 10 minutes before slicing. Use a serrated knife for clean cuts.
Cooking Tips & Techniques
Over the years, I’ve made this bread more times than I can count, and I’ve learned a few things the hard way. Here’s what I wish someone had told me:
- Don’t skip browning the butter. I know it’s an extra step, but it’s the whole point of this recipe. The nutty flavor is irreplaceable. That said, watch it closely—I once got distracted by a phone call and ended up with burnt butter that smelled like regret. Start over if that happens; burnt butter will ruin the bread.
- Room temperature ingredients matter. Cold eggs and cold pumpkin puree can cause the browned butter to seize up, leaving you with a lumpy batter. Set everything out 30 minutes before you start.
- Measure your flour correctly. Spoon it into the measuring cup and level it off with a knife. Scooping directly from the bag can add up to 25% more flour, which will make your bread dry and dense.
- Let it cool fully before glazing. I know it’s tempting to drizzle that glaze on a warm loaf, but it will slide right off and pool on your cutting board. Patience pays off here.
- For even baking, place the loaf pan in the center of the oven. Rotate it halfway through if your oven runs hot on one side.
Variations & Adaptations
This recipe is wonderfully adaptable. Here are some ways to make it your own:
- Gluten-Free: Substitute the all-purpose flour with a 1:1 gluten-free baking flour blend that contains xanthan gum. I’ve had good results with King Arthur Measure for Measure. The texture will be slightly more tender, but still delicious.
- Dairy-Free: Use a high-quality vegan butter for browning—I recommend Miyoko’s or Country Crock Plant Butter. They brown reasonably well, though the flavor won’t be as rich. Use a dairy-free milk like oat or almond in the glaze.
- Add Mix-Ins: Fold in 1/2 cup of toasted pecans, walnuts, or chocolate chips along with the dry ingredients. Or swirl in 1/4 cup of cream cheese softened with a tablespoon of maple syrup for a marbled effect.
- Spice It Up: Add 1/4 teaspoon of cardamom or allspice to the spice blend for a more complex flavor profile.
- Make It Muffins: Divide the batter into a lined 12-cup muffin tin and bake at 350°F for 18 to 22 minutes. The glaze can be drizzled over the cooled muffins.
Serving & Storage Suggestions
This bread is delicious at room temperature, but I also love it lightly toasted—the browned butter flavor becomes even more pronounced. Serve it alongside a cup of coffee or chai tea for the ultimate fall moment.
To store, wrap the unglazed bread tightly in plastic wrap or place it in an airtight container. It will keep at room temperature for up to 4 days. The glaze will stay set if you store it at room temperature, but if your kitchen is warm, pop it in the fridge. Let slices come to room temperature before serving for the best texture.
This bread freezes beautifully. Wrap the cooled, unglazed loaf tightly in plastic wrap, then in a layer of aluminum foil. Freeze for up to 3 months. When you’re ready to enjoy it, thaw it overnight in the refrigerator, then bring it to room temperature before glazing and serving. The flavors actually meld together even more after freezing—it’s a little trick I use for holiday prep.
For gifting, wrap the glazed loaf in parchment paper and tie it with kitchen twine. Add a handwritten tag with serving instructions—it’s always a hit.
Nutritional Information & Benefits
Here’s the estimated nutritional breakdown for one slice (based on 10 slices per loaf):
- Calories: 340
- Fat: 16g
- Carbohydrates: 47g
- Protein: 4g
- Fiber: 2g
- Sugar: 32g
Pumpkin is a nutritional powerhouse—it’s packed with vitamin A (in the form of beta-carotene), vitamin C, and fiber. The browned butter adds healthy fats that help your body absorb those fat-soluble vitamins. And while this is definitely a treat, the pumpkin does provide some nutritional value that you won’t find in a standard loaf of banana bread.
If you’re watching your sugar intake, you can reduce the granulated sugar to 3/4 cup and skip the glaze—the bread will still be delicious, just less sweet. For a lower-fat option, replace the oil with unsweetened applesauce, but note that the texture will be slightly less tender.
As always, this recipe contains gluten, dairy, and eggs. For allergen-friendly adaptations, refer to the variations section above.
Frequently Asked Questions
Can I use pumpkin pie filling instead of pumpkin puree?
No, please don’t. Pumpkin pie filling is pre-sweetened and spiced, which will throw off the balance of this recipe. Stick with 100% pure pumpkin puree for the best results.
Why did my pumpkin bread sink in the middle?
This usually happens if the bread is underbaked or if the oven temperature is too low. Make sure your oven is properly preheated to 350°F and test with a toothpick before removing it. Also, avoid opening the oven door during the first 30 minutes of baking.
Can I make this recipe without browning the butter?
You can, but it won’t be the same. The browned butter is what gives this bread its signature nutty, toasty flavor. If you’re short on time, you can use melted butter instead, but the depth of flavor will be significantly reduced.
How do I know when the butter is properly browned?
Look for a deep amber color—think the color of a penny. You’ll also see brown specks at the bottom of the pan, and the butter will smell nutty and fragrant. If it smells burnt or looks dark brown, you’ve gone too far and should start over.
Can I double this recipe?
Absolutely. This recipe doubles beautifully. Use two 9×5-inch loaf pans and bake them side by side. You may need to add 5 to 10 minutes to the baking time, so start checking at the 55-minute mark.
Conclusion
This brown butter pumpkin bread with maple glaze is more than just a fall recipe—it’s the one that changes minds and makes memories. Whether you’re baking it for a cozy weekend breakfast, a holiday gathering, or just because you deserve something warm and wonderful, it delivers every single time. The browned butter adds a depth you didn’t know pumpkin bread was missing, and the maple glaze ties it all together with just the right amount of sweetness.
I’d love to hear how it turns out for you. Did you add any mix-ins? Did your family fight over the last slice? Drop a comment below and let me know—I read every single one. And if you’re looking for more cozy baking inspiration, you might love my cinnamon sugar pumpkin muffins or this maple pecan scones recipe. Happy baking, friend—you’ve got this.
Pin This Recipe!
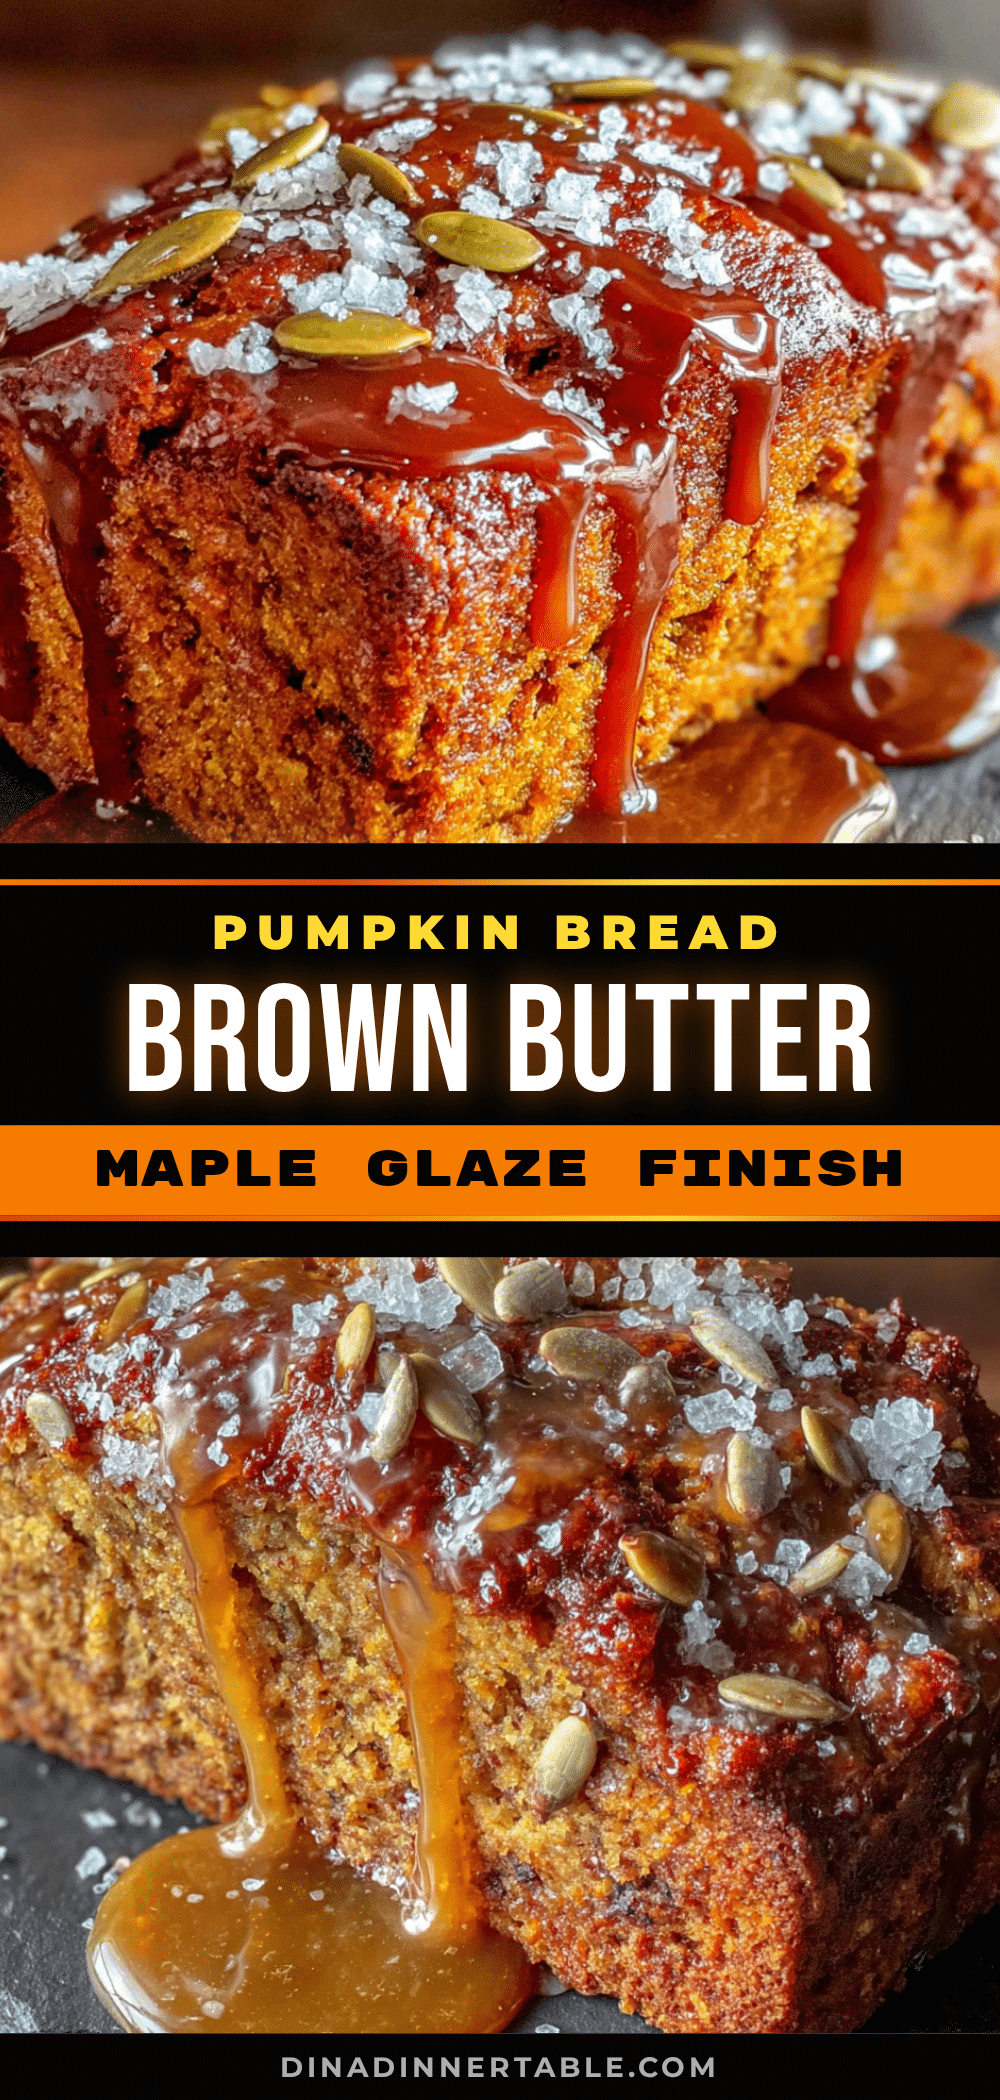
Perfect Brown Butter Pumpkin Bread with Easy Maple Glaze
This brown butter pumpkin bread is incredibly moist, flavorful, and topped with a simple maple glaze. It’s the perfect fall treat that will change even the biggest pumpkin bread skeptics’ minds.
- Prep Time: 20 minutes
- Cook Time: 60 minutes
- Total Time: 1 hour 20 minutes
- Yield: 10 servings 1x
- Category: Dessert
- Cuisine: American
Ingredients
- 1/2 cup (113g) unsalted butter
- 1 cup (200g) granulated sugar
- 1/3 cup (65g) packed light brown sugar
- 2 large eggs, at room temperature
- 1 teaspoon vanilla extract
- 1 cup (245g) pumpkin puree
- 1/2 cup (120ml) neutral oil (vegetable, canola, or avocado)
- 1 3/4 cups (220g) all-purpose flour
- 1 teaspoon baking soda
- 1/2 teaspoon baking powder
- 1/2 teaspoon salt
- 1 1/2 teaspoons ground cinnamon
- 1/2 teaspoon ground nutmeg
- 1/4 teaspoon ground ginger
- 1/8 teaspoon ground cloves
- 1 cup (120g) powdered sugar, sifted
- 2 tablespoons (30ml) pure maple syrup
- 1 to 2 tablespoons (15-30ml) milk or heavy cream
- Pinch of salt (optional)
Instructions
- Brown the butter: Place 1/2 cup unsalted butter in a light-colored saucepan over medium heat. Melt completely, then swirl occasionally until it turns deep amber and smells nutty, about 5-7 minutes. Immediately pour into a heat-safe bowl to stop cooking.
- Cool the butter: Let the browned butter cool for 10-15 minutes until warm but not hot.
- Preheat and prep: Preheat oven to 350°F (175°C). Line a 9×5-inch loaf pan with parchment paper, leaving overhang on long sides. Lightly grease parchment.
- Mix wet ingredients: In a large bowl, whisk together cooled browned butter, granulated sugar, and brown sugar until combined. Add eggs one at a time, whisking well after each. Stir in vanilla, pumpkin puree, and oil until smooth.
- Combine dry ingredients: In a medium bowl, whisk together flour, baking soda, baking powder, salt, cinnamon, nutmeg, ginger, and cloves.
- Fold together: Add dry ingredients to wet in two additions, folding gently with a rubber spatula until just combined. Do not overmix.
- Bake: Pour batter into prepared pan and spread evenly. Bake 55-65 minutes, until a toothpick inserted in center comes out clean. If top browns too quickly, tent with foil at 40 minutes. Cool in pan 15 minutes, then transfer to wire rack to cool completely.
- Make glaze: In a small bowl, whisk together sifted powdered sugar and maple syrup. Add milk or cream 1 tablespoon at a time until pourable. Stir in salt if using.
- Glaze and serve: Once bread is completely cool, drizzle glaze over top. Let set 10 minutes before slicing with a serrated knife.
Notes
Don’t skip browning the butter—it’s the key to the flavor. Watch it closely to avoid burning. Room temperature ingredients help the batter come together smoothly. Let the bread cool completely before glazing to prevent the glaze from melting off. For gluten-free, use a 1:1 gluten-free flour blend. For dairy-free, use vegan butter and dairy-free milk.
Nutrition
- Serving Size: 1 slice
- Calories: 340
- Sugar: 32
- Sodium: 280
- Fat: 16
- Saturated Fat: 7
- Carbohydrates: 47
- Fiber: 2
- Protein: 4
Keywords: pumpkin bread, brown butter, maple glaze, fall baking, quick bread


