I wasn’t expecting party planning advice from my plumber, but there I was, standing in my kitchen with a dripping faucet, listening to him describe exactly how to make a Halloween charcuterie board for his daughter’s class party. Frank had been under my sink for maybe ten minutes when he popped his head out and said, “You know what’s easier than baking all those creepy cupcakes? A monster mash board. My wife made one last year, and the kids went absolutely nuts over it.” I was holding a wrench I didn’t know how to use, honestly, and here was this guy giving me the best party idea I’d heard all season.
He told me about the green grapes that look like monster eyeballs, the way they used pretzel sticks for witch fingers, and how his wife just threw everything on a big cutting board in under fifteen minutes. I mean, I’d spent years thinking Halloween snacks had to be elaborate—dipped Oreos, decorated cookies, all that stuff that takes hours. And here was Frank, the plumber, telling me I was overcomplicating things. He even drew a little diagram on a napkin while I handed him a new pipe fitting. That napkin is still on my fridge, stained with coffee and absolutely priceless.
Maybe you’ve been there—scrolling Pinterest at 10 PM the night before a party, realizing you have nothing spooky to serve. That was me last October, and Frank’s quick monster mash Halloween charcuterie board saved the day. It’s the kind of recipe that feels like cheating because it comes together so fast, yet everyone thinks you put in real effort. I’ve made this board for three Halloweens now, and it never fails to get that delighted little gasp from kids and adults alike. Honestly, it’s the best thing that ever came out of a plumbing emergency.
Why You’ll Love This Recipe
Let me tell you why this quick monster mash Halloween charcuterie board has become my go-to for every spooky gathering. I’ve tested this thing on picky eaters, Halloween party veterans, and even my neighbor who swears she doesn’t do themed food. Every single time, the board comes back empty. That’s not luck—that’s good planning and a little bit of monster magic.
- Quick & Easy: This board comes together in under 15 minutes. No baking, no complicated steps, no melting chocolate that seizes up on you. Just grab, arrange, and serve. Perfect for those nights when the kids are already in costume and you haven’t even started on snacks.
- Simple Ingredients: Everything on this board is store-bought and easy to find. You don’t need specialty stores or obscure ingredients. Most of these items are already in your pantry or just a quick trip to the grocery store away.
- Perfect for Halloween Parties: Whether it’s a classroom celebration, a neighborhood get-together, or just a fun family movie night, this board fits right in. It’s festive without being fussy, which is exactly what busy parents need.
- Crowd-Pleaser: Kids love the playful presentation, and adults appreciate the savory-sweet balance. It’s one of those rare snacks that works for all ages. I’ve seen teenagers go back for thirds, and that never happens with veggies.
- Unbelievably Delicious: The combination of salty pretzels, creamy cheese, sweet fruit, and crunchy crackers is pure comfort food magic. It’s simple, but the flavors just work together perfectly.
What makes this board different from the rest is the monster theme. I’m not just throwing random snacks on a platter—I’m arranging them to look like little monsters, with olive eyes, cheese fangs, and pretzel legs. It’s that extra touch that turns a regular snack board into something memorable. And honestly, it’s the kind of recipe that makes you feel like a hero when you set it on the table. Your kids will think you spent hours on it. Let them wonder.
What Ingredients You Will Need
This quick monster mash Halloween charcuterie board uses simple, everyday ingredients that transform into something magical with just a little creative arranging. Most of these are pantry staples or easy finds at any grocery store. I’ve included my favorite brands and a few substitution notes to make this work for your family.
For the Monster Base
- Large wooden cutting board or serving platter (at least 12×16 inches, the bigger the better for monster room)
- Assorted crackers (I prefer Ritz for buttery flavor and Wheat Thins for texture—about 2 cups total)
- Pretzel sticks (1 cup, these become monster legs and witch fingers)
- Pretzel twists (1 cup, great for bat wings and spider bodies)
For the Monster Features
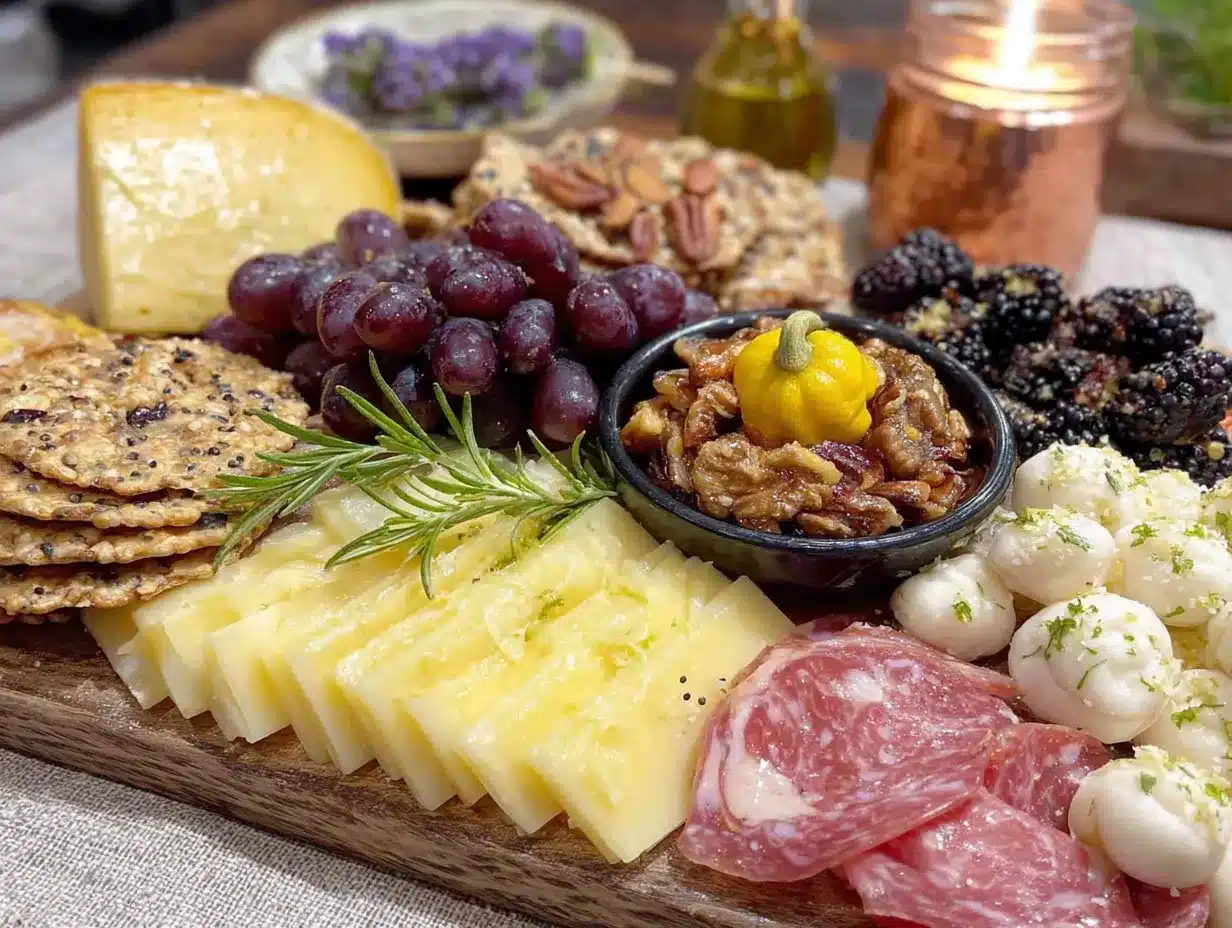
- Green grapes (1 cup, these are your monster eyeballs—look for firm, round ones)
- Black olives (1 can, drained, use these for pupils and spider bodies)
- Pimiento-stuffed green olives (1 small jar, the red centers look like bloodshot eyes)
- Baby carrots (1 cup, these become monster fingers and teeth)
- Red bell pepper (1 medium, sliced into strips for monster tongues and mouths)
For the Cheese and Meats
- Sharp cheddar cheese block (8 ounces, cut into cubes and triangles for monster teeth)
- Mozzarella string cheese (4 sticks, pull apart for cheese worms or cut into rounds for eyes)
- Salami slices (6 ounces, fold into cones for monster horns or roll for bodies)
- Pepperoni slices (4 ounces, use for monster spots or ears)
For the Sweet Touch
- Mini marshmallows (1 cup, ghost bodies and monster teeth)
- Chocolate chips (½ cup, use for eyes and spots—dark or milk chocolate both work)
- Orange slices (1 cup, fresh or canned, these add color and sweetness)
- Strawberries (1 cup, halved, look like little hearts or monster tongues)
For the Spooky Decorations (Optional but Fun)
- Edible googly eyes (found in baking aisle, these make everything instantly monster-like)
- Black licorice strings (use for spider legs and monster hair)
- Halloween sprinkles (a small handful for extra festivity)
I personally recommend grabbing the store-brand versions of most items—they taste the same and save money. For the cheese, though, spring for a good sharp cheddar. The flavor stands up better against the salty pretzels. If you’re feeding little ones, swap the salami for turkey slices or leave the meat off entirely. This board is super flexible that way.
Equipment Needed
You don’t need fancy equipment for this quick monster mash Halloween charcuterie board. That’s the beauty of it. Here’s what I use, along with a few alternatives if you’re working with what you have.
- Large cutting board or serving platter (I use a 14×20 inch wooden board I got at a yard sale for five bucks. A baking sheet lined with parchment works just as well if you don’t have a fancy board.)
- Small bowls or ramekins (for dips, olives, and loose items like chocolate chips. I use those little condiment dishes from the dollar store.)
- Cheese knife or small paring knife (for cutting cheese shapes. A regular kitchen knife works fine, just make sure it’s sharp.)
- Tongs or small spoons (for arranging smaller items. Honestly, I just use my clean hands most of the time.)
- Paper towels or napkins (for blotting olives and grapes dry. Wet ingredients make crackers soggy, so this step matters.)
- Cookie cutters (optional but fun—bat, pumpkin, or ghost shapes for cheese slices. I found a set at the dollar store last Halloween.)
If you’re making this for a party and want to go all out, a sectioned party platter with compartments makes arranging even easier. But honestly, a flat surface and some creativity is all you need. I’ve made this board on a clean pizza pan before, and it looked just as good.
Preparation Method
Here’s how to build your quick monster mash Halloween charcuterie board. I’ve broken it down into simple steps with time estimates and sensory cues so you know exactly what you’re looking for at each stage. Total active time is about 15 minutes, maybe 20 if you’re letting the kids help (which you should—it’s messy fun).
Step 1: Prep Your Ingredients (5 minutes)
Start by washing all your produce. Rinse the grapes, strawberries, baby carrots, and bell pepper under cool water and pat them completely dry with paper towels. This is important—wet fruit makes crackers soggy and cheese slippery. Drain your olives and blot them dry too. I learned this the hard way when my first board turned into a soggy mess after ten minutes. Cut the cheddar into ½-inch cubes and triangles. Pull the string cheese apart into thin strips. Slice the bell pepper into thin strips about 2 inches long. Set everything in separate small bowls so you can grab and arrange quickly.
Step 2: Arrange the Base Layer (3 minutes)
Take your large cutting board or platter and start with the crackers and pretzels. These form the foundation of your monster board. Scatter the Ritz crackers and Wheat Thins in an even layer across the board, leaving some open spaces for the monster features. Place the pretzel sticks in small clusters around the edges—these will look like monster legs reaching out. Arrange the pretzel twists in a few spots; they make great bat bodies. Don’t worry about perfect placement here. You’re just creating the landscape for your monsters to live on.
Step 3: Build the Monster Bodies (4 minutes)
Now for the fun part. Take your salami slices and fold each one into a cone shape—this looks like a monster horn or a little body. Place these in groups of three or four around the board. Use the pepperoni slices as monster ears or spots, tucking them next to the salami cones. For cheese monsters, stack two cheddar cubes with a string cheese strip on top to look like a little cheese creature. Space these out so each section of the board has its own monster character. I like to make one big monster in the center using a cluster of salami cones, pepperoni ears, and olive eyes.
Step 4: Add the Monster Features (3 minutes)
This is where your board comes to life. Place green grapes in pairs around the board for monster eyeballs. Add a black olive next to each grape pair to look like a pupil. For bloodshot eyes, use the pimiento-stuffed green olives with the red center facing outward. Arrange baby carrots in groups of five to look like monster fingers reaching out from under the cheese. Use red bell pepper strips as monster tongues or mouths, curving them around the cheese cubes. Stick mini marshmallows in clusters for ghost bodies, and add two chocolate chips on each for eyes. The edible googly eyes go on anything that needs a face—salami cones, cheese cubes, even the pretzels.
Step 5: Fill in the Gaps (2 minutes)
Look at your board and find any empty spaces. Fill these with orange slices, halved strawberries, and any remaining grapes or olives. The goal is to make the board look full and abundant. Sprinkle a few Halloween sprinkles over the top for extra festivity. If you’re using black licorice strings, drape them between monster bodies to look like spider webs or monster hair. Step back and take a look—does it look like a monster party? If not, add a few more eyes or a couple more pretzel legs. You can’t have too many monster features.
Step 6: Final Touches (1 minute)
Add small bowls or ramekins for any dips you want to include. I like a small bowl of ranch dressing for the carrots and a bowl of chocolate hummus for the fruit. Place these in corners of the board where they won’t crowd the monsters. Give everything one last gentle nudge to make sure it’s secure. Your quick monster mash Halloween charcuterie board is ready to serve. The whole thing should look chaotic but intentional—like a monster party that just happened to land on your table.
Cooking Tips & Techniques
I’ve made this board probably a dozen times now, and I’ve learned a few things the hard way. Here are my best tips for making your quick monster mash Halloween charcuterie board look amazing without driving yourself crazy.
Dry everything thoroughly. I cannot stress this enough. Wet grapes make crackers soggy. Wet olives slide off cheese. Take the extra thirty seconds to blot everything dry with a paper towel. Your board will look fresh for hours instead of turning into a sad, soggy mess. I once served a board at a party where the crackers were already soft after twenty minutes. Never again.
Build from the bottom up. Start with your largest items—crackers, pretzels, cheese cubes—and then add the smaller features. This prevents you from accidentally crushing delicate items like marshmallow ghosts or pepperoni ears. Think of it like layering a painting: background first, then midground, then foreground details.
Use the rule of threes. Monsters look best in groups. Place three salami cones together, three grape eyeballs in a cluster, three carrot fingers reaching out from one spot. Odd numbers feel more natural and visually interesting. I learned this from a food stylist friend, and it makes a huge difference.
Keep a damp paper towel handy. If you’re using cheese that gets sticky or salami that leaves oil on your fingers, a damp towel lets you wipe your hands quickly without running to the sink every thirty seconds. This keeps your board clean and your fingers from sticking to everything.
Don’t overthink it. The beauty of this board is that it’s supposed to look a little messy and chaotic. Monsters aren’t tidy. If a grape rolls into a pretzel cluster, that’s fine. If a cheese cube falls over, prop it back up with a pepperoni ear. Imperfection adds charm. Your kids aren’t going to judge your olive placement—they’re going to grab handfuls and run off to watch a spooky movie.
Variations & Adaptations
One of the best things about this quick monster mash Halloween charcuterie board is how easy it is to adapt. I’ve made different versions for different occasions, and they’ve all been hits. Here are a few variations to try.
Healthy Monster Board
Swap the crackers for cucumber rounds and bell pepper slices. Use turkey rolls instead of salami, and add extra veggies like snap peas and cherry tomatoes. The monster features still work great—grape eyeballs, carrot fingers, olive pupils. This version is perfect for school parties or if you’re trying to balance out all the Halloween candy. I made this for my niece’s class, and the teacher asked for the recipe.
Dairy-Free Monster Board
Skip the cheese and use dairy-free alternatives like cashew cheese rounds or hummus. Add extra protein with hard-boiled eggs (cut in half with olive eyes for little monster faces). Use dairy-free crackers and pretzels. The rest of the ingredients—fruit, veggies, meats—are naturally dairy-free. This works great for families with allergies, and honestly, nobody misses the cheese when there are googly eyes everywhere.
Sweet Monster Board
Turn this into a dessert board by swapping the meats and cheese for cookies, brownie bites, and candy. Use marshmallow ghosts, chocolate-covered pretzels, and gummy worms for monster features. Add a bowl of chocolate dip for the fruit. This version is perfect for after trick-or-treating or a Halloween movie night. I made this for a grown-up Halloween party, and it disappeared faster than the savory version.
Mini Monster Boards
Make individual boards for each kid using small plates or lunch trays. This cuts down on grabbing and fighting over the good stuff. Each board gets its own little monster—a salami cone with olive eyes, a cluster of grape eyeballs, a few carrot fingers, and a handful of crackers. This is great for parties where you want to avoid the chaos of a shared platter. Plus, kids love having their own monster to eat.
Serving & Storage Suggestions
This quick monster mash Halloween charcuterie board is best served immediately, but there are a few tricks to keep it fresh if you’re making it ahead of time.
Serving temperature: Serve the board at room temperature. Take the cheese out of the fridge about 15 minutes before assembling so it’s not rock hard. The crackers and pretzels stay crunchier at room temperature, and the fruit tastes brighter. If you’re serving outside on a cool Halloween night, the board will stay fresh for about an hour before the cheese starts to sweat.
Presentation tips: Place the board in the center of your table where everyone can reach it. Add a few small bowls for dips and loose items. I like to put a little sign next to the board that says “Monster Mash” with a spooky font. It adds to the theme and makes the board feel like a centerpiece rather than just snacks. For extra fun, add some fake spider webs around the edges of the board.
Storage instructions: If you have leftovers (unlikely, but possible), separate the components into airtight containers. Crackers and pretzels go in one container, cheese in another, fruit and veggies in a third. The meats can go with the cheese. Store everything in the refrigerator except the crackers, which stay at room temperature. Assemble a smaller board the next day with the leftovers—it’s just as good.
Reheating tips: There’s nothing to reheat here, but if you want to refresh stale crackers, pop them in a 300°F oven for 3-4 minutes. Let them cool completely before adding back to the board. For the cheese, let it sit at room temperature for 10 minutes before serving again. The fruit might be a little softer the next day, but it’s still perfectly fine to eat.
How flavors develop: The best part about this board is that it’s meant to be eaten right away. The flavors don’t need to meld or develop. It’s all about the immediate crunch, creaminess, and sweetness. That said, the cheese and fruit actually taste better after sitting out for 15-20 minutes. The cheese softens and the fruit releases a little juice that mixes with the salt from the pretzels. It’s a happy accident that makes the board even better as the party goes on.
Nutritional Information & Benefits
While this quick monster mash Halloween charcuterie board isn’t exactly health food, it does offer some nutritional benefits depending on what you include. Here’s a rough estimate for a standard serving (about one-sixth of the board).
Estimated nutritional values per serving: Approximately 350-400 calories, 18g fat, 35g carbohydrates, 12g protein, 4g fiber, 15g sugar, 600mg sodium. These numbers vary based on your specific ingredient choices and portion sizes. If you use the healthy monster board version, you can cut the calories and fat significantly.
Health benefits of key ingredients: Grapes are packed with antioxidants and vitamin C. Carrots provide beta-carotene for eye health. The cheese offers calcium and protein. Olives contain healthy monounsaturated fats. Even the dark chocolate chips have antioxidants. It’s not a salad, but it’s not junk food either. I feel good about serving this to my family because it has real food components.
Dietary considerations: This board can easily be adapted for gluten-free diets by using gluten-free crackers and pretzels. For dairy-free, skip the cheese and use hummus or dairy-free alternatives. The base board is naturally nut-free, but check your specific brands if allergies are a concern. The standard board contains gluten (crackers, pretzels) and dairy (cheese).
Potential allergens: Common allergens in this board include dairy (cheese), gluten (crackers, pretzels), and sulfites (dried fruit if you add any). The meats are generally safe, but check labels for fillers. If you’re serving a crowd with allergies, label the board or separate the allergens into different sections.
My personal perspective: I love that this board lets me offer a variety of foods without stressing over individual preferences. Picky eaters can pick around what they don’t like, and adventurous eaters can try everything. It’s a balanced snack in the sense that it has protein, carbs, and fat—plus fruit for a little sweetness. I don’t pretend it’s a meal replacement, but it’s a fantastic party snack that won’t leave anyone hungry.
Conclusion
Honestly, this quick monster mash Halloween charcuterie board is the recipe I never knew I needed until Frank the plumber handed me that coffee-stained napkin. It’s saved me from last-minute party panic more times than I can count, and it never fails to get that delighted reaction from kids and adults alike. There’s something magical about watching people’s faces light up when they see grape eyeballs and pretzel legs reaching out from a board of cheese and crackers.
I encourage you to make this board your own. Add your family’s favorite snacks, swap in different colors, or let the kids arrange the monsters themselves. The beauty of this recipe is that there’s no wrong way to do it. As long as it looks a little spooky and tastes delicious, you’ve nailed it. I’ve made versions with gummy worms, versions with only fruit, and versions that were mostly cheese because that’s what I had in the fridge. Every single one was a hit.
I’d love to hear how your monster board turns out. Did your kids add something unexpected? Did you discover a new monster shape? Drop a comment below and share your creation. And if you’re looking for more quick party ideas, check out my Halloween puff pastry snacks or this easy fall charcuterie board for another season. Happy haunting, and happy snacking!
Frequently Asked Questions
Can I make this board ahead of time?
You can prep all the ingredients the night before—wash and dry the fruit, cut the cheese, drain the olives. Store everything in separate containers in the fridge. Assemble the board just before serving for the freshest results. If you assemble it more than an hour ahead, the crackers might get soft from the moisture in the fruit and veggies.
How do I keep the crackers from getting soggy?
The key is drying everything thoroughly before arranging. Pat your grapes, olives, and bell peppers completely dry with paper towels. Don’t place wet items directly on top of crackers—put them on the board next to the crackers instead. If you’re serving dip, keep it in a small bowl off to the side rather than pouring it directly on the board.
What if I don’t have a large cutting board?
No problem at all. Use a baking sheet lined with parchment paper or a clean pizza pan. You can also use a large serving platter, a wooden cheese board, or even a clean cookie sheet. If you’re making mini boards for kids, use small plates or lunch trays. The presentation matters less than the fun of eating monster snacks.
Can I make this vegetarian or vegan?
Absolutely. For a vegetarian version, skip the salami and pepperoni and add extra cheese, hummus, or hard-boiled eggs. For a vegan version, use dairy-free cheese alternatives, vegan crackers, and load up on fruits and veggies. The monster features work just as well with plant-based ingredients—grape eyeballs, carrot fingers, and olive pupils are all naturally vegan.
How many people does this board serve?
This board serves about 6-8 people as a snack or appetizer. If it’s the main snack at a party, plan for 6 people. If you’re serving it alongside other dishes, it can stretch to 8-10. Kids tend to eat more because they’re excited about the monster shapes, so factor that in if you’re serving little ones. I usually double the recipe for bigger parties and make two boards.
Pin This Recipe!
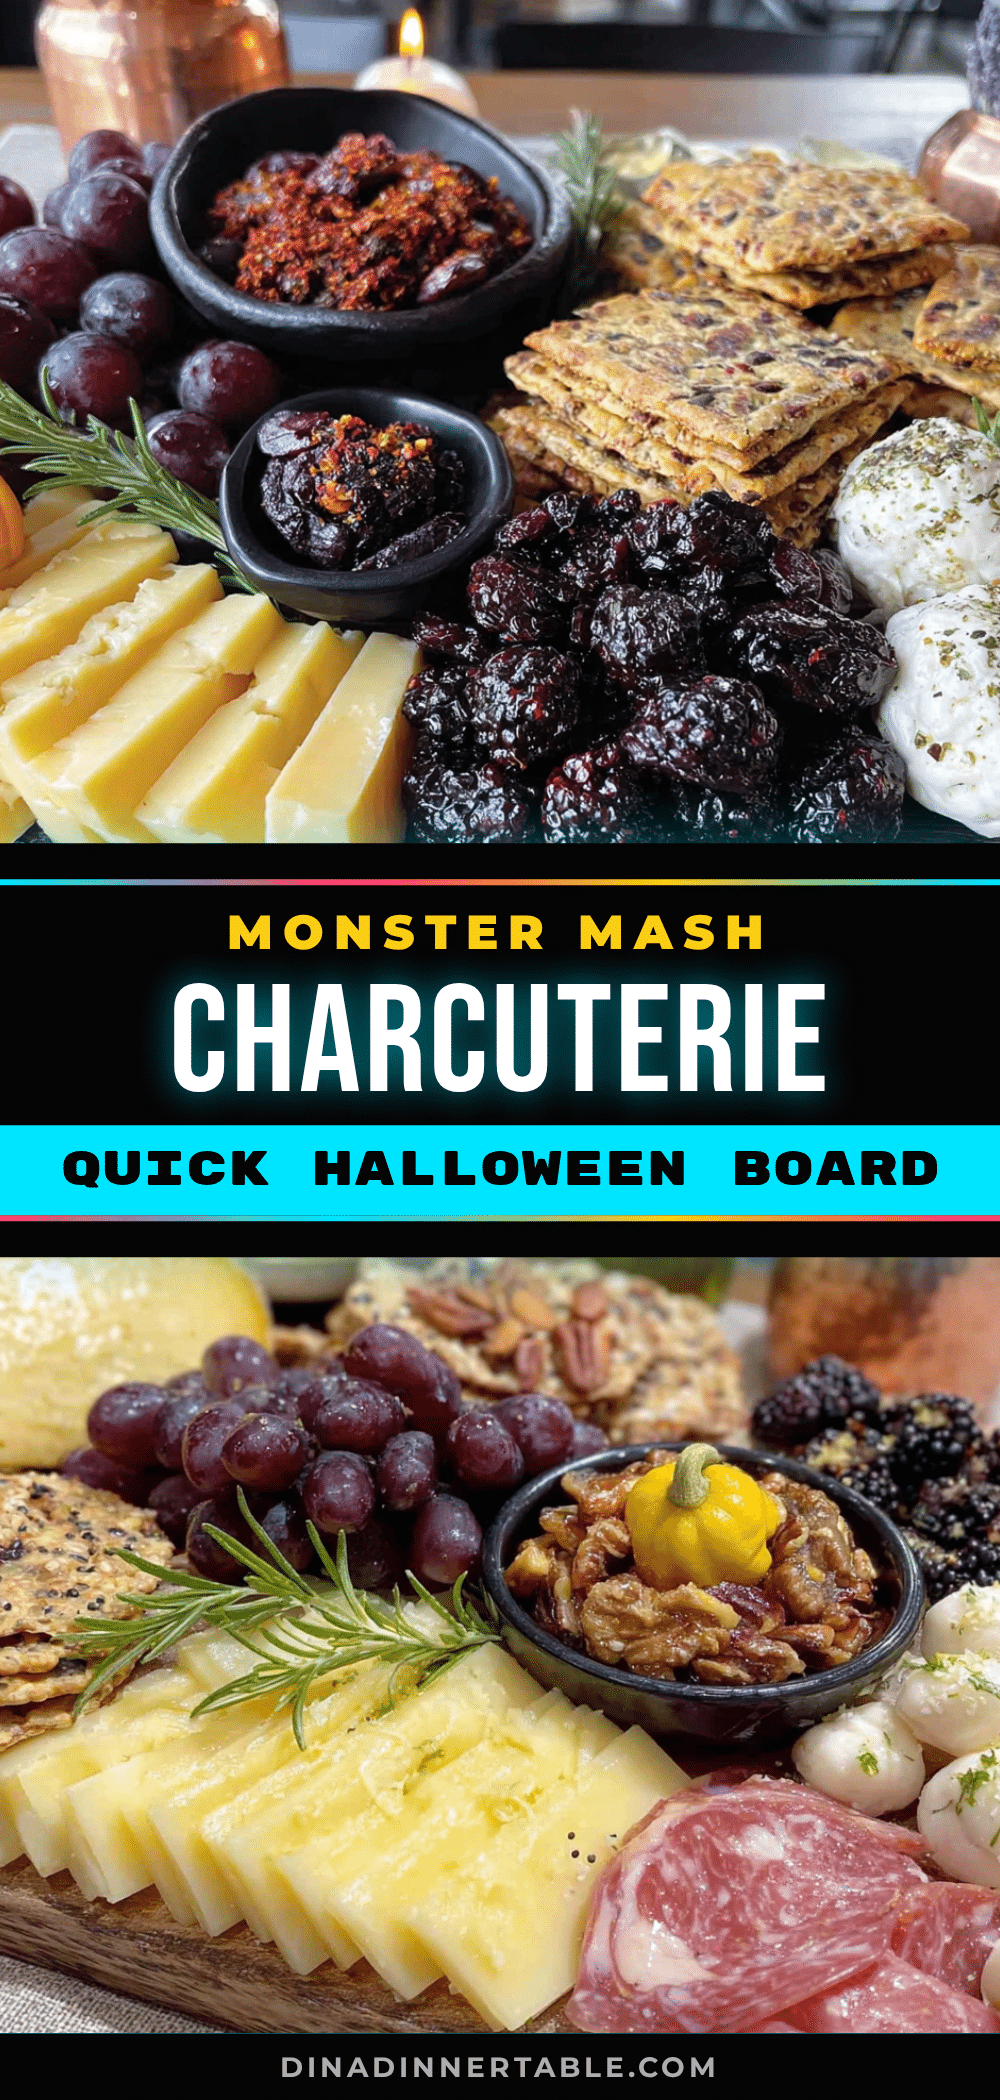
Quick Monster Mash Halloween Charcuterie Board: Easy Recipe
A quick and easy Halloween charcuterie board that comes together in under 15 minutes with simple, store-bought ingredients. Perfect for parties, it features monster-themed snacks like grape eyeballs, pretzel legs, and cheese fangs that delight kids and adults alike.
- Prep Time: 15 minutes
- Cook Time: 0 minutes
- Total Time: 15 minutes
- Yield: 6-8 servings
- Category: Appetizer
- Cuisine: American
Ingredients
- Large wooden cutting board or serving platter (at least 12×16 inches)
- Assorted crackers (Ritz and Wheat Thins, about 2 cups total)
- Pretzel sticks (1 cup)
- Pretzel twists (1 cup)
- Green grapes (1 cup)
- Black olives (1 can, drained)
- Pimiento-stuffed green olives (1 small jar)
- Baby carrots (1 cup)
- Red bell pepper (1 medium, sliced into strips)
- Sharp cheddar cheese block (8 ounces, cut into cubes and triangles)
- Mozzarella string cheese (4 sticks, pulled apart or cut into rounds)
- Salami slices (6 ounces)
- Pepperoni slices (4 ounces)
- Mini marshmallows (1 cup)
- Chocolate chips (½ cup)
- Orange slices (1 cup, fresh or canned)
- Strawberries (1 cup, halved)
- Edible googly eyes (optional)
- Black licorice strings (optional)
- Halloween sprinkles (optional)
Instructions
- Prep your ingredients: Wash and thoroughly dry all produce (grapes, strawberries, baby carrots, bell pepper). Drain and blot olives dry. Cut cheddar into ½-inch cubes and triangles. Pull string cheese into thin strips. Slice bell pepper into thin strips about 2 inches long. Set everything in separate small bowls.
- Arrange the base layer: Scatter crackers and pretzels in an even layer across the board, leaving open spaces. Place pretzel sticks in small clusters around the edges. Arrange pretzel twists in a few spots.
- Build the monster bodies: Fold salami slices into cone shapes and place in groups of three or four. Tuck pepperoni slices as monster ears or spots. Stack two cheddar cubes with a string cheese strip on top for cheese creatures. Make one big monster in the center using salami cones, pepperoni ears, and olive eyes.
- Add the monster features: Place green grapes in pairs for eyeballs, add black olives next to them for pupils. Use pimiento-stuffed green olives for bloodshot eyes. Arrange baby carrots in groups of five for monster fingers. Use red bell pepper strips for tongues or mouths. Stick mini marshmallows in clusters for ghost bodies, add two chocolate chips for eyes. Place edible googly eyes on salami cones, cheese cubes, or pretzels.
- Fill in the gaps: Fill empty spaces with orange slices, halved strawberries, and remaining grapes or olives. Sprinkle Halloween sprinkles on top. Drape black licorice strings between monster bodies if using.
- Final touches: Add small bowls for dips (e.g., ranch dressing, chocolate hummus) in corners. Give everything a gentle nudge to secure. Serve immediately.
Notes
Dry all ingredients thoroughly to prevent soggy crackers. Build from largest items to smallest. Use the rule of threes for monster groupings. Don’t overthink the arrangement—imperfection adds charm. Best served immediately, but ingredients can be prepped the night before.
Nutrition
- Serving Size: 1/6 of the board
- Calories: 350400
- Sugar: 15
- Sodium: 600
- Fat: 18
- Saturated Fat: 8
- Carbohydrates: 35
- Fiber: 4
- Protein: 12
Keywords: Halloween charcuterie board, monster mash, easy Halloween snack, quick party food, kid-friendly Halloween, spooky snack board


