The Halloween party was in six hours and I’d completely forgotten I’d signed up to bring a snack. Everyone else would be bringing those elaborate themed desserts—you know the ones, with the hand-piped meringue ghosts and the cake pops that look like eyeballs. I had a bag of baby carrots, a head of garlic that was starting to sprout, and a half-empty jar of mayonnaise. Honestly, I almost just grabbed a bag of chips on the way out the door. But then I remembered the roasted veggie tray my sister makes for every family gathering—the one that disappears in about ten minutes flat. I figured if I roasted the veggies fast and hot, and maybe made the dip look a little spooky, I’d at least have something edible. I mean, I wasn’t trying to win any awards here.
So I cranked the oven, chopped everything in a frenzy, and tossed it all on a sheet pan. I whisked together a quick ranch dip and added a little food coloring—just enough to make it look like ectoplasm, not enough to scare anyone off. The whole thing came together in under thirty minutes, which, let me tell you, felt like a miracle. I threw it all on a platter, stuck a little “Spooky Veggie Tray” sign on it, and ran out the door. I fully expected it to be the sad, forgotten platter at the end of the table.
Instead? It was the first thing to go. People kept coming back for more, dipping and crunching and asking me for the recipe. Someone actually said it was the best thing at the party. I just stood there, holding my plastic cup of cider, trying to look like I’d planned it all along. Maybe you’ve been there—the accidental win when you least expect it. That’s the thing about this Quick Roasted Garlic Veggie Tray with Spooky Ranch Dip. It looks like you spent hours on it, but honestly? It’s the easiest thing you’ll make all week. And it’s why I keep coming back to this recipe, even when I actually have time to plan ahead.
Why You’ll Love This Recipe
This isn’t just another veggie tray. This is the veggie tray that actually gets eaten. I’ve tested this on my own family, at potlucks, and even on my picky-eater neighbor, and it never fails. Here’s why you’re going to love it:
- Quick & Easy: From fridge to table in under 30 minutes. Seriously. No marinating, no complicated steps. Perfect for those nights when you’re running on fumes.
- Simple Ingredients: You probably have most of this stuff in your kitchen right now. No fancy grocery store runs required. Just veggies, garlic, oil, and a few pantry staples for the dip.
- Perfect for Weeknights & Parties: This tray works for a busy Tuesday dinner side dish, a last-minute Halloween party, or even a game-day snack. It’s versatile like that.
- Crowd-Pleaser: Roasting brings out the natural sweetness in vegetables, making them way more appealing than raw ones. Even people who swear they hate broccoli will go back for seconds.
- Unbelievably Delicious: That roasted garlic in the dip? It’s a game-changer. It adds this deep, mellow, almost sweet flavor that you just can’t get from raw garlic. It’s next-level comfort food, I promise.
What makes this recipe different from the rest is the roasted garlic element. Most veggie trays serve a boring, store-bought ranch. This one has a homemade dip that’s creamy, tangy, and packed with flavor from that slow-roasted garlic. It’s not just another version—it’s the best version. And honestly, it’s the kind of recipe that makes you close your eyes after the first bite. Comfort food reimagined, faster, and with the same soul-soothing satisfaction. Perfect for impressing guests without the stress.
What Ingredients You Will Need
This recipe uses simple, wholesome ingredients to deliver bold flavor and satisfying texture without the fuss. Most of these are pantry staples or easy to find at any grocery store. I’ve also included some substitution notes where they might be helpful.
For the Roasted Veggie Tray
- 1 large head of garlic (you’ll use the whole thing, so don’t skimp)
- 2 cups broccoli florets (fresh is best, but frozen works if you thaw and pat dry first)
- 2 cups cauliflower florets (same deal—fresh preferred, frozen in a pinch)
- 1 cup baby carrots (the pre-bagged ones are perfect here, no chopping needed)
- 1 cup cherry tomatoes (keeps them whole so they don’t get mushy)
- 2 tablespoons olive oil (use a good quality one for better flavor)
- 1/2 teaspoon salt (I prefer kosher salt for even seasoning)
- 1/4 teaspoon black pepper (freshly ground is always better)
- 1/2 teaspoon garlic powder (yes, even with the roasted garlic—it adds an extra layer)
For the Spooky Ranch Dip
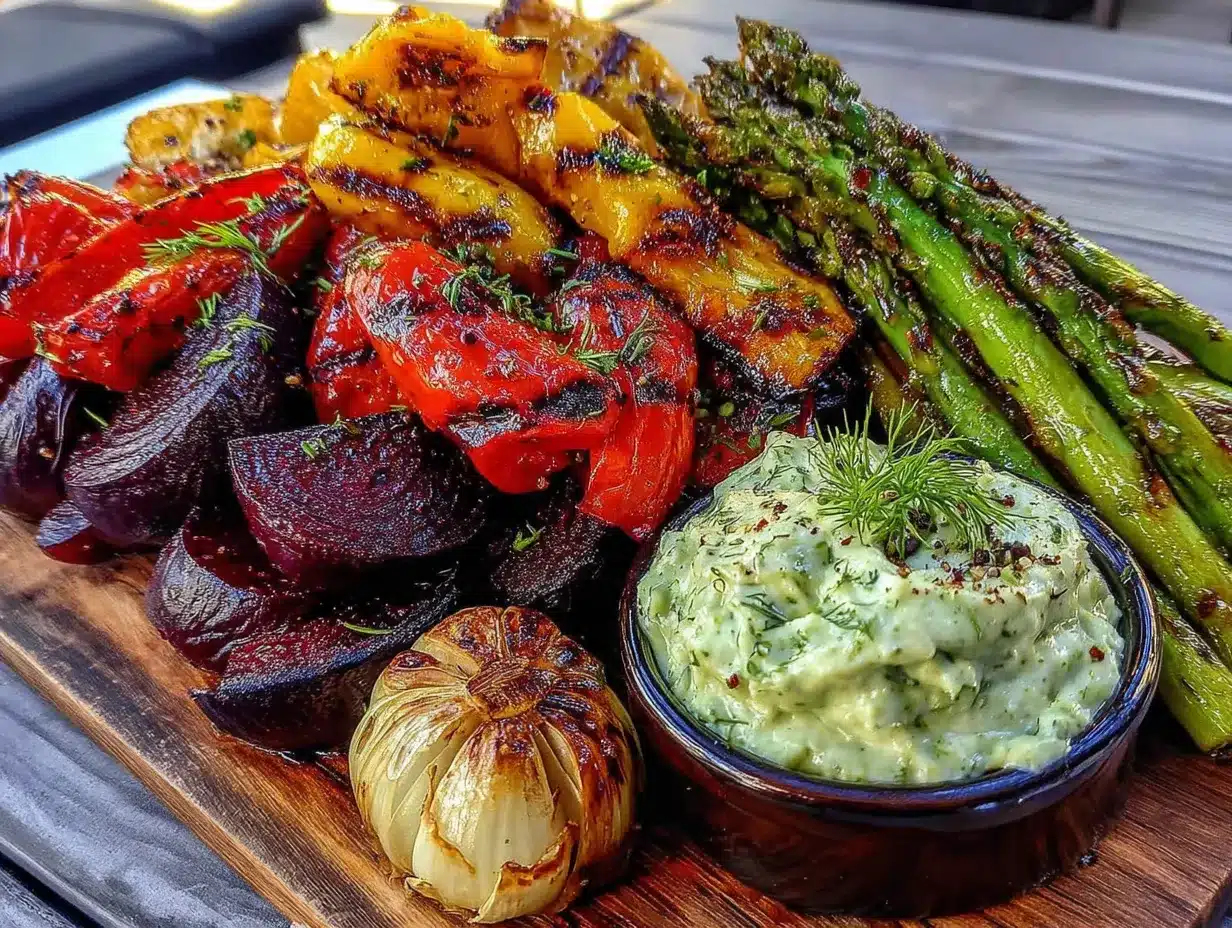
- 1/2 cup sour cream (full-fat gives the best texture, but Greek yogurt works too)
- 1/2 cup mayonnaise (I recommend Hellmann’s or Duke’s for the creamiest result)
- 1 tablespoon fresh chives, chopped (or 1 teaspoon dried if that’s what you have)
- 1 tablespoon fresh dill, chopped (dried dill works, but fresh really shines here)
- 1 teaspoon onion powder
- 1/2 teaspoon salt
- 1/4 teaspoon black pepper
- 1 tablespoon lemon juice (fresh squeezed is best, but bottled works in a pinch)
- 1-2 cloves roasted garlic (from the head you roasted—this is the secret weapon)
- Green food coloring (optional, but highly recommended for the spooky factor—use gel food coloring for a more vibrant color without thinning the dip)
Ingredient Selection Tips: Look for firm, tight broccoli and cauliflower heads with no yellowing. For the garlic, choose heads that feel heavy for their size with tight, unbroken skins. I personally prefer using organic baby carrots when I can find them—they just seem to have better flavor. And for the dip, using full-fat sour cream and mayo really does make a difference in texture. Low-fat versions can turn out watery.
Substitution Guidance: If you’re dairy-free, use a plant-based sour cream and vegan mayo. The flavor will be slightly different, but still delicious. For a gluten-free option, this recipe is naturally gluten-free as written. Just double-check your mayo and sour cream labels to be safe. And if you don’t have fresh herbs, dried herbs work—just use about a third of the amount called for.
Equipment Needed
You don’t need a fancy kitchen to pull this off. Here’s what you’ll need:
- Large baking sheet (a half-sheet pan works great—if you don’t have one, use the largest oven-safe pan you own)
- Parchment paper or aluminum foil (for easy cleanup—honestly, this is my favorite trick for busy nights)
- Small bowl for the dip (any bowl will do, but a shallow one looks nicer on a platter)
- Chef’s knife and cutting board (for chopping the broccoli and cauliflower—a sharp knife makes all the difference)
- Garlic roaster or small oven-safe dish (if you don’t have a garlic roaster, just wrap the head in foil—it works perfectly)
- Mixing spoon or whisk (for the dip)
- Serving platter (a large plate or wooden board works great for that rustic look)
Budget-Friendly Options: Skip the fancy garlic roaster and just use aluminum foil. It’s cheap and works just as well. Also, if you don’t have a large baking sheet, you can use two smaller ones—just rotate them halfway through baking for even roasting.
Preparation Method
This recipe comes together fast, so I like to prep everything before I turn on the oven. It makes the whole process feel smoother, you know?
- Preheat your oven to 425°F (220°C). This high heat is key for getting those nice, caramelized edges on the veggies. Line your baking sheet with parchment paper or foil for easy cleanup.
- Start with the garlic. Cut the top off the head of garlic—just enough to expose the tips of the cloves. Drizzle with a little olive oil, wrap it tightly in aluminum foil, and place it on the baking sheet. This will roast alongside the veggies. It takes about 30-35 minutes total, so it’ll be done at the same time as everything else.
- Prep the veggies. Wash and dry your broccoli and cauliflower. Cut them into bite-sized florets—try to keep them roughly the same size so they cook evenly. I usually aim for pieces about 1-2 inches across. Leave the baby carrots whole (no need to chop them) and keep the cherry tomatoes whole too.
- Toss the veggies. In a large bowl, combine the broccoli, cauliflower, and baby carrots. Drizzle with 2 tablespoons of olive oil, then sprinkle with salt, pepper, and garlic powder. Toss everything with your hands (or a big spoon) until all the veggies are evenly coated. Don’t skip this step—even coating means even roasting.
- Spread on the baking sheet. Arrange the seasoned veggies in a single layer on your prepared baking sheet. Make sure they’re not overcrowded—if they’re piled on top of each other, they’ll steam instead of roast. If you need to, use two baking sheets. Leave the cherry tomatoes off for now—they’ll go on later since they cook faster.
- Roast the veggies and garlic. Place the baking sheet with the veggies and the wrapped garlic in the oven. Roast for 15 minutes. At this point, the veggies should be starting to brown on the edges.
- Add the tomatoes. After 15 minutes, pull the baking sheet out and add the cherry tomatoes to the pan. Give everything a quick stir with a spatula. Return to the oven and roast for another 10-15 minutes, until the veggies are tender and caramelized. The tomatoes should be blistered and starting to burst—that’s how you know they’re perfect.
- Make the dip while the veggies roast. This is where the multitasking comes in. While the veggies are in the oven, make the dip. In a small bowl, combine the sour cream, mayonnaise, chives, dill, onion powder, salt, pepper, and lemon juice.
- Add the roasted garlic. Once the garlic is done (it should be soft and golden when you squeeze the head), let it cool for a couple minutes. Then squeeze 1-2 cloves out of their skins and mash them with a fork. Add the mashed roasted garlic to the dip and stir until well combined. Taste and adjust seasoning if needed.
- Make it spooky. If you’re going for the Halloween vibe, add a few drops of green food coloring to the dip and stir until it’s evenly colored. You want it to look like something from a haunted house—but still appetizing, you know? Start with just a drop or two and add more until you get the desired shade.
- Assemble the tray. Arrange the roasted veggies on a serving platter. I like to group them by type—broccoli in one spot, cauliflower in another—but you can just pile them all together too. Place the bowl of spooky ranch dip in the center or off to one side. Serve immediately while the veggies are still warm.
Sensory Cues: When the veggies are done, they should look golden brown on the edges with some darker caramelized spots. The broccoli should be tender when pierced with a fork but still have a little bite. The tomatoes should be wrinkled and starting to split. The garlic should be soft enough that you can easily squeeze it out of its skin—if it’s still firm, give it another 5 minutes.
Personal Tip for Efficiency: I always make the dip while the veggies are roasting. It saves time and means everything is ready at once. Also, if you’re really pressed for time, you can skip the fresh herbs and use dried—just reduce the amount by about two-thirds.
Cooking Tips & Techniques
I’ve made this recipe about a dozen times now, and I’ve learned a few things the hard way. Here are my best tips for getting it right every time:
Don’t overcrowd the pan. This is the number one mistake people make with roasted vegetables. If the pan is too full, the veggies release steam and end up soggy instead of caramelized. Use two pans if you need to, or roast in batches. Trust me, it’s worth the extra minute of effort.
Cut veggies to uniform size. This ensures even cooking. If you have tiny pieces next to huge pieces, the tiny ones will burn before the big ones are done. I aim for florets that are about the same size as my thumb—roughly 1-2 inches across.
Roast at high heat. 425°F is the sweet spot for roasted vegetables. It’s hot enough to get those nice, caramelized edges but not so hot that the outsides burn before the insides are tender. I’ve tried lower temperatures, and the results just aren’t the same.
Use the right oil. Olive oil is great here because it has a relatively high smoke point and adds flavor. But avocado oil works too if you prefer a neutral taste. Just avoid using butter—it burns at high temperatures and will give your veggies a bitter taste.
Don’t skip the parchment paper. I learned this one the messy way. Parchment paper makes cleanup a breeze and prevents the veggies from sticking to the pan. Aluminum foil works too, but parchment is better for even browning.
Make the dip ahead of time. This is a game-changer for busy weeknights. The dip actually gets better after sitting in the fridge for a few hours—the flavors meld together and become more complex. Make it the night before, and you’re basically done.
Timing and multitasking strategy: Here’s how I do it. While the oven preheats, I wash and chop the veggies. While the veggies roast, I make the dip and clean up the kitchen. By the time the oven dings, everything is ready to go. It’s efficient and means I’m not scrambling at the last minute.
Variations & Adaptations
One of the things I love about this recipe is how flexible it is. Here are some ways you can make it your own:
Dietary Variations:
- Vegan: Use a plant-based sour cream and vegan mayo for the dip. Everything else is already plant-based. I’ve tried this with Kite Hill’s sour cream and it works beautifully.
- Gluten-Free: This recipe is naturally gluten-free as written. Just double-check your mayo and sour cream labels to make sure they’re certified gluten-free if that’s a concern.
- Low-Carb/Keto: Skip the carrots and add more broccoli, cauliflower, and maybe some zucchini. The dip is already low-carb friendly.
Seasonal Adaptations:
- Summer: Add zucchini, yellow squash, and bell peppers. Everything roasts beautifully together. I also love adding fresh corn cut off the cob when it’s in season.
- Fall: Swap in cubed butternut squash or sweet potatoes. They take a little longer to roast, so give them a 10-minute head start before adding the other veggies.
- Winter: Brussels sprouts are amazing here. Just halve them and toss them in. They get crispy on the outside and tender on the inside.
Flavor Twists:
- Spicy: Add a pinch of cayenne pepper or red pepper flakes to the dip. It gives it a nice kick without being overwhelming.
- Smoky: Use smoked paprika instead of regular paprika in the dip. It adds a depth of flavor that’s really satisfying.
- Herby: Add extra fresh herbs to the dip—parsley, basil, or even a little mint. It brightens everything up.
Personal Variation I’ve Tried: One time I added a handful of sliced radishes to the tray before roasting. They came out with this beautiful pink color and a milder, sweeter flavor. It was a happy accident, and now I do it every time I have radishes on hand.
Serving & Storage Suggestions
This veggie tray is best served warm, right out of the oven. The contrast between the warm, caramelized veggies and the cool, creamy dip is just perfect. But it’s also delicious at room temperature, which makes it great for parties and potlucks.
Serving Temperature: I recommend serving the veggies warm and the dip chilled. If you’re taking this to a party, roast the veggies at home and let them cool slightly before transporting. Then keep the dip in a separate container and assemble the tray when you arrive.
Presentation Tips: For a Halloween party, I like to arrange the veggies in a circle around the dip bowl, sort of like a wreath. You can also sprinkle some black sesame seeds on top for an extra spooky touch. For a regular weeknight dinner, just pile everything on a plate and dig in.
Complementary Dishes: This tray pairs beautifully with grilled chicken or fish for a complete meal. For a party, serve it alongside other finger foods like sliders, chips and salsa, or a cheese board. It also goes great with a crisp white wine or a light beer.
Storage Instructions: Store leftover roasted veggies in an airtight container in the refrigerator for up to 3 days. Keep the dip in a separate container. The veggies will lose some of their crispness, but they’re still delicious.
Reheating Tips: To reheat the veggies, spread them on a baking sheet and warm them in a 350°F oven for about 5-10 minutes. This helps restore some of their original texture. I don’t recommend microwaving them—they’ll turn soggy.
How Flavors Develop Over Time: The dip actually gets better after a day in the fridge. The roasted garlic flavor mellows and blends with the herbs. I often make the dip a day ahead of time for this reason. The veggies are best fresh, but leftovers are still tasty cold or reheated.
Nutritional Information & Benefits
This recipe is packed with nutrients, especially if you’re loading up on a variety of colorful vegetables. Here’s a rough estimate of what you’re getting:
Estimated Nutritional Values (per serving, based on 6 servings):
- Calories: ~180
- Fat: 12g
- Carbohydrates: 15g
- Fiber: 4g
- Protein: 4g
- Sugar: 6g
Health Benefits of Key Ingredients:
- Broccoli and Cauliflower: These cruciferous veggies are loaded with fiber, vitamins C and K, and antioxidants. They’re great for gut health and immune support.
- Garlic: Roasted garlic is easier on the digestive system than raw, but it still provides allicin, a compound known for its anti-inflammatory and immune-boosting properties.
- Carrots: Rich in beta-carotene, which your body converts to vitamin A. Great for eye health and skin.
- Olive Oil: A healthy source of monounsaturated fats, which are good for heart health.
Dietary Considerations: This recipe is naturally gluten-free and can easily be made vegan with simple substitutions. It’s also relatively low in calories for a satisfying side dish. The main allergens to watch for are dairy (in the sour cream and mayo) and eggs (in the mayo).
Personal Wellness Perspective: I love this recipe because it makes eating vegetables feel like a treat, not a chore. The roasting process brings out natural sweetness and creates a satisfying texture that feels indulgent. It’s a great way to get more veggies into your diet without feeling like you’re forcing yourself.
Conclusion
Look, I know a veggie tray doesn’t sound like the most exciting thing in the world. But this one is different. The roasted garlic dip is honestly addictive, and the veggies come out so caramelized and sweet that even my picky eater kid asks for seconds. It’s the kind of recipe that makes you feel like you’ve pulled off something impressive, even when you’re just trying to get dinner on the table on a busy Tuesday.
I really hope you give this Quick Roasted Garlic Veggie Tray with Spooky Ranch Dip a try. It’s perfect for Halloween parties, yes, but honestly? It’s perfect for any night of the week. Customize it with whatever veggies you have on hand, make the dip as spicy or as mild as you like, and don’t stress about making it look perfect. The beauty of this recipe is that it always looks and tastes great, no matter what.
If you make it, I’d love to hear how it turned out. Leave a comment below and let me know what variations you tried, or tag me in your photos on social media. And if you’re looking for more quick and easy weeknight recipes, check out my quick weeknight dinner ideas for more inspiration. Happy cooking, and don’t forget to make it spooky!
Frequently Asked Questions
Can I use frozen vegetables for this recipe?
Yes, you can use frozen veggies, but you’ll need to adjust the cooking time slightly. Frozen vegetables release more water as they cook, so they may not get as caramelized. To get the best results, thaw the frozen veggies first and pat them dry with a paper towel before roasting. You may also need to add 5-10 minutes to the roasting time.
How do I make the dip less spicy?
The dip as written isn’t spicy at all—it’s just creamy and herby. If you want it completely mild, skip the cayenne pepper or red pepper flakes if you’re adding them. The base recipe is very family-friendly and not spicy in the slightest.
Can I make this recipe ahead of time?
Absolutely! The dip can be made up to 3 days in advance and stored in the refrigerator. The veggies are best roasted fresh, but you can prep them ahead of time—wash, chop, and store them in a sealed bag in the fridge for up to 24 hours. When you’re ready to serve, just toss them with oil and roast.
What other veggies work well in this tray?
Almost any sturdy vegetable works great here. Try bell peppers, zucchini, yellow squash, red onion wedges, asparagus, or Brussels sprouts. Just keep in mind that different veggies have different cooking times—softer veggies like zucchini may need less time, while denser ones like sweet potatoes need more. Adjust accordingly.
Can I use this dip for other things?
Oh, absolutely! This roasted garlic ranch dip is amazing on everything. Use it as a spread for sandwiches, a dressing for salads (thin it with a little milk), a topping for baked potatoes, or a dip for chicken wings. I’ve even used it as a sauce for grain bowls. It’s super versatile.
Pin This Recipe!
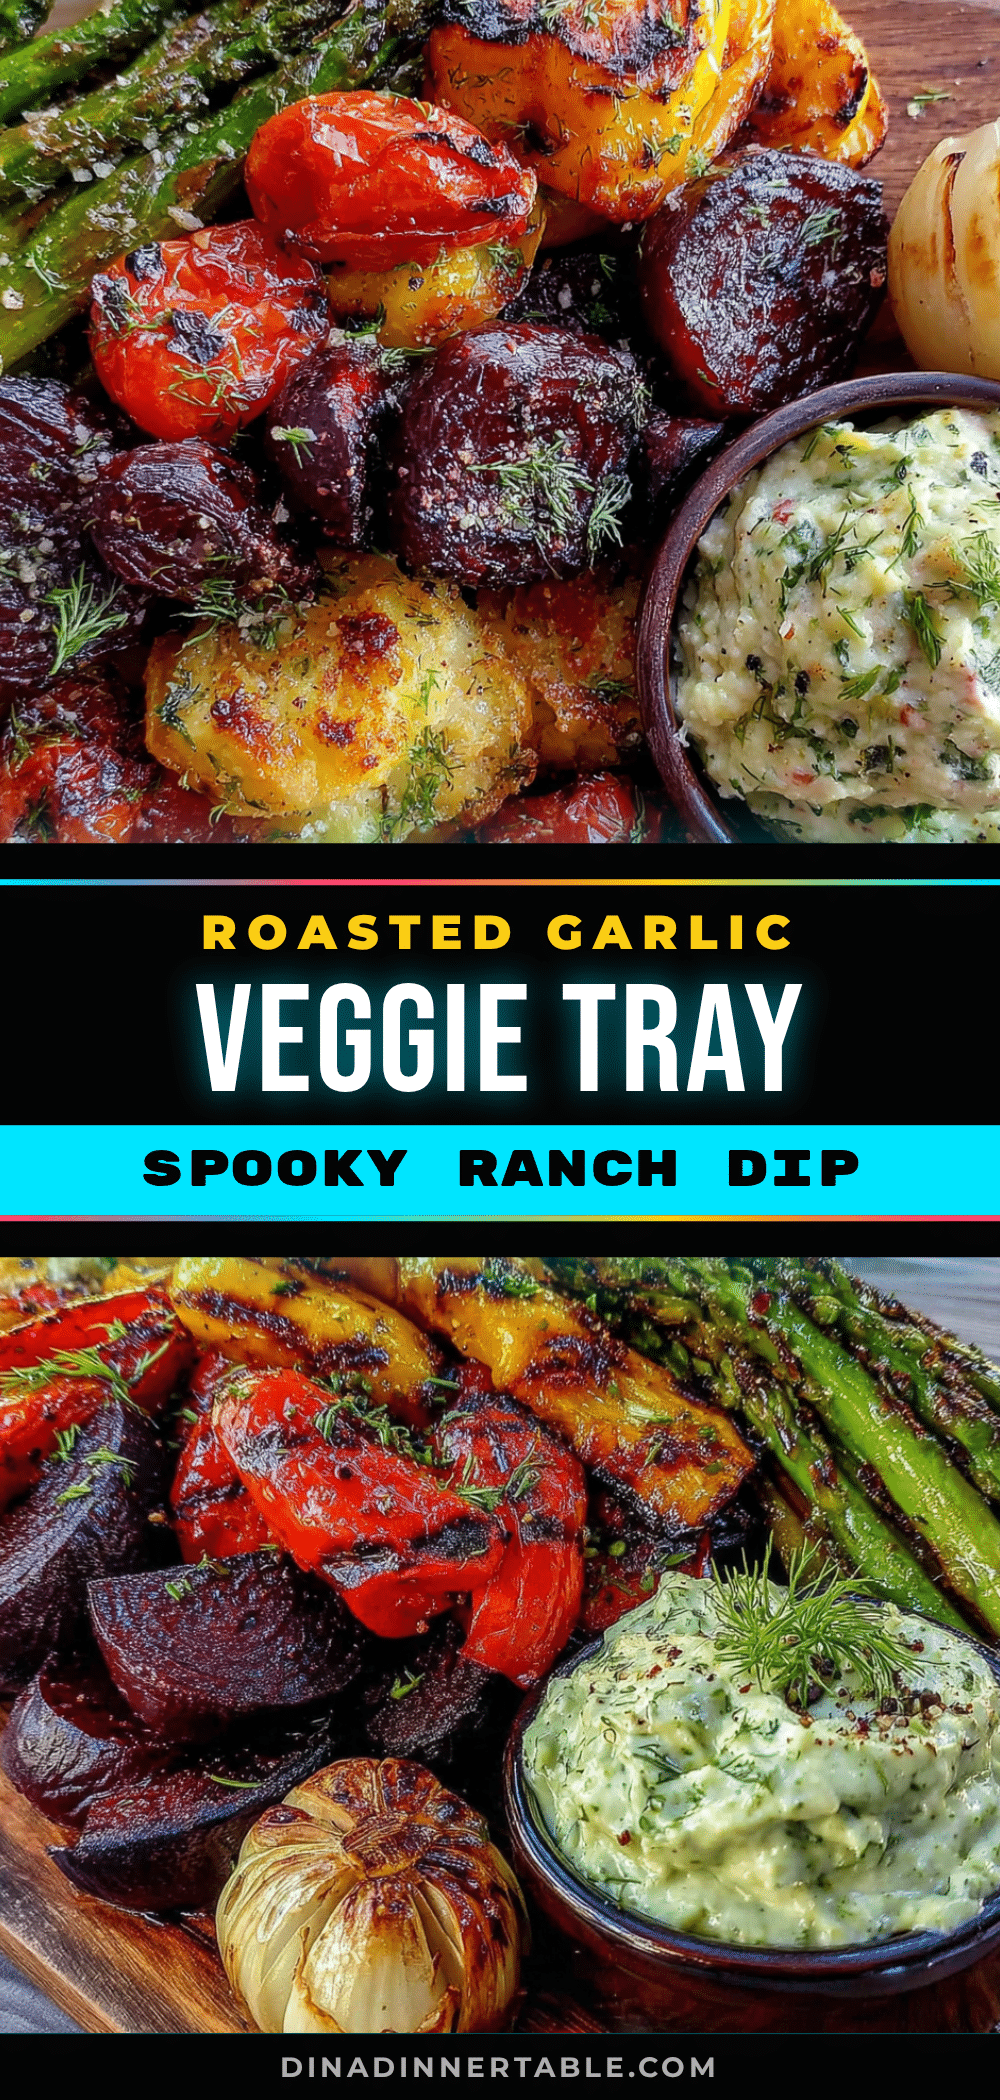
Quick Roasted Garlic Veggie Tray with Easy Spooky Ranch Dip

A quick and easy roasted veggie tray with a creamy, tangy ranch dip made with roasted garlic. Perfect for Halloween parties, weeknight dinners, or any gathering, this recipe comes together in under 30 minutes and is always a crowd-pleaser.
- Prep Time: 10 minutes
- Cook Time: 25 minutes
- Total Time: 35 minutes
- Yield: 6 servings 1x
- Category: Side Dish
- Cuisine: American
Ingredients
- 1 large head of garlic
- 2 cups broccoli florets
- 2 cups cauliflower florets
- 1 cup baby carrots
- 1 cup cherry tomatoes
- 2 tablespoons olive oil
- 1/2 teaspoon salt
- 1/4 teaspoon black pepper
- 1/2 teaspoon garlic powder
- 1/2 cup sour cream
- 1/2 cup mayonnaise
- 1 tablespoon fresh chives, chopped
- 1 tablespoon fresh dill, chopped
- 1 teaspoon onion powder
- 1/2 teaspoon salt
- 1/4 teaspoon black pepper
- 1 tablespoon lemon juice
- 1–2 cloves roasted garlic
- Green food coloring (optional)
Instructions
- Preheat your oven to 425°F (220°C). Line a baking sheet with parchment paper or aluminum foil.
- Cut the top off the head of garlic to expose the tips of the cloves. Drizzle with a little olive oil, wrap tightly in aluminum foil, and place on the baking sheet.
- Wash and dry the broccoli and cauliflower. Cut into bite-sized florets (about 1-2 inches). Leave baby carrots and cherry tomatoes whole.
- In a large bowl, combine broccoli, cauliflower, and baby carrots. Drizzle with 2 tablespoons olive oil, then sprinkle with salt, pepper, and garlic powder. Toss until evenly coated.
- Spread the seasoned veggies in a single layer on the prepared baking sheet. Do not overcrowd. Reserve cherry tomatoes for later.
- Place the baking sheet with veggies and wrapped garlic in the oven. Roast for 15 minutes.
- After 15 minutes, remove the baking sheet, add the cherry tomatoes, and stir everything. Return to the oven and roast for another 10-15 minutes, until veggies are tender and caramelized.
- While the veggies roast, make the dip: In a small bowl, combine sour cream, mayonnaise, chives, dill, onion powder, salt, pepper, and lemon juice.
- Once the garlic is done (soft and golden), let it cool for a couple minutes. Squeeze 1-2 cloves out of their skins, mash with a fork, and add to the dip. Stir until well combined. Adjust seasoning if needed.
- For a spooky look, add a few drops of green food coloring to the dip and stir until evenly colored.
- Arrange the roasted veggies on a serving platter. Place the bowl of dip in the center or off to one side. Serve immediately while veggies are warm.
Notes
For best results, do not overcrowd the pan. Cut veggies to uniform size for even cooking. Roast at high heat (425°F) for caramelization. Use parchment paper for easy cleanup. The dip can be made ahead of time and actually improves in flavor after a day in the fridge. For a vegan version, use plant-based sour cream and vegan mayo. For a low-carb option, skip the carrots and add more broccoli and cauliflower.
Nutrition
- Serving Size: 1 serving (about 1 c
- Calories: 180
- Sugar: 6
- Sodium: 450
- Fat: 12
- Saturated Fat: 3
- Carbohydrates: 15
- Fiber: 4
- Protein: 4
Keywords: roasted vegetables, veggie tray, ranch dip, Halloween, quick, easy, party appetizer, roasted garlic


