My neighbor Kate watched me fumbling with a sticky granola bar wrapper while trying to wrangle my grocery bags on the front steps. She didn’t say anything at first—just gave me that knowing look. Then she disappeared inside and came back with a small container. “Try these,” she said, shrugging like it was nothing. “They hold up better than store-bought, and you probably have everything in your pantry already.”
That was three summers ago, and honestly, I haven’t bought a single packaged energy bar since. Kate is the kind of cook who throws things together without measuring—she learned from her grandmother who ran a small café in the Midwest. The original version was a little too sweet for me, with honey by the half-cup. I tweaked it over time, cutting back on the sweetener and adding a pinch of salt to balance things out. The first time I made my adjusted batch, I knocked the entire jar of peanut butter off the counter and spent ten minutes cleaning up the mess. But you know what? The energy balls turned out perfect anyway.
These Healthy No-Bake Peanut Butter Energy Balls have become my go-to for everything. Mid-afternoon slumps, pre-workout fuel, road trips, and those moments when you just need something to chew on that won’t wreck your progress. They’re basically edible willpower in a bite-sized form. Maybe you’ve been there—standing in front of the pantry, hungry but not wanting to undo a good day of eating. These little guys solve that problem without any drama. I keep a batch in my fridge at all times, and I’m pretty sure they’re the reason I haven’t rage-ordered takeout on a Tuesday night in months.
Why You’ll Love This Recipe
Let me tell you why these energy balls have earned a permanent spot in my rotation. I’ve tested this recipe at least a dozen times, tweaking the ratios until everything clicked. Here’s what makes them special:
- Quick & Easy: You need exactly 5 minutes of active time. No oven, no stovetop, no complicated techniques. Just a bowl and a spoon.
- Simple Ingredients: Rolled oats, peanut butter, honey, chocolate chips, flaxseed, and a pinch of salt. That’s it. You probably have all of them right now.
- Perfect for Meal Prep: Make a batch on Sunday, and you’ve got snacks for the whole week. They’re great for lunchboxes, post-workout refueling, or grabbing on your way out the door.
- Crowd-Pleaser: I’ve brought these to potlucks, hiking trips, and kids’ birthday parties. They disappear every single time. Even picky eaters love them.
- Unbelievably Delicious: The texture is this perfect mix of chewy, crunchy, and creamy. The chocolate chips melt slightly against the peanut butter, and the oats give it that satisfying bite. It’s comfort food that happens to be good for you.
What makes this recipe different from all the others? It’s the ratio. Most energy ball recipes are either too dry or too sticky. I spent weeks finding the sweet spot where the mixture holds together perfectly without feeling greasy or falling apart. The secret is letting the mixture rest for five minutes before rolling—it gives the oats time to absorb the moisture. That little trick makes all the difference.
This recipe isn’t just good—it’s the kind that makes you close your eyes after the first bite. It’s healthy eating that doesn’t feel like a punishment. Perfect for busy mornings, afternoon crashes, or those moments when you need something sweet but want to stay on track.
What Ingredients You Will Need
This recipe uses simple, wholesome ingredients to deliver bold flavor and satisfying texture without the fuss. Everything here is a pantry staple, which means you can whip up a batch whenever the craving hits.
- Rolled oats (1 cup / 90g) — Not quick oats. Rolled oats give the energy balls their chewy texture and hold together better. I prefer Bob’s Red Mill or Quaker Old-Fashioned. If you’re gluten-sensitive, make sure to grab certified gluten-free oats.
- Creamy peanut butter (½ cup / 130g) — Use natural peanut butter with no added sugar or oil. The kind where the oil separates on top is perfect—just stir it well before measuring. I like Kirkland organic or Teddie. Avoid the super-stiff natural brands that are mostly ground peanuts; they can make the mixture too dry.
- Honey (⅓ cup / 80ml) — Local honey is my favorite for flavor, but any liquid honey works. Maple syrup is a great vegan swap, though the texture will be slightly softer. Use raw honey if you want those extra enzymes.
- Mini chocolate chips (¼ cup / 45g) — Semi-sweet or dark. Mini chips distribute better than regular-sized ones. I use Enjoy Life for dairy-free or Ghirardelli when I want that extra richness. You can also chop a dark chocolate bar into tiny pieces.
- Ground flaxseed (2 tablespoons / 14g) — This is the secret binder. It adds omega-3s and helps the mixture hold together. You can substitute chia seeds, but grind them first for better texture. Store flaxseed in the fridge to keep it fresh.
- Vanilla extract (1 teaspoon) — Pure vanilla extract makes a noticeable difference. Imitation works in a pinch, but the real stuff adds warmth that balances the peanut butter.
- Salt (¼ teaspoon) — Don’t skip this. Salt makes the peanut butter taste more peanut-buttery and cuts through the sweetness. If your peanut butter is salted, reduce to a pinch.
That’s the base, and it’s fantastic as-is. But here’s the thing—this recipe is incredibly forgiving. You can swap the chocolate chips for dried cranberries, raisins, or chopped dates. Add a tablespoon of cocoa powder for a chocolate version. Throw in some shredded coconut or chopped nuts for extra crunch. I’ve even used sunflower seed butter for a nut-free option, and it worked beautifully. Just note that different nut butters have different moisture levels, so you might need to adjust the oats slightly.
Equipment Needed
You don’t need fancy gadgets for this recipe. Here’s what you’ll actually use:
- Large mixing bowl — Any bowl works, but a wide one makes mixing easier. I use my grandmother’s ceramic mixing bowl because it’s the perfect size for getting my hands in there.
- Measuring cups and spoons — For accuracy. Peanut butter is sticky, so spray the measuring cup with cooking spray first—it slides right out.
- Rubber spatula — For scraping every last bit of peanut butter. I’m partial to the GIR spatulas because they’re heat-resistant and don’t bend too much.
- Parchment paper or silicone baking mat — For placing the rolled balls on. Prevents sticking and makes cleanup a breeze.
- Cookie scoop (optional) — A 1-tablespoon scoop gives you perfectly uniform balls. I bought mine at a kitchen supply store for five bucks, and it’s one of my most-used tools. If you don’t have one, just use a spoon and roll by hand.
- Air-tight container — For storage. Glass containers work best because they don’t absorb odors. I use a wide-mouth mason jar for everyday access.
If you don’t have a cookie scoop, wet your hands slightly before rolling—it prevents the mixture from sticking to your palms. Also, a mini food processor can help if you want to grind your own flaxseed, but the pre-ground stuff works fine.
Preparation Method
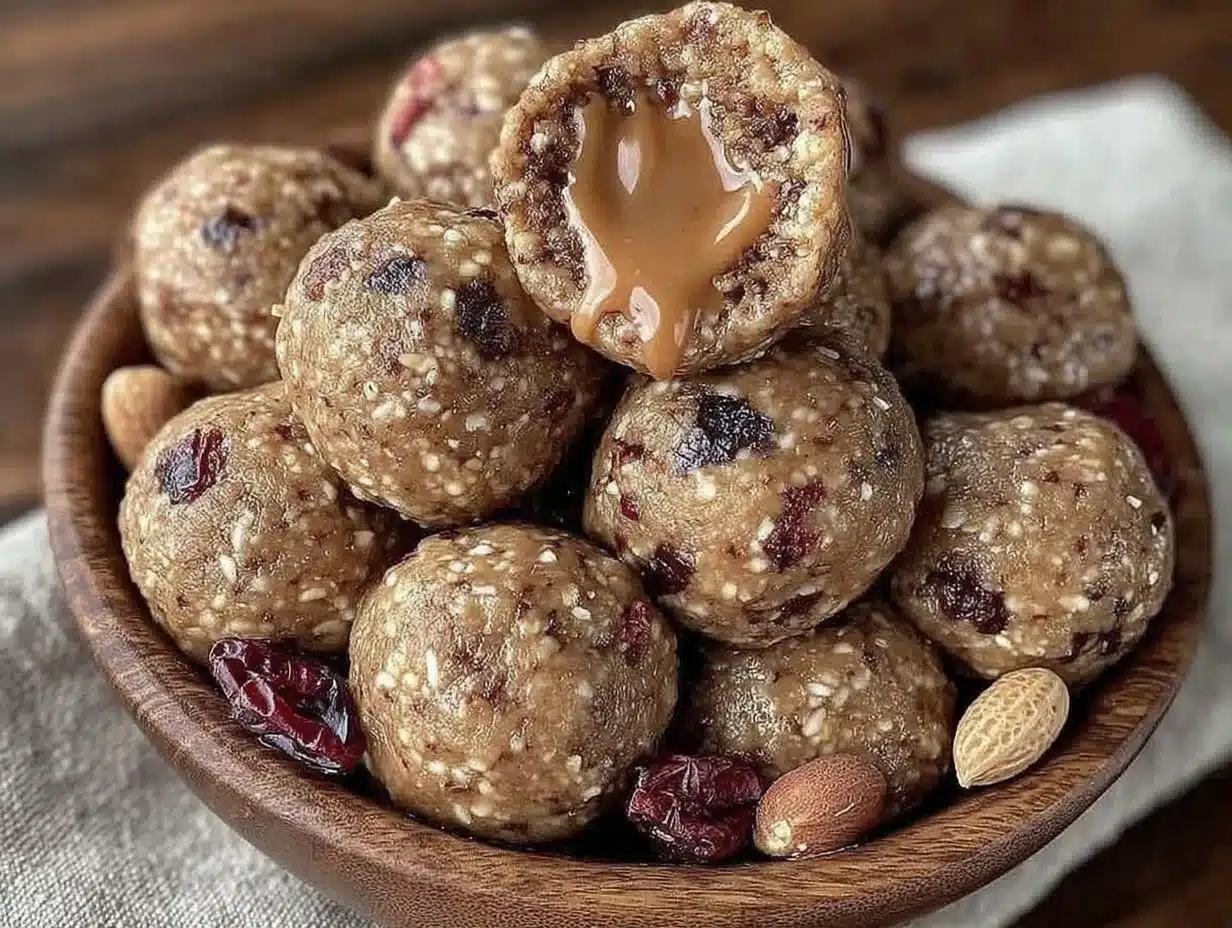
This comes together fast, so have everything measured and ready before you start. Trust me on this—peanut butter-covered hands make measuring a nightmare.
- Combine the dry ingredients. In a large mixing bowl, add 1 cup rolled oats, 2 tablespoons ground flaxseed, and ¼ teaspoon salt. Stir them together with a fork or whisk. This distributes the flaxseed evenly so you don’t get clumps later. I learned this the hard way after biting into a chalky pocket of flax in my first batch.
- Add the wet ingredients. Spoon ½ cup peanut butter into the bowl. Drizzle ⅓ cup honey over the top. Add 1 teaspoon vanilla extract. Don’t stir yet—just pile everything together. I like to make a little well in the dry ingredients and pour the wet stuff into the center.
- Mix thoroughly. Use a rubber spatula to fold everything together. Start from the bottom and scrape up, turning the bowl as you go. The mixture will look crumbly at first, then it’ll start coming together. Keep going until no dry oats remain. This takes about 2 minutes of solid mixing. If your arm gets tired, you’re doing it right.
- Fold in the chocolate chips. Add ¼ cup mini chocolate chips and fold them in gently. Overmixing at this point can melt the chips from the warmth of your hands. Just a few turns until they’re evenly distributed.
- Let the mixture rest. Here’s the crucial step—cover the bowl with a clean kitchen towel and let it sit for 5 minutes. This gives the oats time to absorb the moisture from the peanut butter and honey. The mixture will firm up noticeably. If it still seems too wet after resting, add a tablespoon of oats. If it’s too dry, add a teaspoon of honey or a splash of milk.
- Roll into balls. Line a baking sheet or plate with parchment paper. Using a 1-tablespoon cookie scoop or a spoon, portion out the mixture. Roll each portion between your palms to form a smooth ball. If the mixture sticks to your hands, dampen your palms slightly with water. You should get about 16 to 18 balls, depending on size. I usually end up with 17—one always disappears during rolling.
- Chill before serving. Place the baking sheet in the refrigerator for at least 30 minutes. This firms them up and makes the texture perfect. If you’re impatient (I’ve been there), pop them in the freezer for 15 minutes instead.
At this point, the kitchen smells amazing—like peanut butter and honey with a hint of vanilla. That’s the smell of a successful snack prep session.
Cooking Tips & Techniques
After making these Healthy No-Bake Peanut Butter Energy Balls more times than I can count, I’ve picked up a few tricks that make the process smoother and the results better.
The peanut butter matters more than you think. I once used a fresh-ground peanut butter from the health food store that was basically peanut dust. The mixture wouldn’t hold together no matter how much honey I added. Stick with creamy, commercial natural peanut butter for the best texture. If your peanut butter is too runny, refrigerate it for 20 minutes before using.
Warm honey flows better. If your honey is crystallized or stiff, microwave the jar for 10 seconds. Warm honey mixes into the peanut butter much more easily. Just don’t overheat it—hot honey can make the chocolate chips melt prematurely.
Use a light touch when rolling. Don’t squeeze the balls too tightly. A gentle roll between your palms creates a smoother surface. If you press too hard, the mixture becomes dense and almost tough. Think of it like forming snowballs—gentle pressure, not a death grip.
Chill the mixture if it’s too sticky. Some days, the mixture just refuses to cooperate. Maybe the kitchen is warm, or the peanut butter is extra oily. If your mixture feels too sticky to handle, pop the bowl in the fridge for 15 minutes. The cold firms up the fats and makes rolling much easier.
Double the batch. Seriously. These disappear fast, and the recipe doubles effortlessly. I always make a double batch on Sunday, and by Wednesday, they’re half gone. They freeze beautifully, so there’s no risk of waste.
One mistake I made early on? Not tasting the mixture before rolling. The sweetness level depends on your peanut butter and honey. Some peanut butters are saltier, some honey is more floral. Taste a tiny bit and adjust—add more honey if you want it sweeter, more salt if it needs balance.
Variations & Adaptations
This recipe is a canvas. Here are some variations I’ve tried and loved:
Chocolate Peanut Butter: Add 1 tablespoon unsweetened cocoa powder to the dry ingredients. Increase honey to ⅓ cup plus 1 tablespoon to balance the bitterness. The result tastes like Reese’s in a healthier form. My kids call these “brownie bites,” and I don’t correct them.
Vegan Version: Swap honey for maple syrup or agave nectar. Maple syrup gives a slightly thinner consistency, so add an extra tablespoon of oats. Use dairy-free chocolate chips. The flavor is slightly less floral but still delicious.
Nut-Free Option: Replace peanut butter with sunflower seed butter. The color turns a little greenish (that’s a natural reaction between sunflower seeds and baking soda), but the taste is excellent. Add ¼ teaspoon extra salt because sunflower butter is less salty than peanut butter.
Protein Boost: Add 2 tablespoons of vanilla or chocolate protein powder. Reduce the oats by 2 tablespoons to compensate. You might need an extra tablespoon of honey to keep the mixture from being too dry. These are great post-workout snacks.
Spiced Version: Add ½ teaspoon cinnamon and a pinch of nutmeg to the dry ingredients. The warm spices complement the peanut butter beautifully. I make these during fall and call them “pumpkin spice energy balls” even though there’s no pumpkin in them. Nobody complains.
Freezer-Friendly: Roll the balls and place them on a parchment-lined baking sheet. Freeze for 1 hour, then transfer to a freezer bag. They keep for up to 3 months. I grab one straight from the freezer and let it thaw for 5 minutes before eating. Perfect for hot summer days.
Serving & Storage Suggestions
These Healthy No-Bake Peanut Butter Energy Balls are best served cold or at room temperature. Straight from the fridge, they have a firm, satisfying bite. At room temperature, they’re softer and almost fudge-like. Both versions are excellent, so it’s really about your preference.
For serving, I like to arrange them on a small plate or in a bowl. They’re perfect for:
- Pre-workout fuel (eat one 30 minutes before exercise)
- Afternoon snack with a cup of coffee or tea
- Lunchbox treat for kids (they stay intact and don’t make a mess)
- Road trip snacks (no crumbs, no melting)
- Post-dinner sweet craving (one ball satisfies the sugar urge without going overboard)
Storage: Place the energy balls in an airtight container. They’ll keep in the refrigerator for up to 2 weeks. I use a glass container with a tight lid, layered between sheets of parchment paper to prevent sticking.
Freezing: As mentioned, they freeze beautifully. Lay the balls on a baking sheet and freeze until solid, then transfer to a freezer-safe bag. They keep for up to 3 months. Thaw in the refrigerator overnight or at room temperature for 10 minutes.
Flavor Development: Here’s something interesting—the flavors actually meld and deepen after a day in the fridge. The oats soften slightly, the chocolate chips firm up, and everything becomes more cohesive. I actually prefer them on day two. If you can resist eating them all immediately, you’re in for a treat.
Nutritional Information & Benefits
These energy balls are nutrient-dense and satisfying. Here’s the approximate breakdown per ball (based on 16 servings):
- Calories: 145
- Protein: 5g
- Carbohydrates: 18g
- Fiber: 3g
- Sugar: 9g
- Fat: 7g
- Saturated Fat: 2g
- Sodium: 65mg
The rolled oats provide slow-release energy and beta-glucan, which supports heart health. Peanut butter offers plant-based protein and healthy monounsaturated fats. Flaxseed adds omega-3 fatty acids and lignans, which have antioxidant properties. The honey gives you quick energy without the crash of refined sugar, and the dark chocolate chips provide a small dose of antioxidants and magnesium.
These are naturally dairy-free if you use dairy-free chocolate chips, and they’re gluten-free with certified gluten-free oats. They’re also egg-free and soy-free. The main allergen to watch for is peanuts, but the sunflower seed variation works beautifully for nut-free needs.
From a wellness perspective, these balls hit the sweet spot between indulgence and nutrition. They satisfy cravings without derailing your goals. I eat one before my morning workout and feel energized without feeling heavy. It’s the kind of snack that makes healthy eating feel effortless.
Conclusion
These Healthy No-Bake Peanut Butter Energy Balls are proof that eating well doesn’t have to be complicated or time-consuming. Five minutes of work, a handful of pantry staples, and you’ve got a week’s worth of snacks that actually taste like a treat. No oven, no fancy equipment, no stress.
What I love most about this recipe is how adaptable it is. You can make it your own—swap the chocolate for dried fruit, add a pinch of cinnamon, use almond butter instead of peanut. The base is forgiving, and the results are always delicious. It’s the kind of recipe that becomes a habit, the one you make without thinking because it just works.
I’d love to hear how yours turn out. Did you try a variation? Did you double the chocolate chips? (I won’t judge.) Drop a comment below and let me know. And if you share these on social media, tag me—I love seeing your kitchen creations. Here’s to snacks that make you feel good, inside and out.
Frequently Asked Questions
Can I use quick oats instead of rolled oats?
You can, but the texture will be softer and less chewy. Quick oats absorb moisture faster, so the mixture might be slightly drier. If using quick oats, reduce the rest time to 3 minutes. Rolled oats give a better texture and hold together more firmly.
How long do these energy balls last at room temperature?
They’re best kept refrigerated, but they can sit at room temperature for up to 4 hours. If you’re taking them on a picnic or road trip, pack them in a cooler bag. In warm weather, the chocolate chips can melt and the balls can become too soft.
Can I make these without honey?
Absolutely. Maple syrup, agave nectar, or date syrup all work as substitutes. Keep in mind that different sweeteners have different consistencies. Maple syrup is thinner, so you might need to add an extra tablespoon of oats. Date syrup is thicker and works almost exactly like honey.
My mixture is too dry. What did I do wrong?
This usually happens if your peanut butter is too thick or if you measured the oats generously. Add a tablespoon of honey or a splash of milk (dairy or plant-based) and mix again. Let it rest for 5 minutes before checking the consistency. You can also add a teaspoon of coconut oil for extra moisture.
Can I use crunchy peanut butter?
Yes, but the texture will be different. The peanut pieces can make the balls harder to roll and less uniform. If you love crunch, I recommend using creamy peanut butter as the base and adding 2 tablespoons of chopped peanuts instead. That way, you get the crunch without sacrificing the binding ability.
Pin This Recipe!
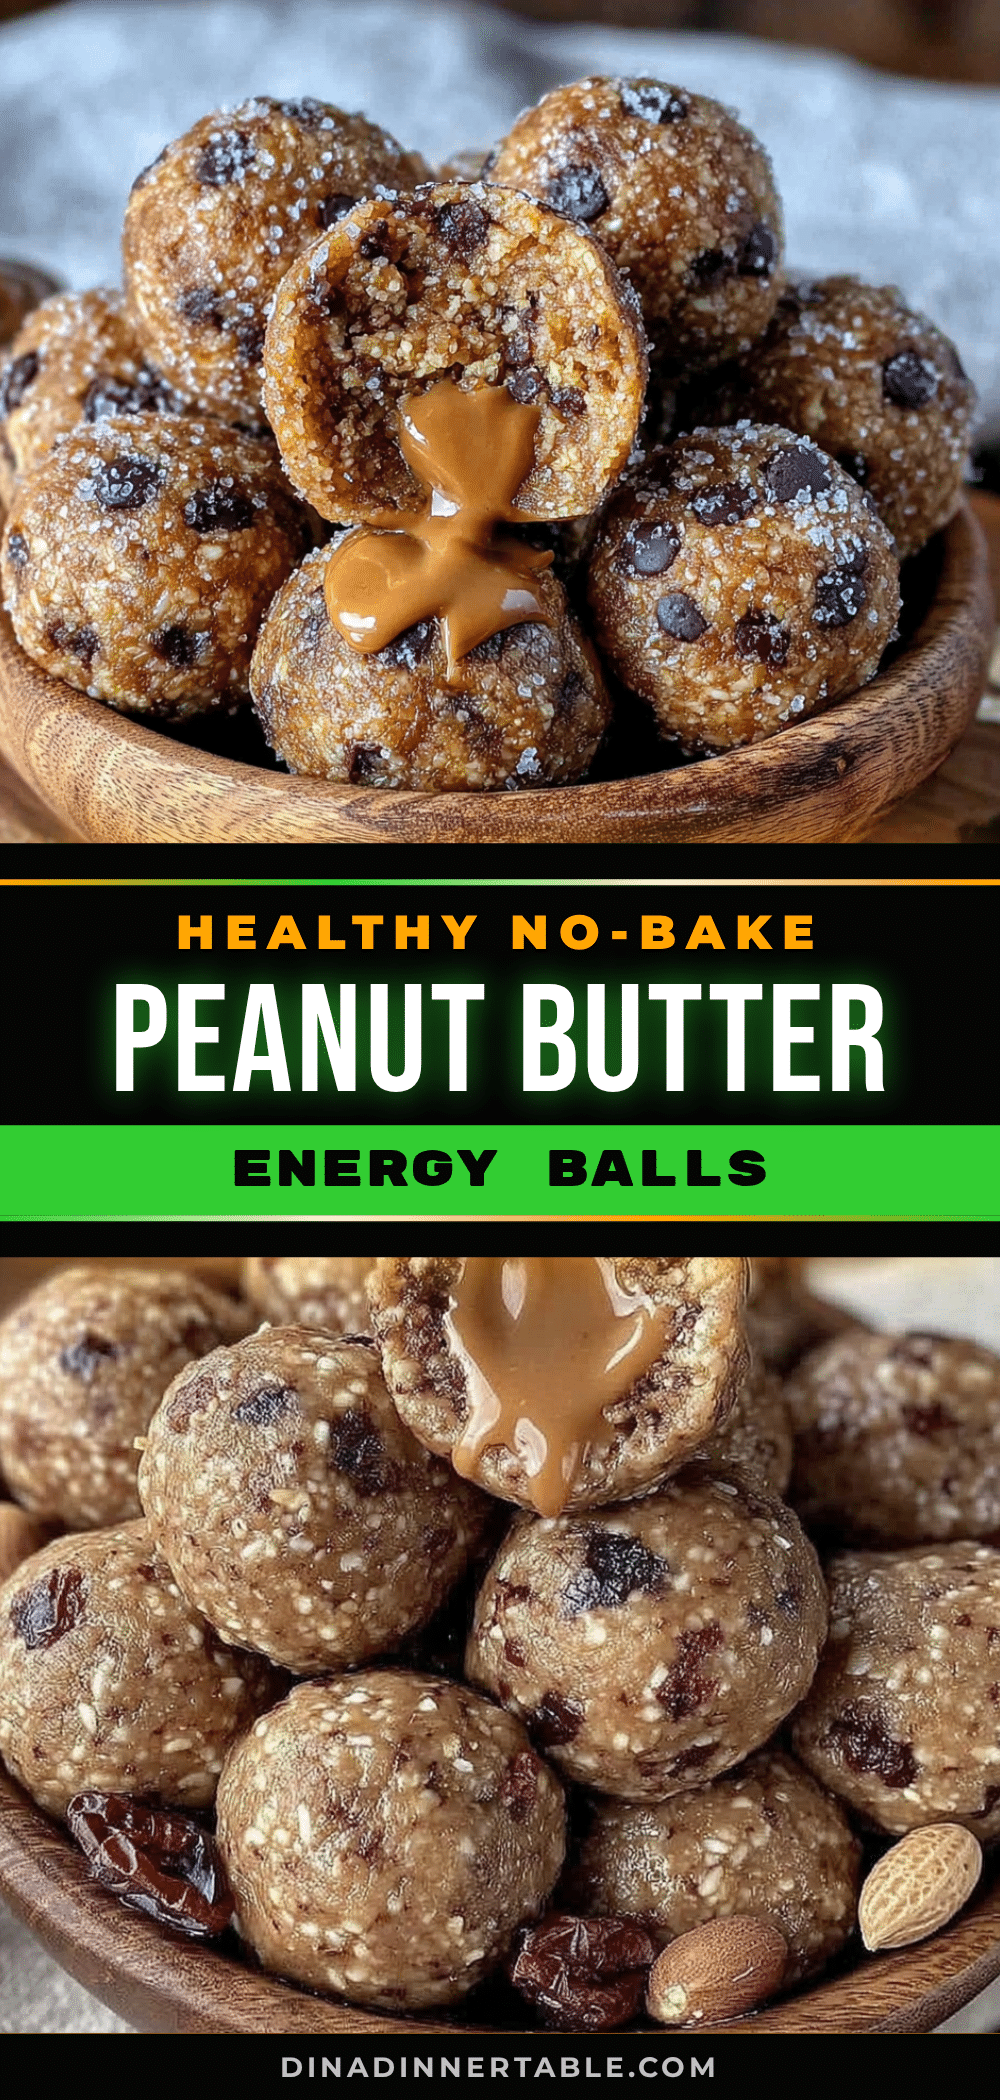
Healthy No-Bake Peanut Butter Energy Balls
These Healthy No-Bake Peanut Butter Energy Balls are a quick and easy 5-minute snack made with simple pantry staples like rolled oats, peanut butter, honey, and chocolate chips. Perfect for meal prep, they offer a delicious and nutritious bite-sized treat for mid-afternoon slumps, pre-workout fuel, or on-the-go snacking.
- Prep Time: 5 minutes
- Cook Time: 0 minutes
- Total Time: 35 minutes (includes 30 minutes chilling)
- Yield: 16-18 servings 1x
- Category: Snack
- Cuisine: American
Ingredients
- 1 cup (90g) rolled oats
- ½ cup (130g) creamy peanut butter (natural, no added sugar or oil)
- ⅓ cup (80ml) honey
- ¼ cup (45g) mini chocolate chips (semi-sweet or dark)
- 2 tablespoons (14g) ground flaxseed
- 1 teaspoon vanilla extract
- ¼ teaspoon salt
Instructions
- Combine the dry ingredients. In a large mixing bowl, add 1 cup rolled oats, 2 tablespoons ground flaxseed, and ¼ teaspoon salt. Stir them together with a fork or whisk.
- Add the wet ingredients. Spoon ½ cup peanut butter into the bowl. Drizzle ⅓ cup honey over the top. Add 1 teaspoon vanilla extract. Don’t stir yet—just pile everything together.
- Mix thoroughly. Use a rubber spatula to fold everything together. Start from the bottom and scrape up, turning the bowl as you go. Keep mixing until no dry oats remain, about 2 minutes.
- Fold in the chocolate chips. Add ¼ cup mini chocolate chips and fold them in gently until evenly distributed.
- Let the mixture rest. Cover the bowl with a clean kitchen towel and let it sit for 5 minutes. This allows the oats to absorb moisture and firm up.
- Roll into balls. Line a baking sheet or plate with parchment paper. Using a 1-tablespoon cookie scoop or a spoon, portion out the mixture. Roll each portion between your palms to form a smooth ball. You should get about 16 to 18 balls.
- Chill before serving. Place the baking sheet in the refrigerator for at least 30 minutes (or freezer for 15 minutes) to firm them up.
Notes
Let the mixture rest for 5 minutes before rolling to allow oats to absorb moisture. If mixture is too sticky, chill for 15 minutes. If too dry, add a tablespoon of honey or a splash of milk. For uniform balls, use a 1-tablespoon cookie scoop. Store in refrigerator for up to 2 weeks or freeze for up to 3 months.
Nutrition
- Serving Size: 1 ball
- Calories: 145
- Sugar: 9
- Sodium: 65
- Fat: 7
- Saturated Fat: 2
- Carbohydrates: 18
- Fiber: 3
- Protein: 5
Keywords: energy balls, no-bake, peanut butter, healthy snack, gluten-free, dairy-free, meal prep, 5-minute recipe